The Importance of Window Flashing in Protecting Your Home
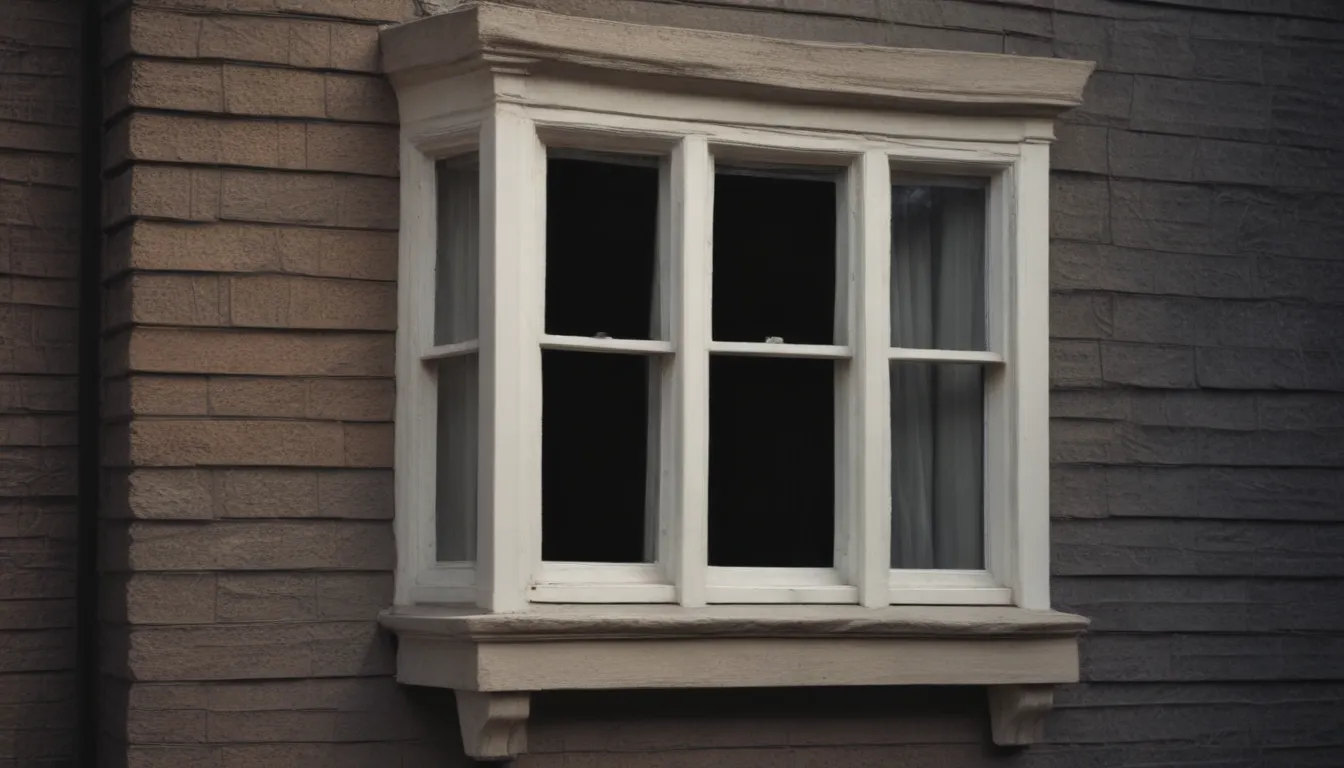
Have you ever noticed a draft coming through the gaps around your windows or doors? Or perhaps you’ve had issues with water seeping in during heavy rainstorms? These common problems can lead to bigger issues like mold, mildew, wood rot, and structural damage. That’s where window flashing comes in handy. In this detailed guide, we’ll explore the world of window flashing, its importance, and how you can install it in your home to protect against these potential hazards.
What Exactly is Window Flashing?
Let’s start with the basics – what exactly is window flashing? Window flashing is a waterproofing material used around windows and doors to cover seams, crevices, and gaps where moisture could collect. There are three main types of window flashing:
- Tape Window Flashing: This is a flexible adhesive tape that is applied around windows and doors to create a waterproof seal.
- Sheet Metal Flashing: These are metal sheets that are bent and shaped to fit around the openings of windows and doors.
- Vinyl Flashing: Vinyl flashing is a more flexible material that is often used in conjunction with other flashing types for added protection.
Why Do You Need Window Flashing?
The primary reason to invest in window flashing is to protect your home from potential water damage. Here are some key reasons why window flashing is essential:
- Prevents Water Damage: Window flashing acts as a barrier to prevent water from seeping through the openings around your windows and doors, which can lead to mold, mildew, and wood rot.
- Reduces Heat Loss: Properly installed window flashing can help reduce heat loss through the gaps, keeping your home warmer in the winter and cooler in the summer.
- Extends Home Lifespan: By protecting your home from water damage and other issues, window flashing can help extend the lifespan of your home, saving you money on future repairs.
How to Install Window Flashing
Now that you understand the importance of window flashing, let’s walk through the steps to install it in your home:
1. Cut the Weather Resistive Barrier
- The weather resistive barrier, or house wrap, is a thin sheet of material that is typically wrapped around a new home before windows are installed. Carefully cut and peel back the barrier to expose the window sill.
2. Install the Sill Pan Flashing
- The sill pan flashing is installed at the bottom of the window to prevent water from collecting. Use adhesive sill pan or pre-shaped sill pan wedge to secure the flashing in place.
3. Apply Sealant and Install the Window Unit
- Use a caulking gun to apply a bead of sealant along the top and sides of the rough window opening. Install the window unit, ensuring it is plumb and square, then insulate around the window with expanding foam or fiberglass.
4. Install the Window Jamb Flashing
- Measure, cut, and apply adhesive window flashing to each window jamb, ensuring it extends beyond the window sill and head jamb.
5. Install the Drip Cap
- If provided by the manufacturer, install a drip cap above the window to prevent water from entering the unit.
6. Install the Head Jamb Flashing
- Apply adhesive window flashing horizontally across the head jamb, extending at least six inches beyond the window jamb on each side.
By following these steps, you can effectively install window flashing in your home to protect against water damage and other issues.
In Conclusion
In conclusion, window flashing is a crucial component in protecting your home from water damage, mold, and wood rot. By investing in window flashing and properly installing it, you can extend the lifespan of your home and save money on future repairs. So, the next time you consider a home renovation project, don’t forget to include window flashing in your plans. Your home will thank you for it!
