Mastering the Art of Window Caulking: Dos, Don’ts, and Where Not to Caulk
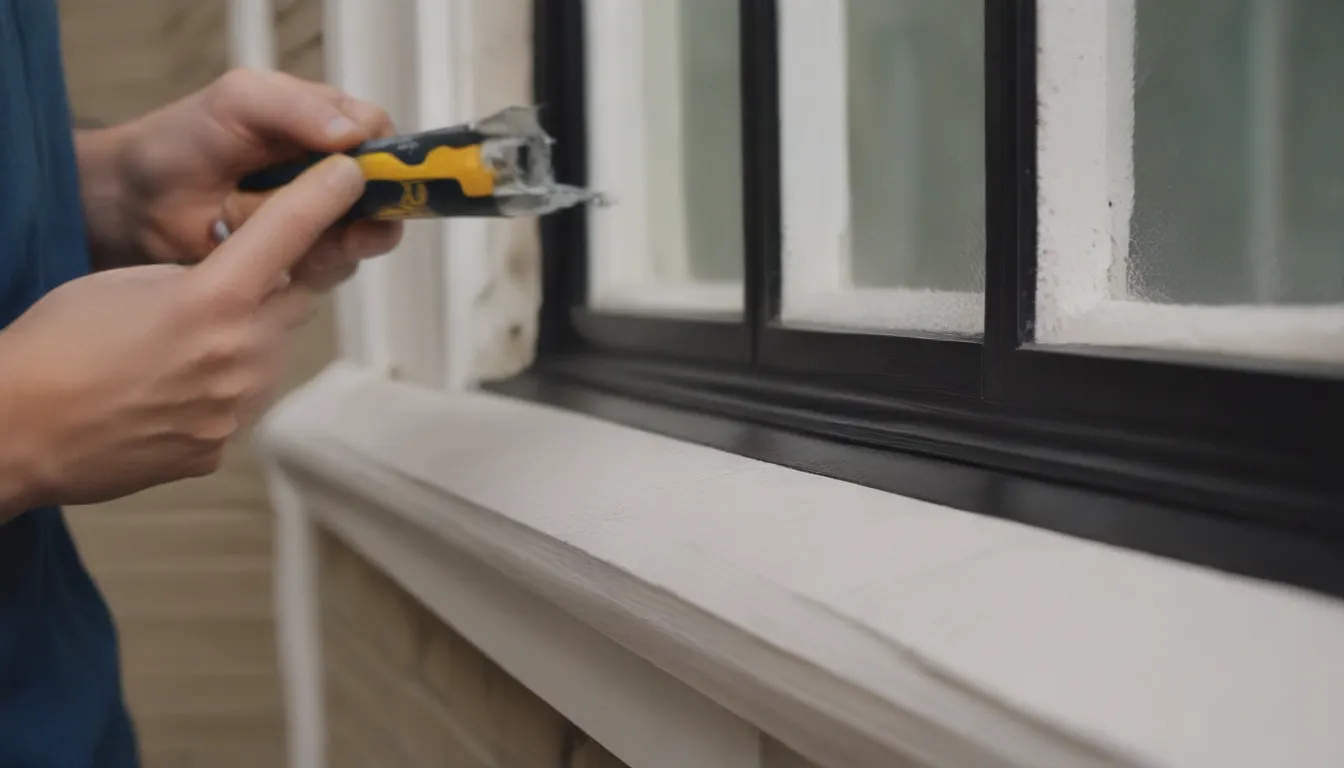
Are you embarking on a window sealing project or considering installing new windows? If so, understanding the dos and don’ts of caulking around windows is crucial. While the temptation might be to apply caulk liberally to every nook and cranny, it’s essential to know where not to caulk to avoid potential issues down the road. By following these guidelines, you can achieve a leak-free seal without compromising your windows’ performance.
The Importance of Proper Caulking
Windows and window frames are specifically designed to handle water and moisture. Applying caulk in the wrong places can interfere with the natural water-shedding mechanisms built into windows, leading to moisture retention and potential water damage. To protect your home and ensure the longevity of your windows, it’s vital to know where not to caulk.
Areas to Avoid Caulking Around Windows
Here are some key areas where caulking should be avoided to maintain the integrity of your windows:
-
Moving Parts: Caulking around the moving parts of a window can cause them to become stuck, inhibiting the window’s functionality. Instead of using caulk in these areas, consider replacing any worn rubber gaskets to maintain proper movement.
-
Weep Holes: Weep holes are strategically placed openings that allow for moisture to escape. By filling these holes with caulk, you risk trapping moisture inside the window frame, leading to potential issues.
-
Trim: Exterior trim around windows is primarily for aesthetic purposes and caulking it can interfere with proper water drainage. Avoid caulking around the trim to prevent moisture buildup.
-
Drip Edge: The drip edge on window frames is designed to direct water away from the structure. Applying caulk along the drip edge can disrupt this function, potentially causing water to flow towards the house and leading to water damage.
-
Over Old Caulk: Avoid applying new caulk over old caulk as it may not adhere properly and result in premature failure. Additionally, caulking over old caulk can impact the visual appeal of the finish.
The Dos and Don’ts of Caulking Around Windows
When it comes to caulking windows, following best practices is essential for a successful outcome. Here are some dos and don’ts to keep in mind:
Dos:
-
Choose the Right Caulk: Select the appropriate type of caulk for your project, taking into consideration whether it will be used indoors or outdoors, and its compatibility with different materials.
-
Prepare Properly: Clean and dry the surface before applying caulk to ensure optimal adhesion.
-
Apply Evenly: Use steady pressure to create a uniform bead of caulk along the joint, ensuring complete coverage.
-
Smooth Out: After applying the caulk, use a damp rag or tool to smooth out the bead for a professional finish.
Don’ts:
-
Fill Large Gaps: Caulk is not meant to fill large gaps, so be sure to address any significant openings with appropriate materials before caulking.
-
Caulk Over Moving Parts: Avoid applying caulk to areas where windows move to prevent obstruction.
-
Overapply: Resist the urge to use too much caulk, as excess material can lead to messy applications and potential issues.
-
Use One Hand: Always support the caulk gun with both hands to maintain control and accuracy during application.
Types of Window Caulk
Choosing the right type of caulk is as crucial as knowing where to apply it. Different caulk formulations are suitable for various applications, so it’s essential to select the right product for your windows. Here are two common types of caulk used for window sealing:
Polyurethane Caulk:
- Best for Exterior: Polyurethane caulk is ideal for sealing around the exterior of windows due to its durability and versatility.
Siliconized Latex Caulk:
- For Interior Use: Siliconized latex caulk is suitable for sealing the interior side of windows, offering good water resistance and paintability.
How to Choose the Right Caulk for Windows
When selecting caulk for your window project, consider the following tips to ensure optimal results:
-
Read the Label: Carefully read the manufacturer’s instructions on the caulk label to verify its suitability for your intended use.
-
UV Protection: If using polyurethane caulk outdoors, ensure it is coated with UV-resistant paint to prevent degradation from sun exposure.
By following these guidelines and understanding where not to caulk around windows, you can achieve a professional finish while protecting your home from potential water damage. Remember, proper caulking can enhance the energy efficiency and structural integrity of your windows, making it a worthwhile investment in your home’s maintenance and comfort.

