Mastering the Art of Removing Painter’s Tape

Whether you’re a seasoned DIYer or just starting with your home improvement projects, using painter’s tape correctly can make a huge difference in the final outcome of your paint job. In this comprehensive guide, we’ll delve into the ins and outs of painter’s tape, from how it works to when and how to remove it for the best results.
Understanding Painter’s Tape
Painter’s tape is a versatile tool that helps you achieve clean lines when painting near edges or delicate surfaces. Originally created as a masking tape for the automotive industry in 1925, it has since become a staple in households for all kinds of painting projects. While standard masking tape can sometimes peel away dried paint when removed, modern painter’s tapes are designed with gentle adhesives that won’t damage your paint job.
The Right Time to Remove Painter’s Tape
One of the most common mistakes people make when using painter’s tape is removing it too soon. To ensure that you get those sharp lines without any mishaps, always wait until the paint is fully dried and cured before peeling off the tape. This means the paint should be dry from top to bottom, not just dry to the touch. Removing the tape too early can result in smeared paint or even damage to your carefully painted surface.
How to Apply Painter’s Tape Like a Pro
Properly prepping the area and following the correct installation instructions are crucial for getting the best results with painter’s tape. Before applying the tape, make sure the surface is clean and dry to ensure the tape adheres properly. Then, carefully apply the tape along the edges you want to protect, pressing it down firmly to prevent any seepage of paint underneath.
Tips for Removing Painter’s Tape
If you’ve ever experienced the frustration of painter’s tape pulling away dried paint along with it, you’ll understand the importance of removing it correctly. Most painter’s tapes come with specific instructions on when to remove them, typically within a specified period like “14-day removal.” This means you can safely remove the tape within that timeframe without leaving behind any residue.
When it comes time to remove the tape, follow these steps for the best results:
– Start at one end of the tape.
– Pull the tape back on itself in a slow, steady motion.
– Make sure to maintain a 45- to 90-degree angle to the painted surface.
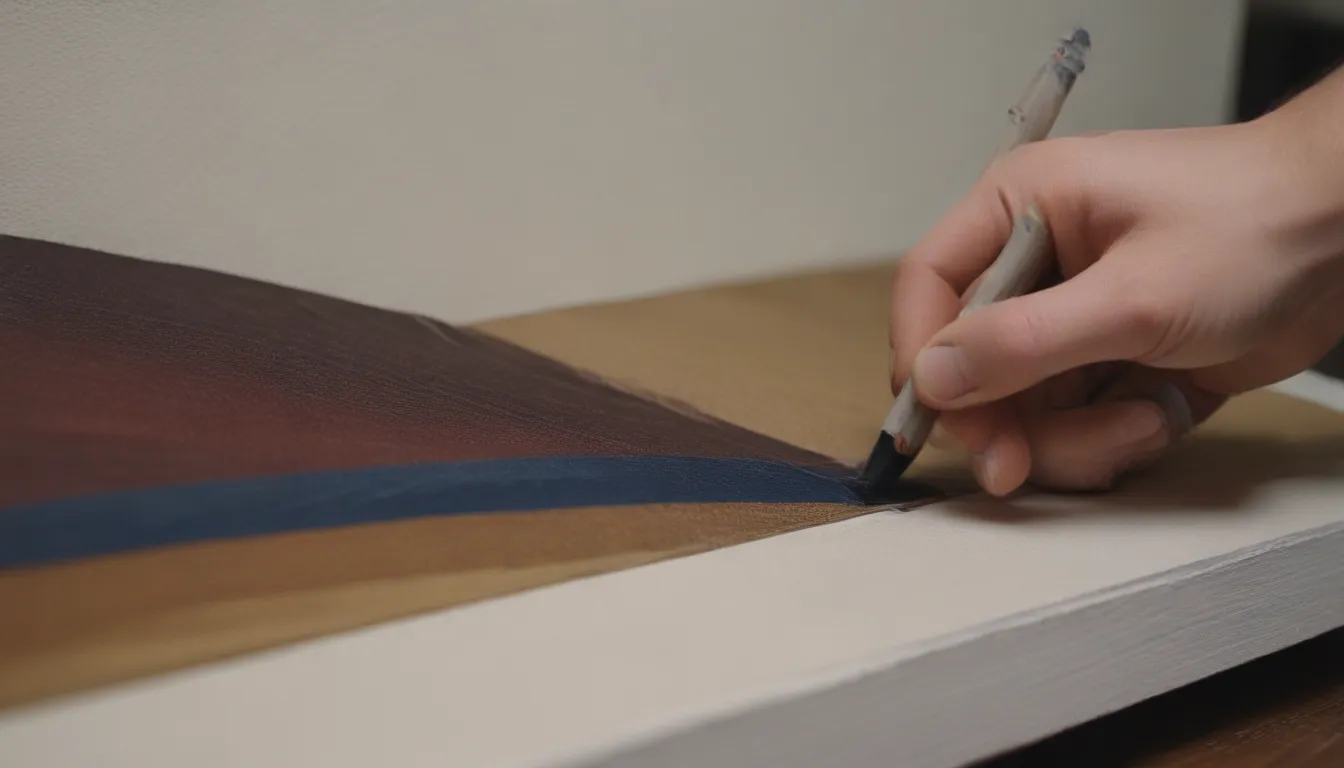
– If the tape tears or doesn’t come off smoothly, use a sharp utility knife or X-Acto blade to slice the paint and remove the tape without damaging your paint job.
Additional Tips and Tricks
To take your painter’s tape game to the next level, consider these additional tips and tricks for achieving a flawless finish:
1. Always remove tape at a 45-degree angle to prevent tearing.
2. Use a hairdryer on low heat to soften the adhesive for easier removal.
3. Test a small area first to ensure the tape is not leaving behind any residue.
4. For delicate surfaces, consider using delicate surface painter’s tape for easy removal without any damage.
By following these guidelines and taking your time when applying and removing painter’s tape, you can achieve professional-looking results without the hassle. Remember, patience is key when it comes to using painter’s tape effectively, so don’t rush the process. You’ll be rewarded with crisp, clean lines that will elevate the look of your paint job.


