Everything You Need to Know About Pony Walls: A Complete Guide

Pony walls, also known as half walls, are versatile design elements that can add character and functionality to any living space. In this comprehensive guide, we will delve into the world of pony walls, including what they are, where they are commonly used, and how to build your very own DIY pony wall. Whether you’re looking to add a stylish room divider or need extra support for countertops or railings, pony walls can be a great solution to your architectural needs.
Understanding Pony Walls
What is a Pony Wall?
A pony wall is a partial wall that stops short of the ceiling, typically around halfway or less, depending on the height of the ceiling and the intended purpose of the wall. These walls are framed and finished much like standard-height walls but may require additional reinforcement to ensure stability and prevent wobbling.
Where and Why Pony Walls Are Installed
Pony walls can be found in various areas of a home, serving different purposes:
- Room dividers
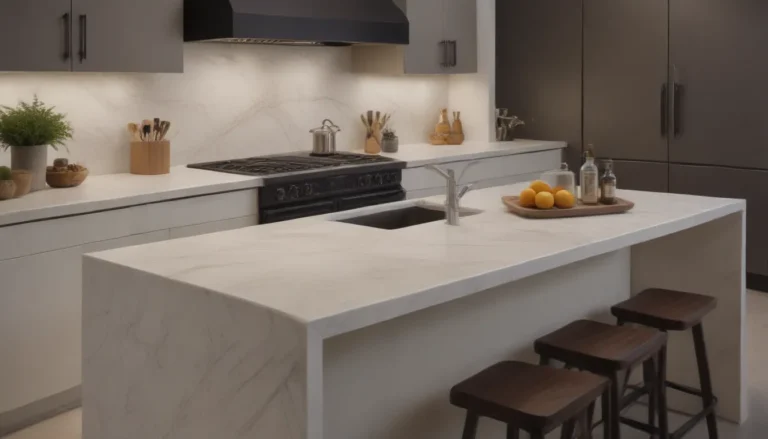
- Countertop supports
- Railing supports
- And more
Load-Bearing vs. Non-Load-Bearing Pony Walls
Load-Bearing:
Most true pony walls are non-load-bearing, meaning they do not support the weight of the structure above. Load-bearing short walls are often referred to as knee walls or cripple walls. It’s crucial to differentiate between these types of walls to ensure proper construction and safety.
Interior Pony Walls:
Interior pony walls are typically non-load-bearing and are commonly used for room dividers or as support for various features. These walls must be robust enough to withstand daily wear and tear, even if they are not supporting structural loads. Contractors may implement strategies to prevent pony wall wobbling, such as extending the final stud through the floor and bolting it to the joist.
Before You Begin Your DIY Pony Wall Project
Before embarking on a DIY pony wall project, it’s essential to plan meticulously to ensure a successful outcome. Consider the following:
- Check the alignment of floor joists
- Determine if the existing wall is load-bearing
- Add supplemental support if needed
How to Build a DIY Pony Wall
Follow these steps to construct a simple partition pony wall running perpendicular to the floor joists:
- Measure and Mark the Subfloor: Determine the placement of the pony wall and mark the positioning on the subfloor for accuracy.
- Obtain Final Measurements: Measure the final length of the pony wall from the wall to the marked spot on the floor.
- Cut the Lumber: Cut the top and bottom horizontal plates to the desired length, accounting for any additional height requirements.
- Frame Up the Pony Wall: Assemble the pony wall by connecting the plates with studs spaced every 16 inches.
- Install the Pony Wall: Secure the pony wall to the wall framing and floor joists.
- Attach the Final Stud: Add a final stud to the end of the wall to prevent wobbling, reinforcing stability.
- Finishing Touches: Complete the pony wall by installing drywall and painting for a polished look.
Tips and Tricks
- Strengthen a pony wall’s free end by adding a perpendicular wall to create an “L” shape for added stability.
- Consider incorporating pony walls around balconies or stairways for safety and aesthetic purposes.
In conclusion, pony walls are a versatile and practical addition to any living space. Whether you’re looking to create a stylish divider or provide support for various features, pony walls offer a simple yet effective solution. By following these guidelines and tips, you can confidently build your own DIY pony wall and enhance the design and functionality of your home.


