How to Master the Art of Using a Brad Nailer

If you’re a carpenter, woodworker, or crafter, you’re likely familiar with the various automatic nailing tools available in the market. From staple guns to pneumatic guns for home construction, there’s a tool for every job. One such tool that falls on the smaller end of this spectrum is the brad nailer.
A brad nailer is designed to handle brads, which are small finish nails perfect for crafting projects and light trim carpentry work. These nailers can be used for nailing up decorative moldings or constructing picture frames. They are larger than powered staple guns but smaller than finish nailers, making them versatile tools in any workshop.
What Is a Brad Nailer?
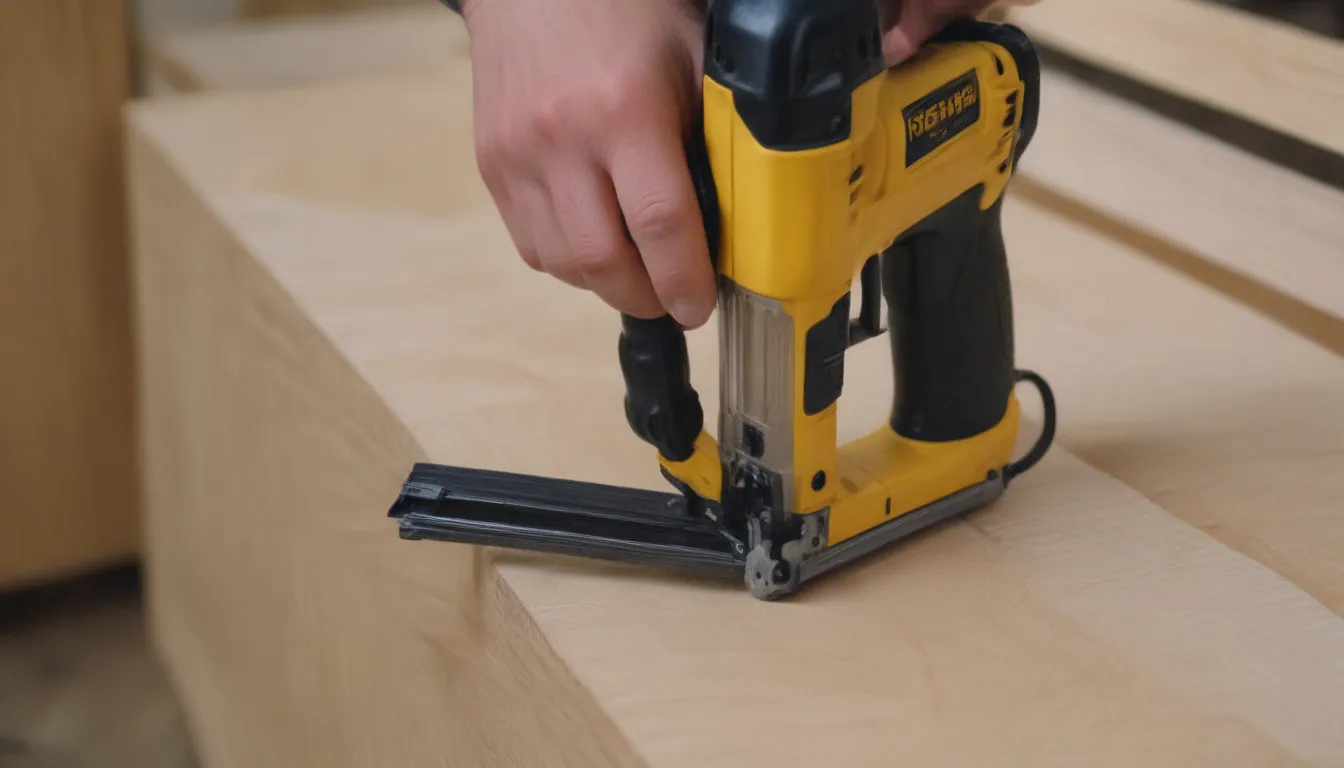
A brad nailer is a power tool that utilizes compressed air to drive small finish-type nails called brads into wood workpieces. Crafters, woodworkers, and finish carpenters often use these tools for detailed work due to their precision and ease of use.
Brad Nailer vs. Finish Nailer
- Brad Nailer
- Uses 18-gauge brads, 5/8 to 2 inches long
- Can cost as much as $200 for battery-operated types
-
Good for small moldings and craft work
-
Finish Nailer
- Uses 15- or 16-gauge finish nails, 1 1/4 to 2 1/2 inches long
- Can cost $300 or more for battery-operated types
- Excellent for case moldings and baseboards
The key difference between a brad nailer and a finish nailer lies in the size of the nails they can accommodate. While brad nailers are ideal for smaller, detailed work, finish nailers are more suitable for heavy-duty tasks.
Parts of a Brad Nailer
Before mastering the art of using a brad nailer, it’s essential to familiarize yourself with its various parts:
– The body
– The handle
– The battery
– The trigger
– The magazine
– The power tip and nail discharge opening
– The front body
– Controls
– An anti-jam lever
Additionally, depending on the manufacturer and design, your brad nailer may have other features such as a work light, a belt hook, or a low-nail indicator window.
What Brads to Use
Most brad nailers can accommodate wire brads ranging from 5/8 to about 2 inches long. The ideal brad length may vary based on the type of wood being attached, but a general rule of thumb is to use brads that are about 3 times longer than the thickness of the workpiece.
Safety Considerations
While brad nailers are generally safe tools, accidents can still occur. To ensure your safety:
– Always point the tool away from you when making depth adjustments.
– Remove the battery (if present) and discharge any compressed air before reloading the magazine.
– Ensure both the handle trigger and the power tip are depressed when firing the nailer.
How to Use a Brad Nailer
Load the Nailer
To load your brad nailer:
– Unlock the drawbar from the back of the magazine and pull it back.
– Lay the brad strip into the magazine and push the drawbar back into place.
– Ensure the brads are loaded in long lengths with the adhesive still holding them together for smoother feeding.
Set the Depth Controls
Most brad nailers have depth control features including an air pressure dial and a depth gauge. Start by setting both controls to the midpoint between their high and low settings, then fine-tune as needed.
Test on Scrap Material
Before beginning your project, fire a few nails into scrap wood to adjust the depth controls and ensure optimal performance.
Position the Nailer
Position the nailer against the workpiece, keeping in mind that the brad will fire slightly ahead of the contact point. Ensure the contact point is depressed before firing the nailer.
Drive the Brad
Press the tool tip firmly against the workpiece, squeeze the trigger, and observe the results. The desired depth of the brad can vary depending on the project, so adjust as needed for a professional finish.
Buying vs. Renting
Brad nailers are relatively affordable tools, with costs ranging from about $30 for a corded electrical model to $200 for a cordless nailer. Pneumatic nailers are even less expensive if you already have an air compressor. Leasing a brad nailer for a one-off project is also an option, with rentals typically costing around $40 per day.
Keeping Your Brad Nailer in Top Condition
Maintaining your brad nailer is key to ensuring its longevity:
– Wipe the tool clean after each use and store it in a dry location.
– Store the tool with the magazine empty of nails.
– If corrosion develops on metal parts, wipe them down with light machine oil.
– For battery-powered tools, start each work session with a fully charged battery.
When to Replace Your Brad Nailer
With proper care, a brad nailer can last for decades. However, if the tool shows signs of wear or no longer drives nails correctly, it may be time for a replacement. Consult a tool repair specialist for inspections and replacements if needed.
Mastering the art of using a brad nailer can significantly enhance your woodworking and crafting projects. With practice and diligence in maintenance, your brad nailer will become an invaluable tool in your workshop for years to come. Happy nailing!


