Mastering Screen Repairs: A Comprehensive Guide to Using a Spline Roller

Are you tired of dealing with damaged screens on your doors or windows? Do you want to learn how to tackle screen repairs like a pro? Look no further! In this in-depth guide, we will teach you everything you need to know about using a spline roller to install or repair screens with ease. Whether you’re a beginner or a seasoned DIY enthusiast, this article is packed with valuable information that will help you tackle screen repairs like a pro. So grab your spline roller and let’s get started!
What Exactly is a Spline Roller?
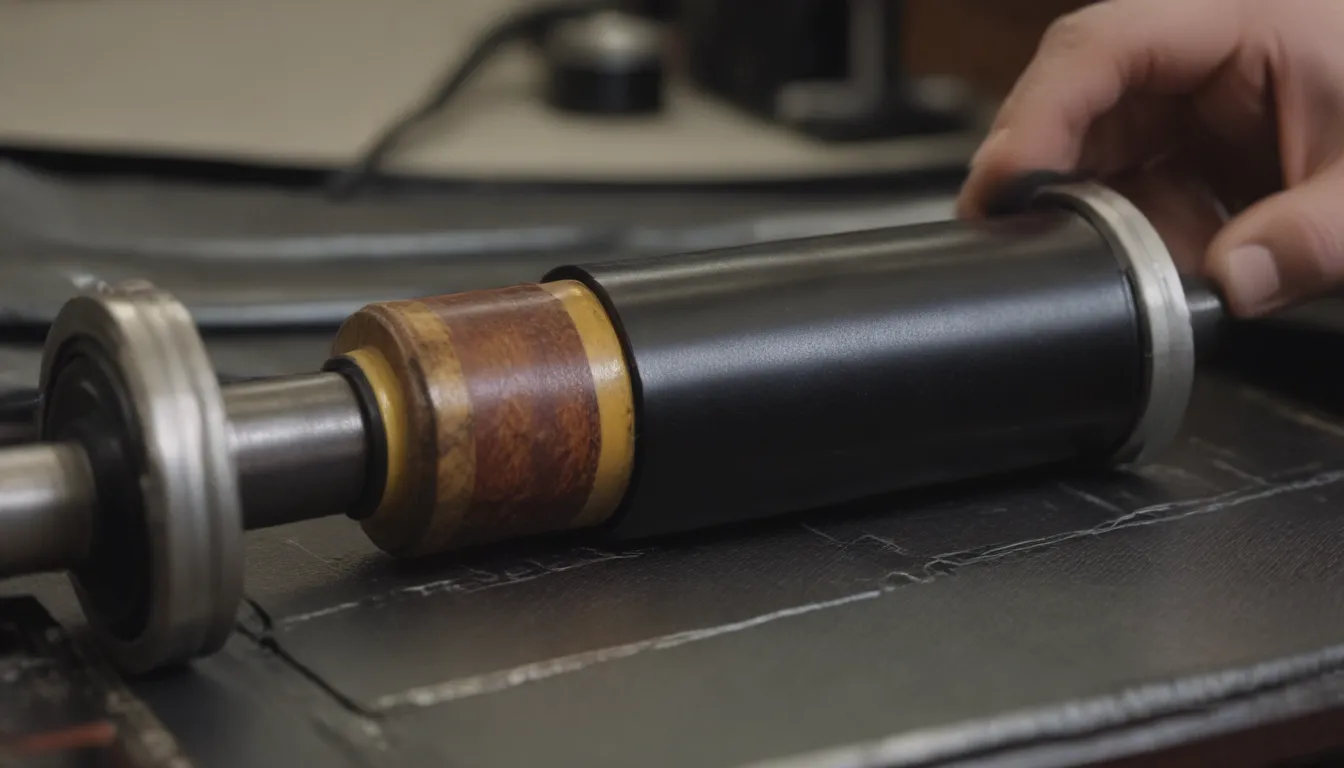
Before we dive into the nitty-gritty of using a spline roller, let’s talk about what this handy tool actually is. A spline roller is a specialized tool used for screen installation. It consists of a wooden handle with a metal wheel on each end. These wheels may look identical at first glance, but upon closer inspection, you’ll notice that one wheel has a thin edge grooved outward (convex wheel) while the other has an inward-grooved edge (concave wheel).
The convex wheel is used for installing metal screens, allowing you to pre-shape the screen inside the channel of the screen frame before installing the spline. On the other hand, the concave wheel is used to press the spline – along with the screen – into the channel.
Parts of a Spline Roller
A standard spline roller consists of the following parts:
– Wooden handle
– Convex wheel
– Concave wheel
Remember, choosing the right size of spline is crucial for a successful screen installation. Spline comes in various diameters, so make sure to select the correct size based on the type of screen you are working with. If in doubt, always bring a piece of your old spline to the hardware store to ensure you get the right size.
How to Use a Spline Roller: Step-by-Step Guide
Now that you have a basic understanding of what a spline roller is, let’s dive into the step-by-step process of using one to repair or install screens on your doors or windows. Follow these simple instructions to achieve a professional-looking result:
Step 1: Preparing the Screen
- If you’re working on a sliding door, remove the screen door first.
- Cut the new screen to size, leaving a few extra inches on all sides.
Step 2: Installing Metal Screens
- Lay your metal screen over the frame and use the convex wheel of the spline roller to press it into the channel. This step is optional for fiberglass screens.
Step 3: Installing the Spline
- Lay the screen over the frame and start by pressing one corner of the spline into the channel using the concave (inward-grooved) wheel of the spline roller.
- Do not cut the spline to fit each side; use the entire length and trim the excess later.
Step 4: Rolling the Spline
- Move the roller along the spline, pushing the screen and spline into the frame channel.
- Use short strokes and avoid going back and forth.
Step 5: Handling Corners
- Bend the spline around corners and use a small screwdriver to press it into place if needed. Avoid cutting the screen with the screwdriver.
Step 6: Finishing Touches
- Continue around the frame in one direction until all sides are complete.
- Trim any excess spline and screen, making sure they are flush with the frame.
Step 7: Maintenance
- To keep your spline roller in top condition, clean off any buildup on the wheels with water or a degreaser like WD-40. Dry metal wheels to prevent rust.
Advantages of Using a Spline Roller
Now that you know how to use a spline roller effectively, let’s talk about the advantages of using this handy tool for screen repairs:
– Makes screen installations easier and more efficient.
– Ensures the screen is securely and evenly held in place.
– Helps achieve a professional-looking finish.
– Suitable for repairing metal-frame screens, screen doors, and window screens.
Common Mistakes to Avoid
While using a spline roller is relatively straightforward, there are some common mistakes you should avoid to ensure a successful screen repair job:
– Cutting the spline too short.
– Pulling the screen too tight.
– Using the wrong size or type of spline.
– Not pre-fitting the screen properly before installing the spline.
When to Replace Your Spline Roller
Just like any other tool, spline rollers can wear out over time. If you notice cracked or damaged wheels on your spline roller, it’s time to replace it. Thankfully, spline rollers are affordable and readily available at most hardware stores.
In Conclusion
Congratulations! You’ve mastered the art of using a spline roller for screen repairs. Whether you’re dealing with a torn screen on your window or a damaged screen door, you now have the knowledge and skills to tackle the job with confidence. Remember to choose the right size of spline, follow the step-by-step guide, and avoid common mistakes for a flawless finish. With your trusty spline roller in hand, you’ll be a screen repair expert in no time! Happy repairing!


