The Complete Guide to Dividing and Transplanting Daylilies

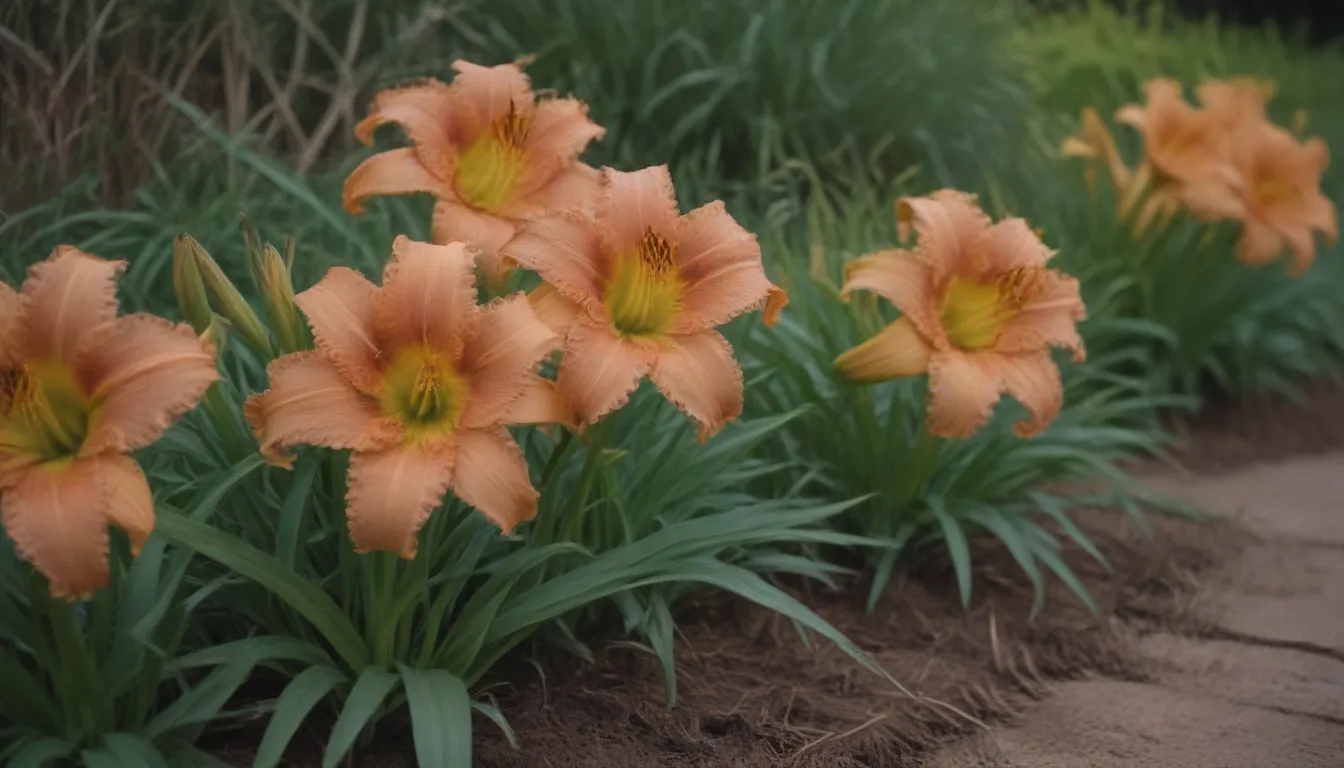
Daylilies are truly the unsung heroes of the garden world. These perennial beauties not only boast vibrant blooms that last for weeks on end, but they are also incredibly low-maintenance and hardy. If you’re looking to add some color and life to your garden without the hassle, daylilies are the way to go. Plus, they are perfect candidates for dividing and transplanting, making them a versatile addition to any garden.
Why Divide and Transplant Daylilies?
Watching your daylilies grow and flourish year after year is a rewarding experience. However, as they mature, they can become overcrowded, hindering their growth and blooming potential. Dividing and transplanting your daylilies not only revitalizes the plants but also allows you to expand your garden and share your beloved flowers with others. Here are some reasons why dividing and transplanting daylilies is beneficial:
- Increase Blooming: Dividing your daylilies allows each plant to receive more nutrients and sunlight, resulting in more blooms the following season.
- Rejuvenation: Over time, daylilies can become overcrowded, leading to smaller blooms and fewer flowers. Dividing them helps rejuvenate the plants and promote healthier growth.
- Optimal Growing Conditions: Transplanting daylilies to a new location gives you the opportunity to plant them in a spot with better sunlight or soil conditions, ensuring they thrive.
- Sharing: Daylilies are a popular choice among gardeners, and sharing divisions with friends and family is a great way to spread the beauty of these plants without breaking the bank.
When to Transplant Daylilies
Timing is crucial when it comes to transplanting daylilies. In general, the best time to divide and transplant daylilies is in the spring when the shoots are just beginning to emerge. Cooler temperatures and spring rains help the plants recover from the stress of transplanting. However, gardeners in warmer climates (USDA zones 8 and higher) can also transplant daylilies in the fall, towards the end of September, when the intense heat of summer has subsided.
How to Dig and Divide
Before you start dividing your daylilies, it’s essential to choose a new planting site that provides optimal growing conditions for these sun-loving plants. Once you have prepared the new location, follow these steps to dig and divide your daylilies:
- Prepare the Soil: Daylilies thrive in well-draining soil with plenty of sunlight. Mix compost into the soil and loosen it to a depth of 12 inches.
- Dig Around the Clump: Carefully dig around the established daylily clump and lift the plant from the ground.
- Divide the Clump: Examine the clump to determine where to make divisions. Use a sharp garden knife to slice through the fleshy root system and create smaller plants.
- Replant the Division: Dig a hole slightly larger than the root ball of the division, arrange the roots over a mound of soil in the center of the hole, and fill in with soil. Water thoroughly to help the plant establish.
Caring for Daylilies After Transplanting
After transplanting your daylily divisions, it’s crucial to provide them with proper care to ensure they thrive in their new environment. Here are some tips for caring for your transplanted daylilies:
- Consistent Watering: Daylilies need regular watering, especially after transplanting. Water at the base of the plants to prevent fungal diseases and encourage healthy root growth.
- Fertilization: Use a balanced liquid or granular fertilizer about two weeks after transplanting to support new growth.
- Weed Control: Keep your daylily beds free of weeds through hand-pulling, hoeing, and mulching. This helps prevent competition for nutrients and water.
- Pest Control: Regularly inspect your daylilies for pests like slugs and thrips and take appropriate measures to control them.
With proper care and attention, your newly transplanted daylilies will soon be thriving, producing lush foliage and vibrant blooms. By following these steps, you can ensure a successful transition for your beloved daylilies and enjoy their beauty for years to come. Happy gardening!


