Mastering the Art of Hammering Nails: A Comprehensive Guide

Hammering nails may seem like a straightforward task that anyone can do, but the truth is, there is a technique to it that can make all the difference in the outcome of your project. Whether you are hanging up picture frames or building a deck, having the right hammer and knowing how to use it properly is essential. In this guide, we will walk you through everything you need to know about hammering nails like a pro.
Choosing the Right Hammer
When it comes to hammers, one size does not fit all. There are many types of hammers designed for different purposes, so it’s important to choose the right one for the job. While a 16-ounce curved-claw hammer is a versatile choice for most homeowners, there are other specialty hammers to consider as well. These include tack hammers, ball peen hammers, mason hammers, mallets, drywall hammers, and club hammers or sledgehammers. Each type of hammer serves a specific purpose, so it’s important to select the one that best suits your needs.
Tips for Effective Hammering
Wear Eye Protection
One of the most overlooked safety precautions when hammering nails is wearing eye protection. Nails can easily deflect and fly towards your face, posing a serious risk to your eyes. Investing in a pair of lightweight, inexpensive eye protectors is a simple yet crucial step to take before starting any hammering project.
Hold the Hammer Correctly
Proper grip is key to effective hammering. Avoid “choking up” on the hammer and instead hold it near the end of the handle for better control. A well-balanced hammer with a widened handle end will help you maintain a solid grip while swinging.
Hold the Nail Properly
When starting a nail, hold it near the top rather than at the bottom against the wood. This prevents your fingers from getting crushed by the hammerhead in case you miss the nail head.
Swing Correctly and Hit the Nail
Achieving a square hit on the nail head is essential for successful hammering. Focus on using elbow and shoulder action rather than excessive wrist bending to deliver smooth, well-placed blows. Professional carpenters rely on the momentum of the hammer’s head for force, while novices tend to overuse wrist strength, leading to inaccuracy and strain.
Blunt the Tip of Your Nail
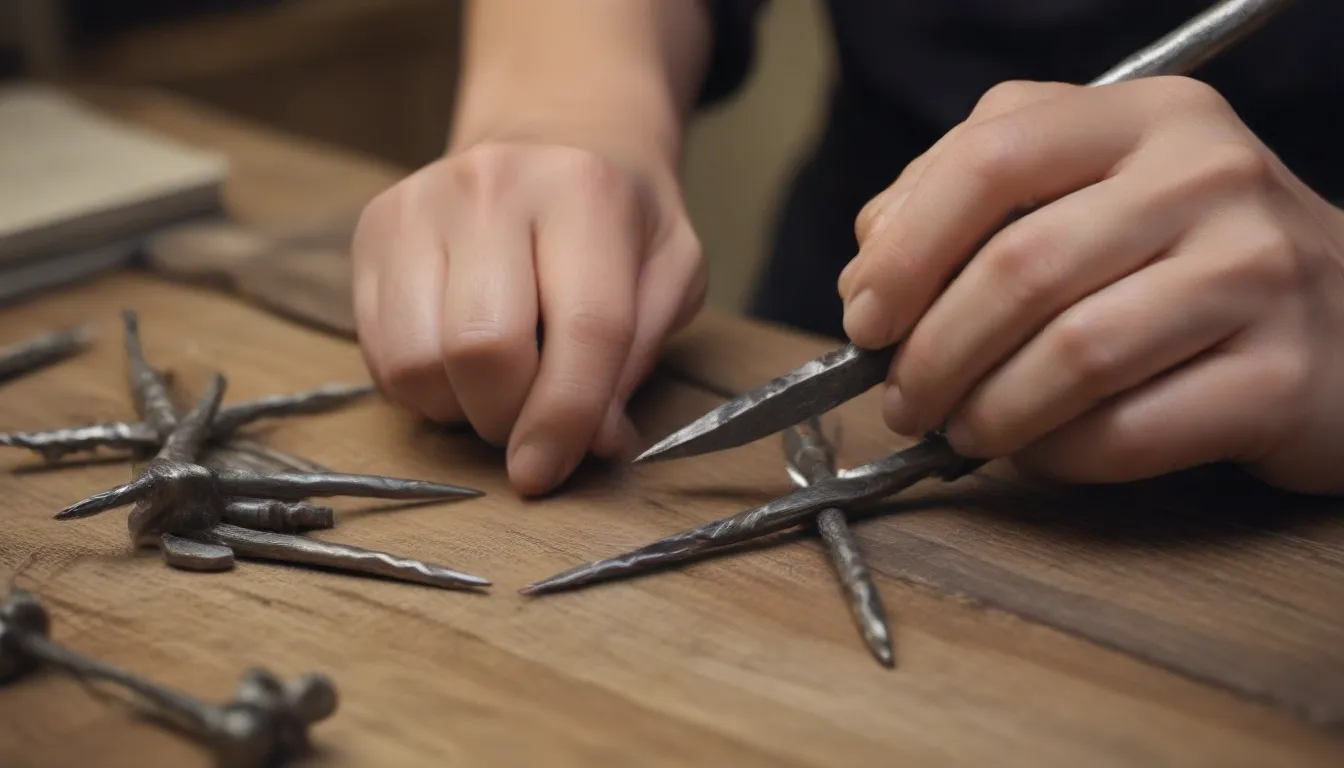
To avoid splitting wood when driving nails, try blunting the tip of the nail before hammering it in. This technique helps sever wood fibers rather than bending them, reducing the risk of wood splitting.
Drill Pilot Holes
For dense hardwoods or to prevent splitting, consider drilling pilot holes before hammering in nails. This technique involves using a slightly smaller diameter bit than the nail shank to create a guide hole for easier nail insertion.
Make the Last Blow Count
The final blow of the hammer is crucial for driving the nail head flush or slightly below the wood surface. A well-timed strike will countersink the nail without marring the wood, saving you the extra step of using a nail set tool.
In conclusion, mastering the art of hammering nails is not just about brute force but also about technique and precision. By following these tips and choosing the right hammer for the job, you can achieve professional results in your woodworking projects. So the next time you pick up a hammer, remember these tips to hammer like a pro!


