Understanding Drywall Finishing Levels: A Comprehensive Guide
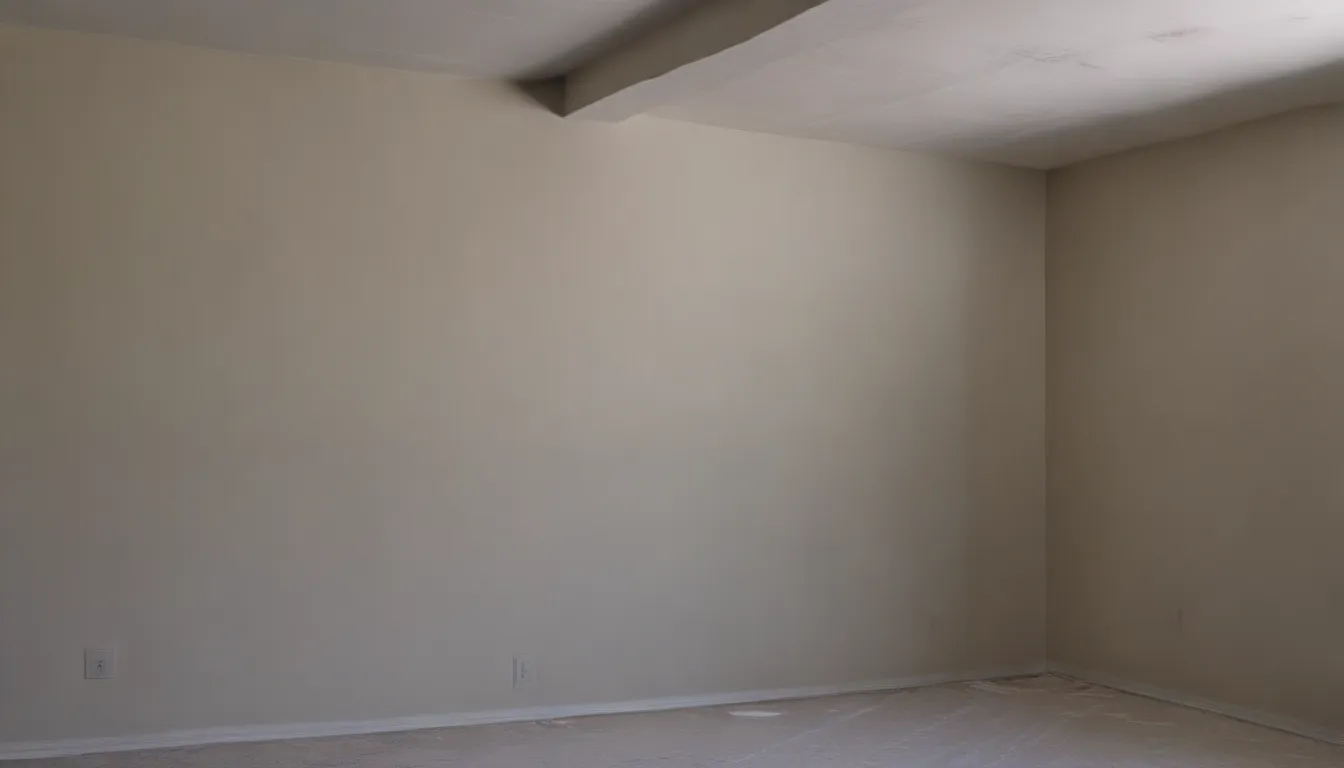
Welcome to our in-depth guide on drywall finishing levels! When it comes to installing drywall, the finishing stage is where the true craftsmanship comes into play. Whether you are a seasoned professional or a DIY enthusiast, understanding the five drywall finishing levels is crucial in achieving a flawless end result. Let’s dive into the world of drywall finishing and explore the different levels from basic to professional.
What Are Drywall Finish Levels?
The Gypsum Association, along with drywall professionals, has established a set of standards that categorize the process of finishing drywall into five distinct levels. These levels range from the basic Level 0, where the drywall boards are simply hung, to the professional Level 5, which results in a mirror-smooth surface. By familiarizing yourself with these levels, you can ensure that your drywall finish meets your desired outcome.
Tip: Communicating With Your Contractor
When discussing drywall finishing levels with your contractor, keep in mind that these numeric levels may not be widely used in everyday conversation. Instead of citing specific levels, focus on describing the desired effect you want to achieve. This will help your contractor understand your vision and effectively communicate it to the drywall crew.
Exploring the Drywall Finish Levels
Let’s take a closer look at each of the five drywall finishing levels and what they entail:
- Drywall Finish Level 0: At this level, no drywall finishing has been done, and the boards are simply fastened to the walls or ceiling.
- Drywall Finish Level 1: In Level 1, drywall joint tape is embedded in the joint compound at the seams, with no further finishing done.
- Drywall Finish Level 2: Level 2 involves skimming a thin coat of joint compound over the tape and covering the screw holes. This level is suitable for areas intended for tile or garage use.
- Drywall Finish Level 3: Finishers apply a coat of joint compound to the tape and screws at Level 3. This level is ideal for walls that will receive heavy textures like knockdown texture.
- Drywall Finish Level 4: Level 4 is the classic drywall finish, where an additional coat of joint compound is applied, and the surface is sanded. This level is commonly used for painted surfaces or wallpaper.
- Drywall Finish Level 5: The highest level of drywall finishing, Level 5 involves applying a skim coat of joint compound to achieve a mirror-smooth surface. This level is recommended for glossy paint finishes or areas with angled lighting that may highlight imperfections.
Applying a Skim Coat: Tips and Techniques
When aiming for a Level 5 finish, applying a skim coat is essential. There are three common methods for applying a skim coat:
- Roller: Using a paint roller to apply a thin, even coat of joint compound.
- Taping Knife: Using a taping knife to spread the joint compound evenly over the surface.
- Spray Finish: Using a spray gun to achieve a smooth, consistent finish.
Drywall Finishing Level Considerations
While achieving a mirror-smooth finish on every inch of drywall may be ideal, practical considerations come into play. Factors such as cost, time, and the intended use of the space will influence the level of drywall finish that is appropriate. Consider the following:
- Garages and Workshops: Areas used for storage or workshops may not require a high level of finish.
- Wainscot-Hidden Wall Surfaces: Areas where the walls will be covered with wainscoting may require a lower level of finish.
- Cabinet-Hidden Walls: Walls that will be hidden behind cabinets may not need a professional-level finish.
- Ceilings: The level of finish for ceilings may vary depending on the lighting and overall design of the space.
In conclusion, understanding the different drywall finishing levels is essential in achieving a professional and polished look for your walls and ceilings. Whether you are tackling a DIY project or working with a contractor, knowing the nuances of each level will help you communicate your desired outcome effectively. By following these guidelines and tips, you can ensure a successful drywall finishing project that meets your expectations. Happy finishing!
