Mastering Electrical Box Installation: A Comprehensive Guide for DIY Enthusiasts
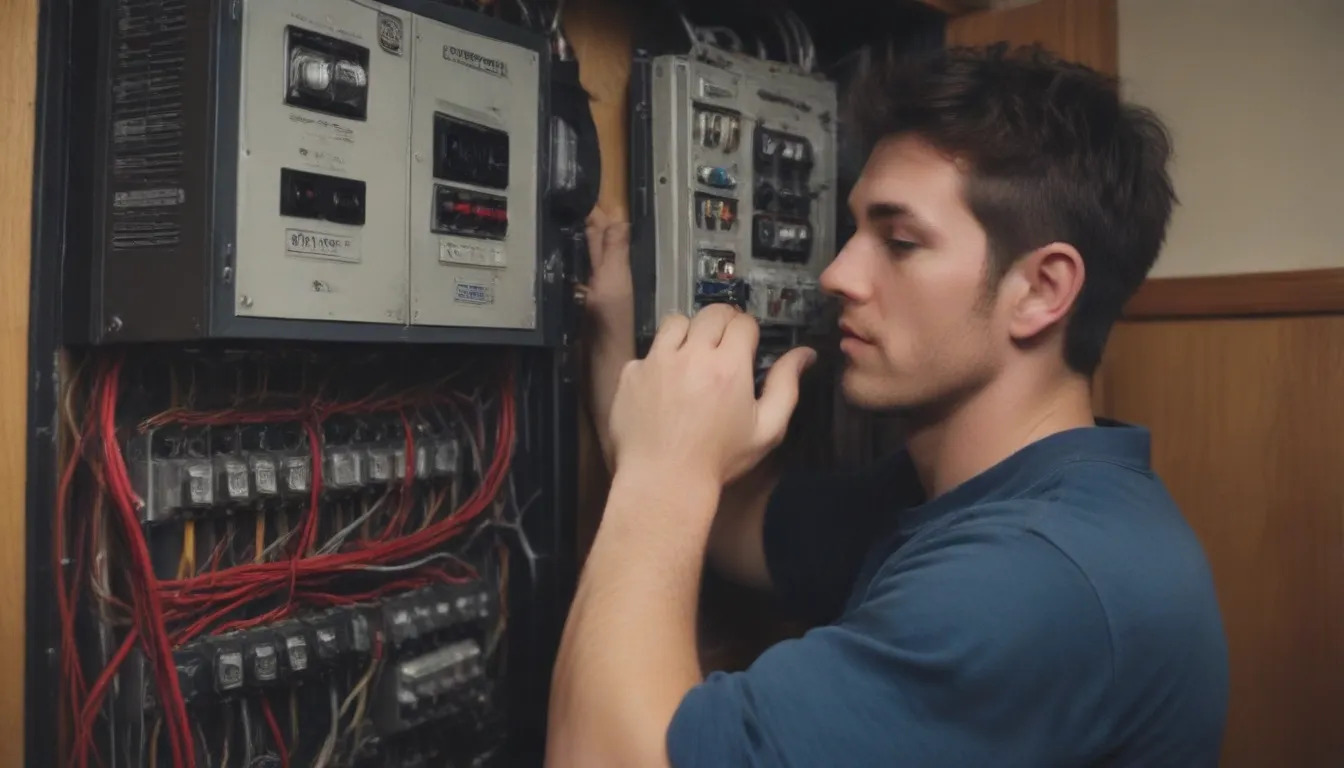
When it comes to electrical work, installing electrical boxes is one of the fundamental tasks that every DIY enthusiast should master. While it may seem like a simple job, there are common mistakes that can compromise the safety and quality of your electrical installation. Follow these 7 expert tips to ensure your electrical box installation is professional, code-compliant, and visually appealing.
1. Mount Electrical Box Between Studs If Necessary
- Electrical boxes are typically mounted to the sides of studs for stability. However, if you cannot find a suitable mounting point against the studs, consider using old-work electrical boxes.
- Old-work boxes attach directly to the drywall, allowing you to position the box between studs by cutting a hole in the drywall and securing the box with screws.
- While not as strong as stud-mounted boxes, old-work boxes provide a solution when you need to install a box between studs.
2. Install Wall Boxes at Uniform Heights
- For a professional finish, ensure that all wall switches and outlet boxes are installed at uniform heights throughout your home.
- Wall switches are commonly installed about 48 inches above the floor, but this height can vary depending on your preference or accessibility requirements.
- Outlet boxes over flooring should be positioned between 12 and 16 inches above the floor, while those above countertops should be approximately 4 inches above the countertop surface.
3. Use a Drywall Reference Strip
- Attaching a strip of drywall to the front face of studs can serve as a guide for installing wall boxes at the correct depth.
- Keep reference strips of the appropriate thickness (1/2- or 3/8-inch for most residential drywall) on hand to ensure the boxes are flush with the finished drywall surface.
- Adjust the thickness of the reference strips if you are working with different wall thicknesses, such as 5/8-inch thick firewalls.
4. Use the Box’s Measuring Tab
- Plastic nail-in electrical boxes may feature measuring tabs along the sides that indicate how far the box should extend from the face of the studs.
- Use these measuring tabs to ensure the box is positioned correctly before securing it in place with mounting nails.
- Push out the nails on the box slightly by hand to help hold it in place as you drive the nails into the stud.
5. Hammer Box Nails Carefully
- Plastic electrical boxes are fragile, so use light, careful blows when hammering in the box nails.
- Keep your blows perpendicular to the stud to avoid pushing the box backward.
- Be extra cautious in cold weather, as low temperatures can cause plastic boxes to shatter or break when struck with a hammer.
6. Alternate Blows Between Nails
- To prevent the box from twisting or deflecting during installation, alternate between hammering in each nail about 1/4-inch at a time.
- Some electricians leave the mounting nails slightly protruding from the stud to facilitate easy removal of the box if needed.
- This technique ensures flexibility in layout changes before installing the NM cable.
7. Use Metal Boxes to Relieve Cord Strain
- While most household electrical boxes can accommodate lightweight cords, thicker and heavier cords may require the use of metal boxes to relieve strain on the outlet.
- Appliances like dryers and electric vehicle charging stations with thicker cords place a significant burden on the outlet and box.
- Opting for a metal box in these situations can provide added durability and prevent damage from continuous strain on the outlet.
In conclusion, mastering electrical box installation is essential for any DIY enthusiast looking to tackle electrical projects at home. By following these 7 expert tips, you can ensure that your electrical box installation is not only visually appealing but also meets code requirements and safety standards. Remember to work carefully, use the right tools, and prioritize precision to achieve professional results in your electrical rough-in work.
