Comprehensive Guide to Electric Water Heater Wiring
Are you considering replacing your electric water heater? Whether you are a DIY enthusiast or hiring a professional, it’s essential to understand the electrical requirements involved. In most areas, replacing an electric water heater requires a permit to ensure the installation meets safety standards and local code requirements. In this guide, we will provide an in-depth look at the electrical aspects of installing a standard tank-style electric water heater. Let’s dive into the details to ensure your new water heater is wired correctly and safely.
Before You Begin
Before you start working on the wiring of your electric water heater, it is crucial to turn off the power to the circuit supplying the water heater. This step is essential to prevent any accidents or electrical hazards during the installation process. Here’s how you can safely turn off the power:
- Locate the 30-amp, double-pole circuit breaker that serves the water heater in the breaker box.
- Switch off the breaker to ensure the circuit is deactivated.
- Use an electrical voltage tester to double-check that the circuit is off by testing at the water heater.
Taking the time to ensure the power is off will protect you from potential electric shocks while working on the wiring.
Locating and Inspecting the Electrical Connections
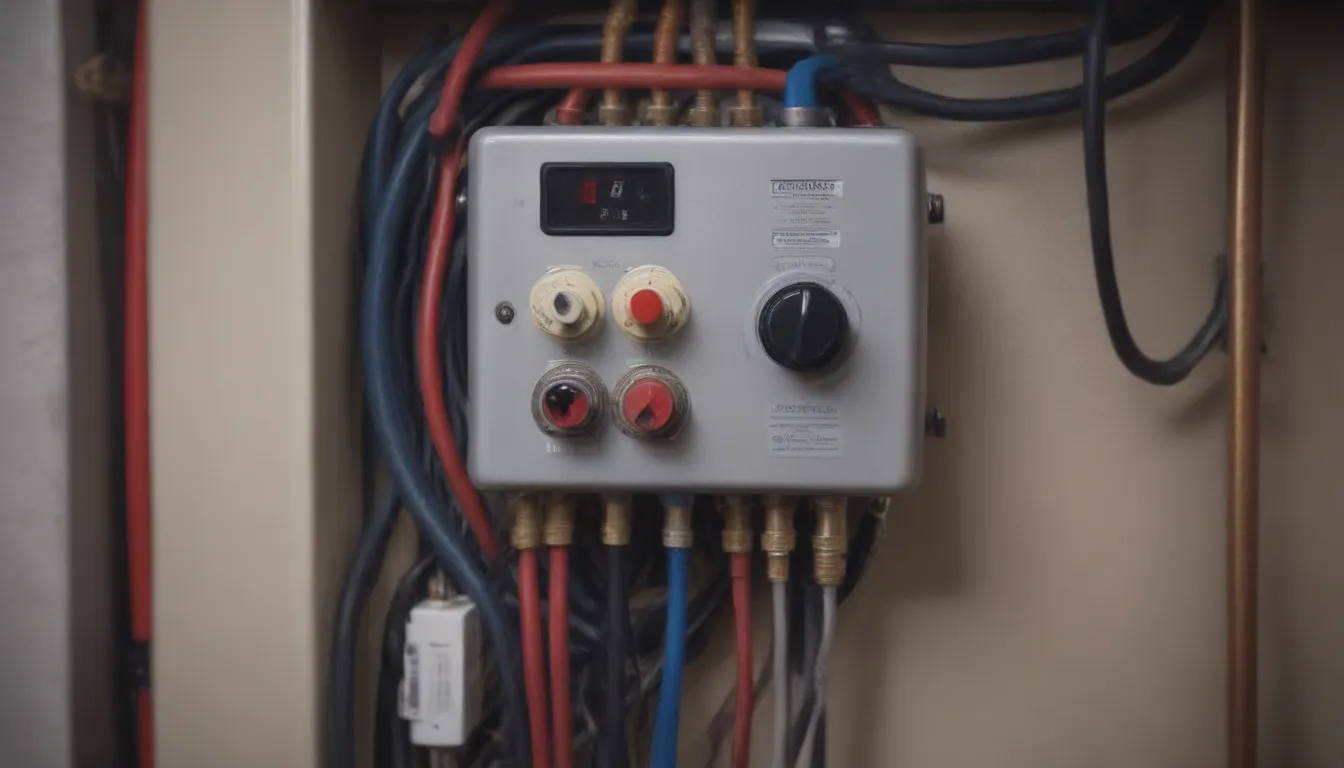
The electrical wire connections for an electric water heater are typically housed in a built-in junction box on top of the tank. To access the wires, you can remove the cover plate of the junction box. Inside, you will find wire conductors that are usually enclosed in flexible conduit or flexible metal cable, such as metal-clad (MC) cable. This flexibility in the wiring allows for easier replacement of the water heater and is often a requirement in earthquake-prone areas.
To test for power at the water heater, you can use a non-contact voltage tester next to the wire connections. If the circuit has been properly shut off, the tester will not light up, indicating that it is safe to proceed with the wiring.
Understanding the Water Heater Wiring
Electric water heaters require a dedicated 240-volt circuit that serves only the water heater and no other appliances. The circuit wiring typically includes a 30-amp double-pole breaker and 10-2 non-metallic (NM) or MC cable. Here’s how the wiring connections are typically made:
- The black circuit wire connects to the black wire lead on the water heater.
- The white circuit wire connects to the red or white wire lead on the water heater.
- The white circuit wire should be wrapped with black or red electrical tape near the connections to indicate it is a “hot” wire.
- The circuit ground wire connects to the green ground screw on the water heater or to the water heater’s ground lead.
Unlike standard 120-volt circuits, a 240-volt circuit carries live current in both the black and white wires. It’s essential to make these connections correctly to ensure the safe and efficient operation of your water heater.
Heating Element Wiring
Electric water heaters contain inner wiring that runs from the wire connection box down along the tank’s side to two different heating elements, each controlled by its thermostat. While you may not need to work on these connections during a simple replacement, it’s useful to understand how the heating elements and thermostats function. These components are accessed through panels mounted on the side of the water heater tank.
If you ever need to replace a thermostat or heating element on your water heater, you will need to deal with these specific wire connections. Understanding how they are wired can help you troubleshoot issues and make necessary repairs in the future.
The Importance of Bonding
Some building authorities may require a bonding wire, or bonding jumper, between the hot and cold water pipes serving the water heater. While not mandated by national codes, it may be necessary to comply with local regulations. The bonding jumper can help maintain a reliable bond in a metal water piping system and prevent corrosion in the tank caused by electrolysis.
If a bonding wire is needed, it typically consists of a 6 AWG bare copper wire connected to a ground clamp on both the hot and cold water pipes. Proper installation of the bonding wire ensures a continuous grounding pathway in the electrical system and helps protect the water heater from potential damage.
Conclusion
When replacing an electric water heater, it’s essential to understand the wiring requirements to ensure a safe and compliant installation. By following the guidelines outlined in this comprehensive guide, you can confidently tackle the electrical aspects of the installation process. Remember to always prioritize safety and consult with a professional if you encounter any challenges during the wiring process. With the right knowledge and precautions in place, you can enjoy hot water reliably and efficiently in your home.
