Interior Painting Tips for a Flawless Finish
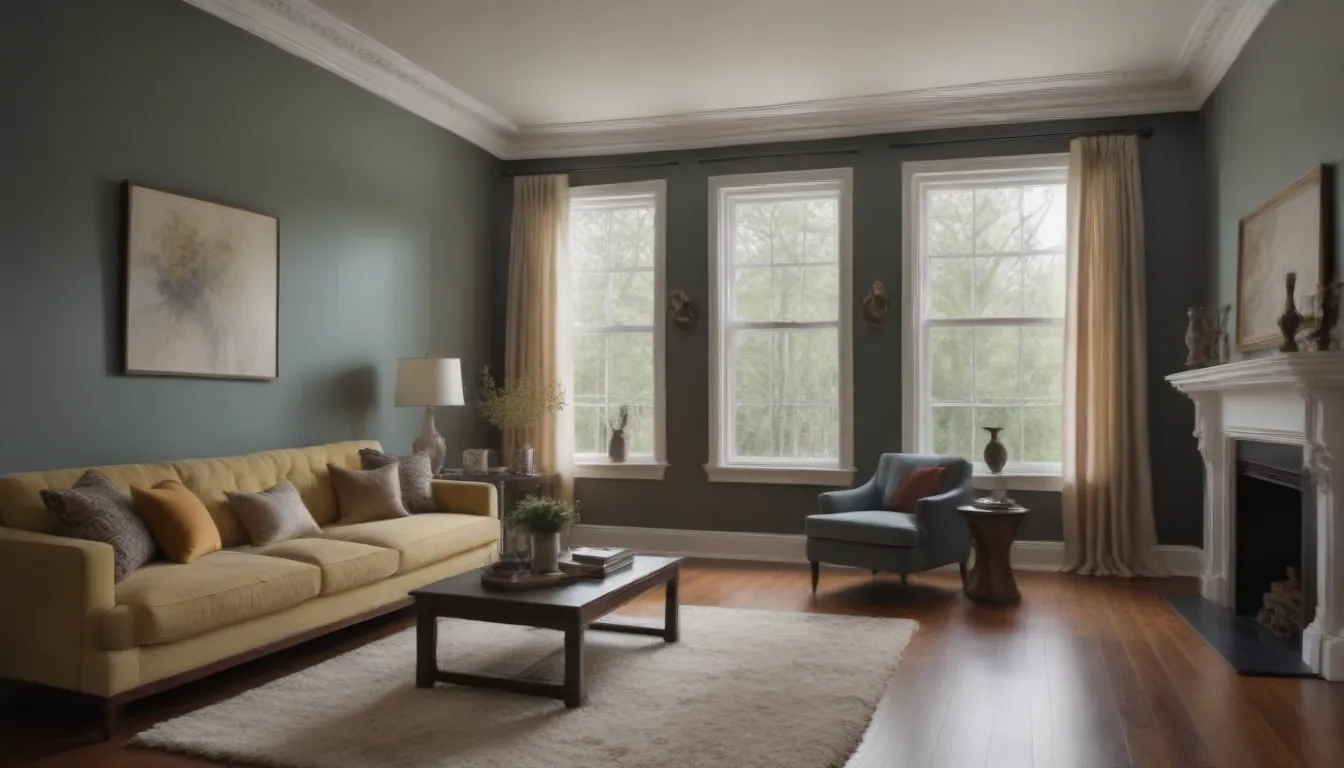
Are you ready to tackle an interior painting project and achieve a professional-looking result? If so, you’re in the right place! Interior house painting may seem straightforward, but there are plenty of tips and tricks that can help you achieve a flawless finish. Whether you’re a seasoned DIYer or a newbie to painting, incorporating these expert-approved tips into your next project will make the job easier, faster, and more attractive.
Meeting the Experts
We’ve gathered advice from two seasoned paint professionals to guide you through the painting process and help you achieve a flawless finish. Anthony Kulikowski, owner of Five Star Painting, and Nick Lopez, founder of LIME Painting, have shared their top tips for turning your interior painting project into a masterpiece.
Test the Paint in Multiple Places and Different Lightings
Before committing to a paint color, it’s essential to test it out in various locations and lighting conditions. Anthony Kulikowski recommends trying out the paint in different spots on the wall and observing how it looks in morning, noon, and night lighting. Consider how the color complements trim work, furniture, and decor in the room to ensure a cohesive look.
Don’t Skimp on the Prep Work
Proper preparation is key to a successful paint job. Before diving into painting, make sure to clean the walls thoroughly, fill any holes or cracks, and sand rough areas. Nick Lopez emphasizes the importance of prepping the walls to ensure the paint adheres properly and results in a smooth finish.
Use a Tack Cloth to Clean the Surface
A tack cloth is a handy tool for cleaning the surface before painting, ensuring flawless results. This beeswax-impregnated cloth effortlessly removes debris like sawdust and wood shavings. Avoid using a wet cloth on the surface and opt for a tack cloth for trim, doors, and cabinets. Remember not to press too hard to avoid smearing wax on the surface.
- Use a tack cloth to clean the surface before painting
- Avoid applying a wet cloth to the surface
- Tack cloth is ideal for trim, doors, and cabinets
Purchase High-Quality Roller Covers and Brushes
Invest in high-quality roller covers and brushes to achieve a smooth and professional finish. Low-quality covers and brushes can leave lint, fuzz, and streaky marks on the walls, impacting the final result. Choose top-notch tools and maintain them meticulously for a flawless finish.
- Quality tools result in a better finish
- Avoid using inexpensive chip brushes
- Roller covers and brushes are worth the investment
Tip: Cut in the corners with a brush before using a roller for walls and ceilings
Purchase High-Quality Paint
Quality paint can make a significant difference in the final outcome of your painting project. While cheaper paints may be suitable for quick jobs, investing in higher-quality paint will ensure a long-lasting finish. Look for paints with a higher solids content for better coverage and durability.
Buy Enough Supplies
Ensure you have sufficient supplies for your painting project by purchasing extra paint and accessories like painter’s tape, brushes, and rollers. It’s better to have more than you need to avoid interruptions during the project. Keep receipts and check store return policies for unused supplies.
Consider the Weather
Before starting your painting project, consider the weather conditions in your area. High humidity or cold temperatures can affect how the paint dries, leading to potential issues with the finish. Choose a time with optimal weather conditions for the best results.
- Avoid painting in high humidity or cold temperatures
- Proper weather conditions are essential for optimal drying
- Plan your painting project around favorable weather
Test for Loose Paint With the Duct Tape Test
Before painting over existing surfaces, test for loose paint using the duct tape test. This simple method can help you assess the quality of the surface and determine if it needs additional preparation. If paint flakes off with the tape, scraping and sanding may be necessary before painting.
Use Latex or Nitrile Gloves
Protect your hands while painting by wearing latex or nitrile gloves. Latex gloves are ideal for water-based paints as they are easy to clean. If you prefer an alternative to latex, nitrile gloves offer similar protection. Choose gloves that are comfortable and provide adequate dexterity for painting tasks.
- Latex gloves are suitable for water-based paints
- Nitrile gloves offer an alternative to latex
- Protect your hands while painting
Liberally Apply Low-Stick Painter’s Tape
Painter’s tape, also known as blue tape, is a valuable tool for achieving clean edges and protecting surfaces that won’t be painted. Apply painter’s tape liberally along walls, ceilings, and trim to create crisp lines and prevent paint bleed. Invest in quality tape with low-stick adhesive for easy removal.
- Use painter’s tape to protect surfaces
- Apply tape liberally for clean edges
- Choose low-stick tape for easy removal
Ventilate the Area
Proper ventilation is crucial when painting to ensure a healthy indoor environment and minimize paint fumes. Keep windows open during and after painting to allow fresh air circulation. Adequate ventilation is essential for your well-being and the quality of the paint job.
- Ventilate the room while painting
- Keep windows open for fresh air circulation
- Ensure proper ventilation for a healthy indoor environment
Stir Paint Before Using
Before starting your painting project, remember to stir the paint thoroughly to ensure an even consistency. Paint ingredients can separate over time, so mixing the paint before use is essential. If the paint sits for an extended period, give it another stir to maintain the desired texture.
- Stir paint before starting the project
- Mix paint thoroughly for an even consistency
- Maintain the paint’s desired texture throughout the project
Use Adequate Lighting
Good lighting is essential for any home improvement project, including painting. Ensure you have ample lighting in the room to see clearly while painting. Natural light is ideal, but overhead lighting or LED work lights can provide additional brightness for detailed work around trim and edges.
- Good lighting is crucial for painting
- Use natural light or overhead lighting
- Ensure you can see clearly while working
Paint a Room in the Right Order
When painting a room, start with the ceiling if you plan to repaint it, as any splashes will be covered by the walls. Begin painting the walls in a corner, using a brush to cut in along edges before filling in with a roller. Focus on creating clean lines and even coverage for professional results.
- Start with the ceiling before painting walls
- Use a brush to cut in around edges
- Finish with a roller for the rest of the wall
Maintain a Wet Edge to Avoid Overlap Marks
To prevent overlap marks and streaks in your paint finish, maintain a wet edge as you work. This is particularly important when using semi-gloss or glossy paints, as they are more prone to showing overlap. Keep a steady pace and work away from the wet edge to ensure a smooth, consistent finish.
- Prevent overlap marks by maintaining a wet edge
- Pay attention to the paint’s gloss level
- Work consistently for a professional result
Use Masking Film to Cover Clean Areas
Masking film is a professional painter’s secret for protecting clean surfaces during painting. This thin plastic sheet adheres to surfaces without the need for tape, making it ideal for covering large areas quickly. Use masking film to shield trim, floors, and furniture from paint splatter and overspray.
- Masking film protects clean surfaces
- Use film to cover large areas quickly
- Ideal for protecting trim, floors, and furniture
Clean Up Paint Spills Quickly
Accidents happen during painting, so it’s essential to clean up spills promptly to prevent stains. Keep an eye out for stray brush strokes and address them while the paint is still wet. Use a damp rag for hard surfaces and dish soap for carpets to remove paint before it dries and becomes difficult to clean.
- Clean up spills and drips immediately
- Use a damp rag for hard surfaces
- Use dish soap for carpets and fabric
Store Excess Paint Properly
If you have leftover paint for touch-ups, store it properly to ensure it remains usable. Seal the paint can tightly, wipe the rim clean, and secure the lid with a rubber mallet. Properly stored paint can be used for future touch-ups and repairs, maintaining a consistent finish throughout your home.
- Store excess paint for touch-ups
- Seal the can tightly to prevent drying
- Use a rubber mallet to ensure a secure lid
Wrap the Brush or Roller to Avoid Cleaning
Cleaning brushes and rollers can be a tedious task after painting, but there are ways to avoid it. Preserve your brushes and rollers by wrapping them in plastic wrap or foil to keep the paint from drying out. Alternatively, you can freeze them for later use without cleaning.
- Preserve brushes and rollers for later use
- Wrap in plastic wrap to prevent drying
- Freeze them to avoid cleaning
Don’t Rush the Work
Patience is key when it comes to painting. Take your time, pay attention to detail, and ensure each coat is applied evenly for a professional finish. Rushing through the painting process can result in uneven coats, drips, and other imperfections that detract from the overall look.
- Take your time and do it right
- Allow each coat to dry before proceeding
- Patiently wait for the paint to fully cure
Don’t Leave the Painter’s Tape On Too Long
While painter’s tape is a valuable tool for achieving clean edges, it’s essential to remove it at the right time. Wait until the paint feels dry to the touch before peeling off the tape to avoid damaging the finish. Leaving painter’s tape on for too long can lead to cracking or pulling up the paint along with the tape.
- Remove painter’s tape when the paint is dry
- Check dry times for guidance
- Avoid leaving tape on too long
Healthy Indoor Painting Practices
Proper indoor painting practices are essential for your health and well-being. Ventilate the room, use low-VOC paints, and take breaks as needed to prevent exposure to harmful fumes. Follow EPA guidelines for indoor painting to create a safe and healthy environment for you and your family.
Incorporate these interior painting tips into your next project to achieve a flawless finish and transform your space with professional results. Whether you’re painting a single room or tackling a whole house, these expert-approved tips will help you navigate the painting process with confidence and skill. Happy painting!
