The Ultimate Guide to Minimizing Drywall Dust When Sanding
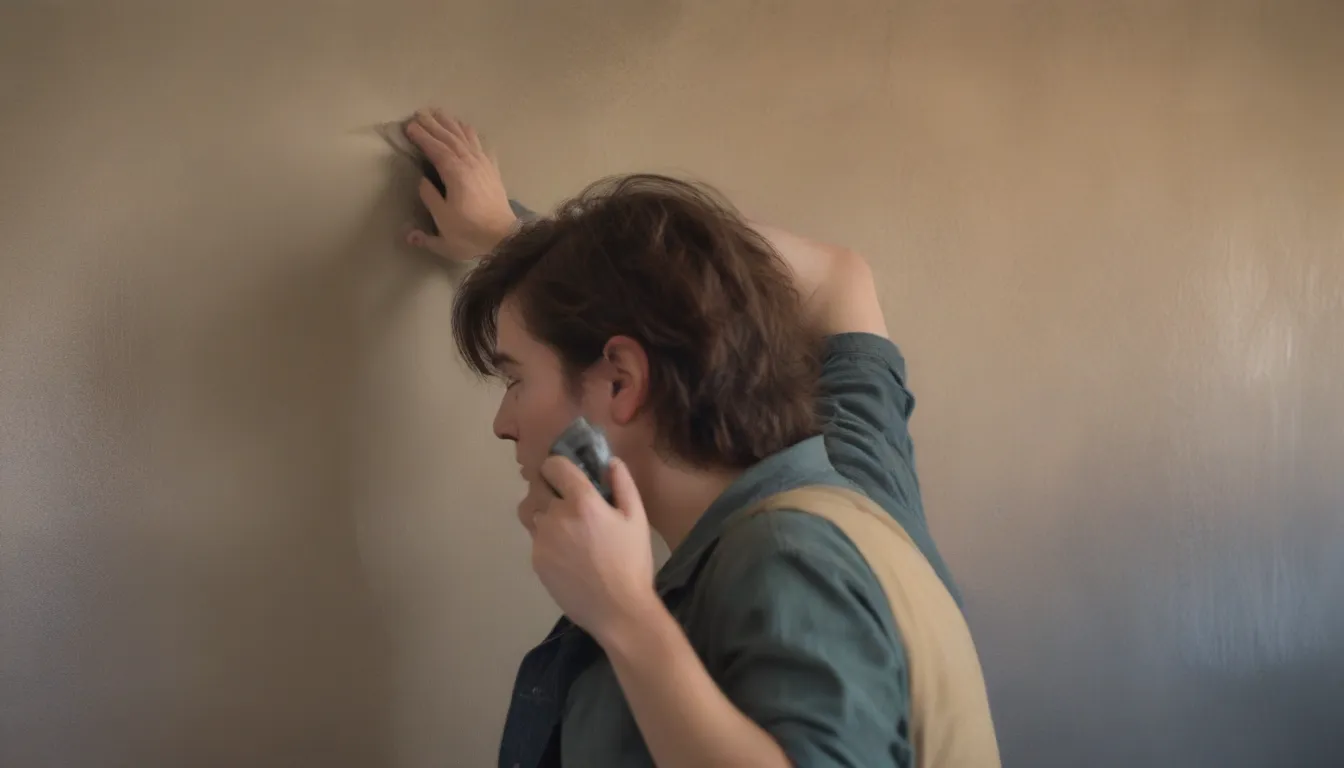
If you’ve ever sanding drywall, you know that the dust seems to find its way into every nook and cranny of your home. It’s a frustrating byproduct that can make any remodeling project a messy ordeal. But fear not, there are ways to reduce drywall dust when sanding that can make the process much more bearable.
The Dust Control Drywall Compound Solution
One effective way to combat drywall dust is by using dust control or low-dust joint compound. This specialized compound is designed to reduce the amount of dust created during the sanding process. Here are some key points to consider when using dust control joint compound:
- Reduces drywall dust: Dust control joint compound is formulated to produce heavier particles that drop straight to the ground, minimizing the amount of dust that becomes airborne.
- Can be swept up: Unlike traditional drywall dust that spreads easily, the dust from low-dust joint compound can be easily swept up with a broom and dustpan.
- Easy to use: Dust control joint compound can be applied in the same manner as regular joint compound, with adjustments made for a lighter consistency.
While dust control joint compound may be more expensive than traditional compounds, the benefits of reduced dust and easy cleanup make it a great option for projects where dust control is a priority.
How to Use Dust Control Joint Compound
- Apply the compound using the same techniques as regular joint compound, but with a lighter touch.
- Adjust the consistency of the compound as needed for optimal results.
- Consider using a potato masher if you don’t have mixing tools like a drill and paddles.
Wet Sanding: A Dust-Free Solution
For those looking to completely eliminate drywall dust, wet sanding is a viable option. Wet sanding involves using a damp sponge to soften and smooth out dried joint compound, resulting in a dust-free finish. Here are some key points to consider when wet sanding:
- No dust: Wet sanding eliminates drywall dust entirely, making it the only method that guarantees a dust-free environment.
- Barriers not needed: Wet sanding can be done without the need for barriers, reducing setup time and hassle.
- Messy: Wet sanding can be a messy process, requiring careful cleanup and disposal of wet materials.
While wet sanding may not be practical for large-scale projects, it can be a great solution for small touch-ups and repairs that require a dust-free finish.
How to Wet-Sand Drywall Joints
- Use a damp sponge to soften and smooth out dried joint compound.
- Be prepared for some messiness, as wet sanding can be a bit messy.
- Consider the scale of your project before deciding to wet sand the entire area.
Using Barriers and Fans for Dust Control
Creating a barrier and using a fan to control dust during the sanding process can help minimize the spread of drywall dust throughout your home. Here are some key points to consider when using barriers and fans for dust control:
- Dust entirely contained: Barriers prevent drywall dust from spreading beyond a designated area, keeping the rest of your home clean.
- Requires careful setup: Ensuring that your barrier is airtight and free of holes is essential for effective dust control.
- Use of fans: Box fans can help expel some drywall dust out of the work area, reducing the amount of airborne dust.
By combining barriers and fans, you can create a controlled environment that minimizes dust and keeps your home clean during the sanding process.
How to Reduce Drywall Dust With Barriers and a Fan
- Set up a barrier using sheet plastic to contain dust within a designated area.
- Use a box fan to expel dust out of the work area, reducing airborne particles.
- Make sure your barrier is airtight and free of holes to prevent dust from escaping.
Harnessing the Power of a Drywall Vacuum Sander
For those looking for a more efficient and effective way to reduce drywall dust, a drywall vacuum sander is a great tool to consider. Here are some key points to consider when using a drywall vacuum sander:
- Reduces most dust: Drywall vacuum sanders are designed to suck up drywall dust as you sand, minimizing airborne particles.
- Good for small areas: Vacuum sanders work well for small touch-ups and repairs, where dust control is essential.
- Requires special equipment: Using a drywall vacuum sander requires a wet-dry shop vacuum and proper setup for optimal results.
While drywall vacuum sanders can be a bit cumbersome to use, they are incredibly effective at reducing dust and creating a cleaner work environment.
How to Reduce Drywall Dust With a Drywall Sander
- Attach a drywall vacuum sander to a wet-dry shop vacuum to minimize dust during the sanding process.
- Make sure your setup is properly adjusted to effectively suck up dust as you work.
- Consider investing in a rotary, variable-speed drywall vacuum sander for larger projects.
In conclusion, minimizing drywall dust when sanding requires a combination of proper tools, techniques, and setup. By utilizing dust control compounds, wet sanding methods, barriers, fans, and vacuum sanders, you can create a cleaner, healthier work environment while tackling your drywall projects. Remember, a little extra effort to control dust during the sanding process can go a long way in improving the overall quality of your finished project. Happy sanding!
