A Comprehensive Guide: Understanding and Preventing Yellow Leaves on Orchids

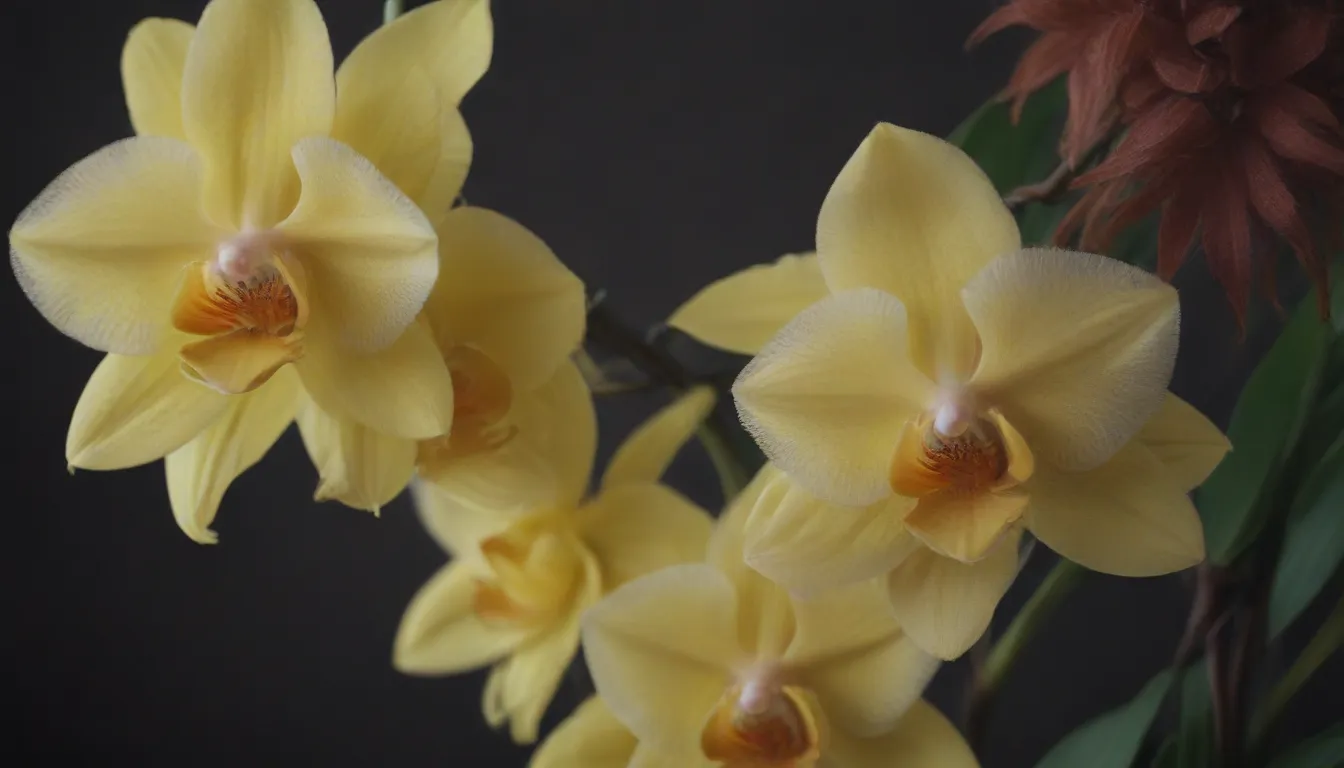
Orchids are undoubtedly one of the most enchanting and delicate flowers in the botanical world. However, caring for these beautiful plants can sometimes be a challenge, especially when you start to notice yellow leaves. Don’t fret, though! Yellowing leaves on your Phalaenopsis orchid, also known as a moth orchid, may not always be a sign of doom and gloom. In fact, it’s quite common for older leaves to turn yellow and drop off as part of the natural aging process. But when all the leaves on your orchid are yellow, it might indicate an underlying issue that needs your attention.
In this in-depth guide, we will explore the various reasons why orchid leaves turn yellow and provide you with practical solutions to address each problem. From too much light to nutritional deficiencies, we’ll cover it all. So, grab your gardening gloves and let’s dive into the world of orchid care!
Understanding Yellow Leaves on Orchids
Before we delve into the specific reasons why your orchid leaves may be turning yellow, it’s essential to understand the natural aging process of these plants. Older Phalaenopsis orchids often shed their lower leaves, allowing new roots to emerge from the stem and form a healthy root system. This shedding of older leaves is entirely normal and should not cause alarm.
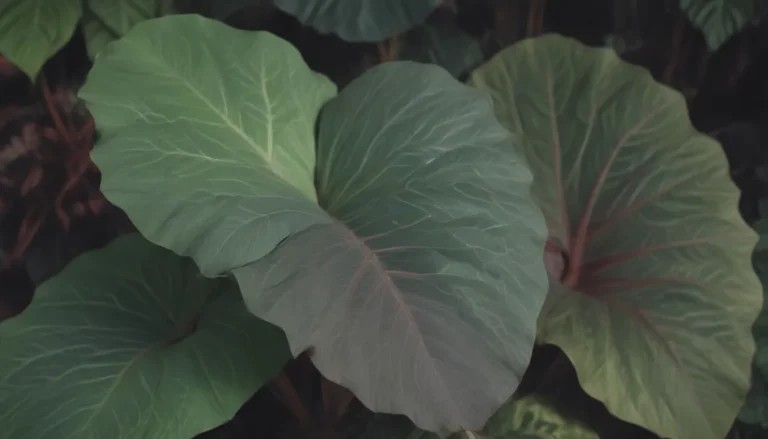
However, if you notice yellowing leaves on the top of your orchid or if all the leaves are turning yellow, it could be a signal that something is amiss. Let’s explore some common causes of yellow leaves on orchids and learn how to address each issue effectively.
1. Too Much Light
One of the primary reasons for orchid leaves turning yellow is exposure to excessive direct sunlight. Orchids are sensitive plants that can easily burn if exposed to intense light for prolonged periods.
How to Fix:
– Place your orchid in a location that receives indirect sunlight.
– Opt for a north- or west-facing window to provide adequate light without the risk of burning the leaves.
2. Wrong Temperature
Orchids thrive in moderate temperatures, typically between 65 and 80 degrees Fahrenheit during the day and 60 and 70 degrees Fahrenheit at night. Extreme temperature fluctuations can stress the plant and cause leaf discoloration.
How to Fix:
– Keep your orchid away from drafts, open windows, or air conditioning vents.
– If you move your orchid outdoors in warmer weather, bring it back indoors before temperatures drop significantly.
3. Watering Problems
Overwatering or underwatering your orchid can lead to root rot, a common issue that manifests as yellowing leaves. Proper watering practices are crucial for maintaining the health of your orchid.
How to Fix:
– Only water your orchid when the top inch of the potting medium is dry.
– Ensure adequate drainage by using pots with drainage holes and repotting if root rot is present.
4. Humidity Issues
Orchids are tropical plants that require a humid environment to thrive. Low humidity levels can cause stress and lead to yellowing leaves.
How to Fix:
– Increase humidity around your orchid by using a humidifier or placing it on a humidity tray.
– Create a humidity tray by filling a shallow dish with water and placing your orchid on top to absorb moisture.
5. Potting Stress
The type of potting media used for orchids is crucial for proper root health. A loose, fast-draining mix allows the roots to breathe, promoting overall plant health.
How to Fix:
– Change the potting media if it becomes compacted or starts breaking apart.
– Opt for a high-quality orchid mix or sphagnum moss with perlite for optimal drainage.
6. Nutritional Deficiencies
Proper nutrition is essential for orchids to thrive. Fertilize your orchid regularly during the growing season to provide essential nutrients like nitrogen and magnesium.
How to Fix:
– Use a diluted orchid fertilizer every third to fourth week during the summer months.
– Look for signs of nutrient deficiencies, such as yellowing leaves around the edges, and adjust your fertilization routine accordingly.
7. Fungal or Bacterial Diseases
Yellowing leaves can also be a result of fungal or bacterial infections, usually caused by excessive watering or poor air circulation. These diseases can quickly spread if not addressed promptly.
How to Fix:
– Separate infected plants from healthy ones to prevent the spread of disease.
– Trim affected areas with sterile scissors and treat the plant with a fungicide to combat fungal issues.
8. Pest Problems
Pests like spider mites, scale insects, thrips, and mealybugs can wreak havoc on orchids if left unchecked. Regular inspection and early intervention are key to preventing pest infestations.
How to Fix:
– Wash off pests with a strong blast of water or wipe leaves with a damp cloth.
– Use horticultural oils or insecticidal soaps for significant infestations, ensuring to keep infected plants away from healthy ones.
9. Environment Change
Transplant shock or environmental changes can stress orchids, leading to leaf yellowing. Allow your plant time to acclimate to its new conditions to minimize stress.
How to Fix:
– Monitor the plant’s response to changes and provide a stable environment for recovery.
– Ensure proper soil composition, lighting, and watering practices to support the plant during acclimation.
10. Shipping Stress
Plants are susceptible to stress during shipping, which can trigger leaf yellowing due to ethylene exposure. Proper packaging and care during transit can help minimize shipping-related stress.
How to Fix:
– Unpack the plant upon arrival and provide fresh air and proper care.
– Request ethylene-absorbing packets from the shipper to mitigate the effects of transit stress.
Preventing Yellow Leaves on Orchids
While addressing the specific issues causing yellow leaves on your orchids is essential, prevention is key to maintaining the overall health of these delicate plants. Here are some practical tips to prevent yellowing leaves and promote the well-being of your orchid:
- Replicate the Native Environment: Mimic the natural habitat of orchids by providing suitable levels of water, humidity, temperature, light, and air circulation.
- Proper Watering Technique: Water your orchid only when the top inch of the potting medium is dry to prevent overwatering and root rot.
- Optimal Nutrients: Fertilize your orchid regularly during the growing season with a balanced orchid fertilizer to provide essential nutrients.
- Pest Management: Regularly inspect your orchid for pests and treat infestations promptly to prevent damage to the plant.
- Environmental Stability: Minimize environmental changes that can stress the orchid, such as repotting or changing growing conditions, to promote plant health.
By following these preventive measures and addressing any issues promptly, you can help your orchid thrive and enjoy its stunning beauty for years to come.
In conclusion, yellow leaves on orchids are often a symptom of underlying issues that can be addressed with proper care and attention. By understanding the reasons behind leaf discoloration and implementing practical solutions, you can ensure that your orchid remains healthy and vibrant. Remember to observe your plant regularly, provide the necessary care, and enjoy the beauty of these exquisite flowers in your home. Happy orchid growing!


