A Comprehensive Guide to Painting Walls Like a Pro

Whether you’re a seasoned DIY enthusiast or a first-time painter, learning how to paint the interior walls of your home like a pro can significantly enhance the aesthetics and ambiance of your space. Not only is it a cost-effective way to transform a room, but it can also be a fun and rewarding project. Before you pick up your paintbrush, here are some valuable tips to help you achieve professional-looking results.
Removing Light Switch and Outlet Covers
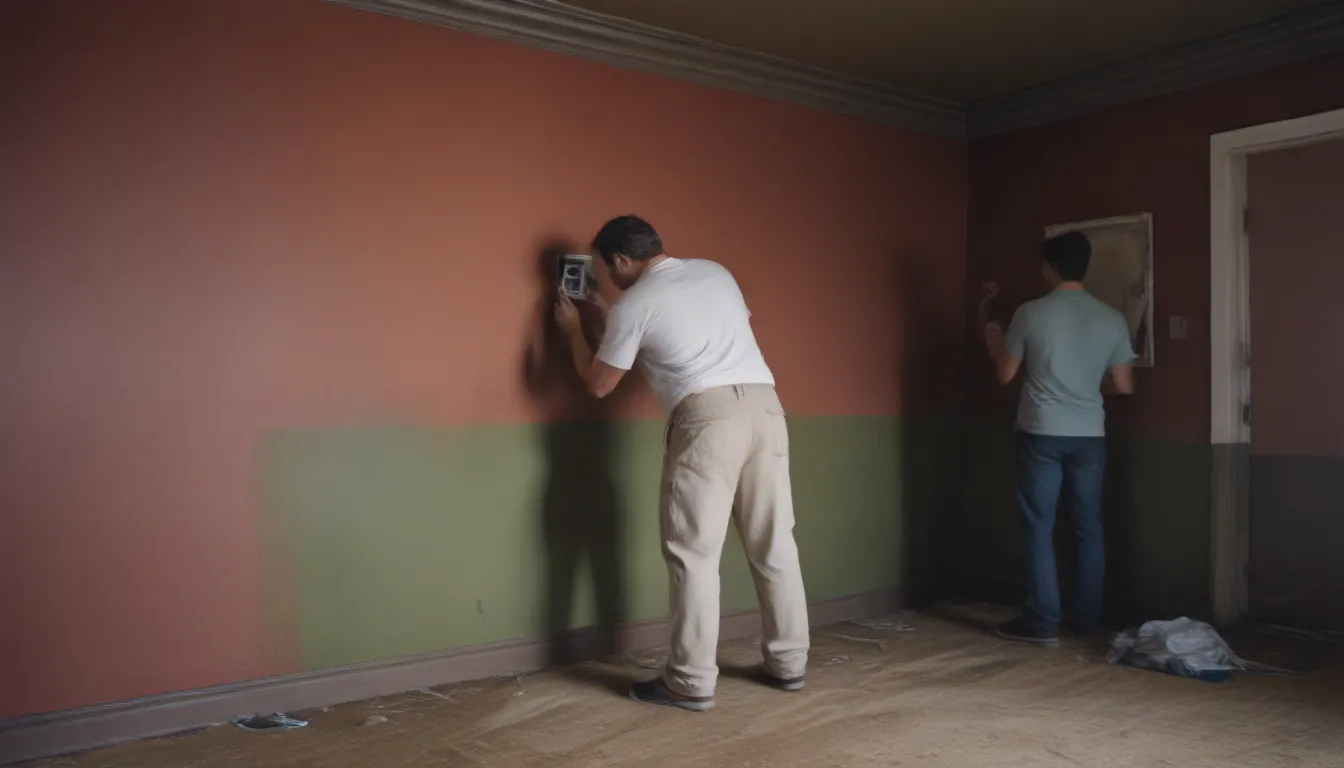
Before you begin your painting project, it’s essential to prepare the walls properly. Start by unscrewing all electrical light switch and outlet covers from the walls. To prevent losing screws and covers, store them in a small plastic bag labeled with the location of the outlet. This organization will make it easier to reinstall them once the painting is complete.
Asking for Large-Scale Paint Swatches
When choosing paint colors, consider requesting large-scale paint swatches from your local home improvement store. These swatches are easier to visualize on your walls and can be moved around the room or taken off the walls for a better perspective. Remember to test the swatches in the room to see how they look under different lighting conditions, as artificial light can affect the color appearance.
Protecting the Room
To prevent paint splatters and spills, lay drop cloths on the floor and furniture within the room. Use painter’s tape to protect moldings and window frames by applying it with firm pressure to ensure a clean paint job. Taking these precautions will save you time and effort in cleaning up afterward.
Preparing the Walls for Paint
Properly preparing the walls before painting is crucial for achieving a smooth and flawless finish. Fill in any holes with spackling paste and sand the area until it’s smooth. Remove dust from sanding by wiping the walls with a damp cloth. If the walls are greasy, use a specialized cleaner to ensure proper paint adhesion. For dark walls, apply a coat of primer to reduce the number of paint coats needed.
Lining Your Paint Tray
Make cleanup easier by lining your paint tray with plastic tray liners, tin foil, or a plastic bag. This simple step will allow you to dispose of the liner after use, saving you time and effort scrubbing off excess paint.
Cutting in Walls and Ceilings
Before using a paint roller, use a paintbrush to paint around baseboards, ceilings, wall corners, and windows. An angled brush is ideal for painting near the ceiling to prevent accidental spills. This technique, known as cutting in, ensures precise lines and a professional finish.
Painting Technique
When using a paint roller, apply paint in overlapping “W” patterns to avoid visible roller marks on the wall. This method ensures even coverage and a seamless finish.
Extending Your Reach
Invest in an extendable paint roller or attach a broom handle to a regular roller for painting high walls or ceilings without the need for a ladder. This tool will help you reach areas that are difficult to access, making the painting process more efficient.
Wrapping It Up
If you need to take breaks between coats of paint, store your brushes and rollers in the paint tray and seal it in a plastic bag. This simple trick will prevent drying out and maintain the quality of your paint tools.
By following these tips and techniques, you can paint your walls like a pro and achieve professional-looking results in your home. Remember, preparation is key to a successful painting project, so take your time to properly prep the walls and use the right tools for the job. With a bit of patience and attention to detail, your painted walls will look like they were done by a professional painter. Happy painting!


