Comprehensive Guide to Tiling a Kitchen Backsplash Around Outlets
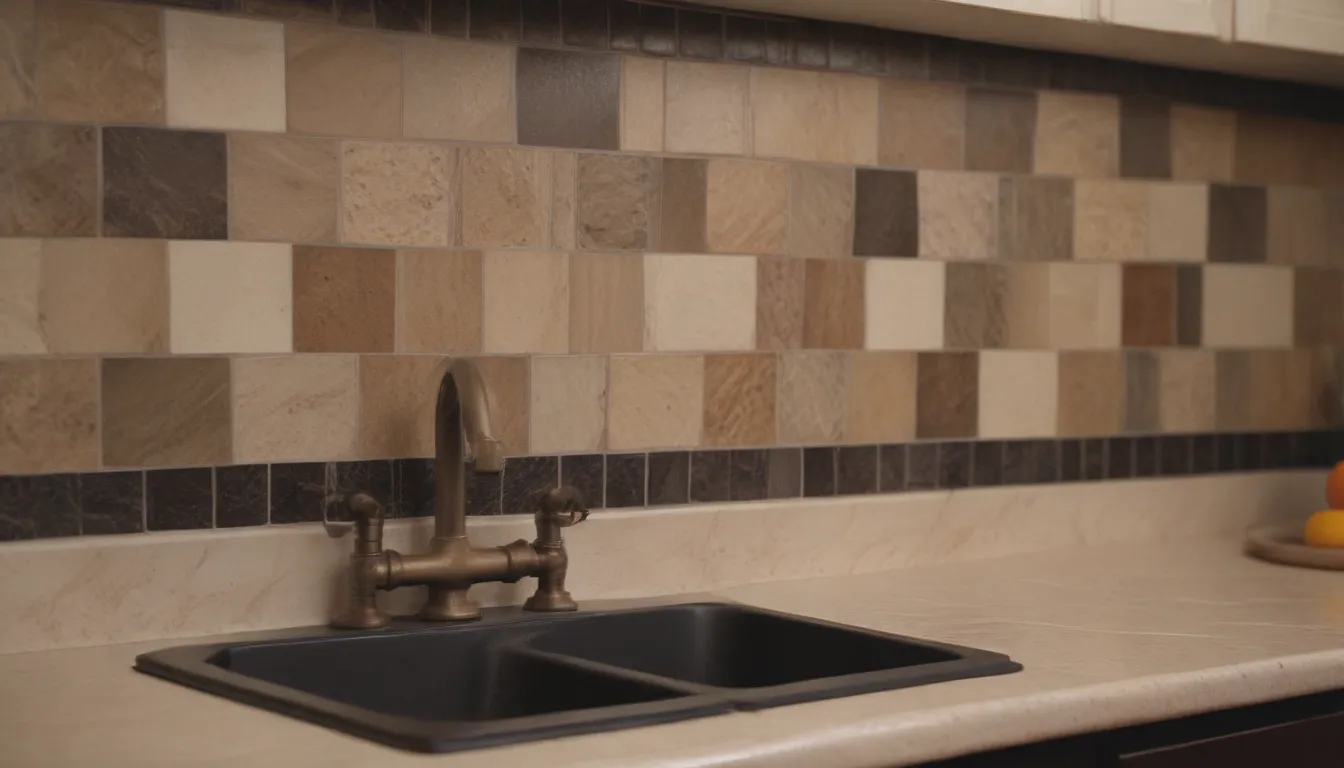
Tiling a kitchen backsplash can be a fun and rewarding project that adds personality and style to your space. However, when you encounter electrical outlets on the wall, the process can become a bit more complex. In this in-depth guide, we will explore tips and tricks to help you tile around outlets in your kitchen backsplash efficiently and effectively.
Understanding the Challenge
When tiling a backsplash around outlets, it is essential to keep in mind the electrical code regulations in your area. The outlets must be accessible and not covered by the tiles, while still maintaining a seamless and attractive finish. Here are some practical tips to help you navigate this challenge:
Lay the Tile to the Edge of the Outlet
When approaching the outlet with your tile, it is crucial to ensure that there are no gaps between the tile and the outlet faceplate. This not only looks more professional but also prevents any safety hazards. Here’s how you can achieve a seamless finish:
- Mark a border with a pencil: Before installing the tile, mark a border around the outlet, leaving about 1/8-inch of space to accommodate the faceplate.
- Bring the tile within the border: Place the tiles just within the marked border to allow the faceplate to cover the edges without obstruction.
Install an Electrical Receptacle Extension Ring
To comply with the electrical code requirements, it is essential to ensure that the outer edge of the electrical box aligns with the backsplash tile. An electrical receptacle extension ring can help bridge the gap between the outlet and the tile seamlessly. Here’s how you can use this tool effectively:
- Purchase a plastic electrical receptacle extension ring: These affordable items can be found at most hardware stores and cost between $1 to $3.
- Install the extender ring: Simply attach the extension ring to the electrical box to bring it flush with the wall, ensuring a neat and code-compliant finish.
Extend Mesh-Backed Tile to the Outlet
Working with mesh-backed mosaic tile can make tiling around outlets more manageable. These tiles can be easily trimmed to fit around the outlet without the need for complex cutting tools. Here’s how you can achieve a clean and precise finish:
- Cut the mesh between tiles: By using scissors, you can trim the mesh between tiles to adjust the layout around the outlet.
- Nip mosaic tesserae if needed: In some cases, you may need to cut individual tiles to ensure a perfect fit around the outlet. A tile nipper can be a handy tool for this task.
Use an Angle Grinder to Cut Larger Tiles
For larger tiles that need to be cut in the middle, an angle grinder equipped with a diamond cutting disc can provide a clean and precise cut. Here’s a helpful tip to make the cutting process easier:
- Cut from the back of the tile first: By making a preliminary cut from the back of the tile before flipping it over, you can avoid overcuts and achieve a more accurate result.
Additional Tips for Installing Tile Backsplashes
Apart from tiling around outlets, there are several other considerations to keep in mind when installing a tile backsplash. Here are some valuable tips to ensure a successful and professional-looking installation:
Protect the Countertops
Before starting the tiling process, it is essential to protect your countertops from any potential damage. Here’s how you can safeguard your surfaces during the project:
- Lay floor protection paper: Use floor protection paper to cover your countertops and prevent them from getting scratched or damaged during tiling.
- Secure the edges with painter’s tape: Ensure that the paper is securely in place by using painter’s tape to hold down the edges and protect the countertop effectively.
Use Painter’s Tape as a Guide
Painter’s tape can be a useful tool for maintaining straight edges and borders while tiling. Here’s how you can use painter’s tape to your advantage:
- Define a straight edge with painter’s tape: Use painter’s tape to create a guideline for your tiles, ensuring that they are evenly aligned and straight.
- Remove the tape after tiling: Once the tiles are in place, you can easily remove the painter’s tape without damaging the walls or the tiles.
Use Tile Spacers
Tile spacers are essential for maintaining consistent spacing between tiles and ensuring a professional finish. Here’s how you can make the most of tile spacers during the installation:
- Add space between tiles and countertops: Use tile spacers to create a gap between the bottom row of tiles and the countertop, which can later be filled with caulk.
- Maintain horizontal and vertical spacing: Use tile spacers to ensure uniform spacing between tiles both horizontally and vertically for a clean and polished look.
Move Appliances for Easy Access
When tiling around appliances such as stoves or cooktops, it is helpful to move them away from the wall to facilitate the installation process. Here’s how you can make this task more manageable:
- Slide electric stoves forward: Electric stoves can be easily slid forward or tipped to access the plug and create space for tiling.
- Protect the floor while moving appliances: Place towels on the floor to protect it from scratches and damage while moving appliances during the tiling process.
By following these tips and tricks, you can tackle tiling a kitchen backsplash around outlets with confidence and precision. Remember to prioritize safety and attention to detail to achieve a professional and visually appealing result. Happy tiling!

