Everything You Need to Know About Installing a Water Heater Expansion Tank

Are you considering installing a water heater expansion tank but not sure where to start? Look no further! In this comprehensive guide, we will walk you through everything you need to know about water heater expansion tanks, from how they work to step-by-step instructions on how to install one.
Why You Need an Expansion Tank
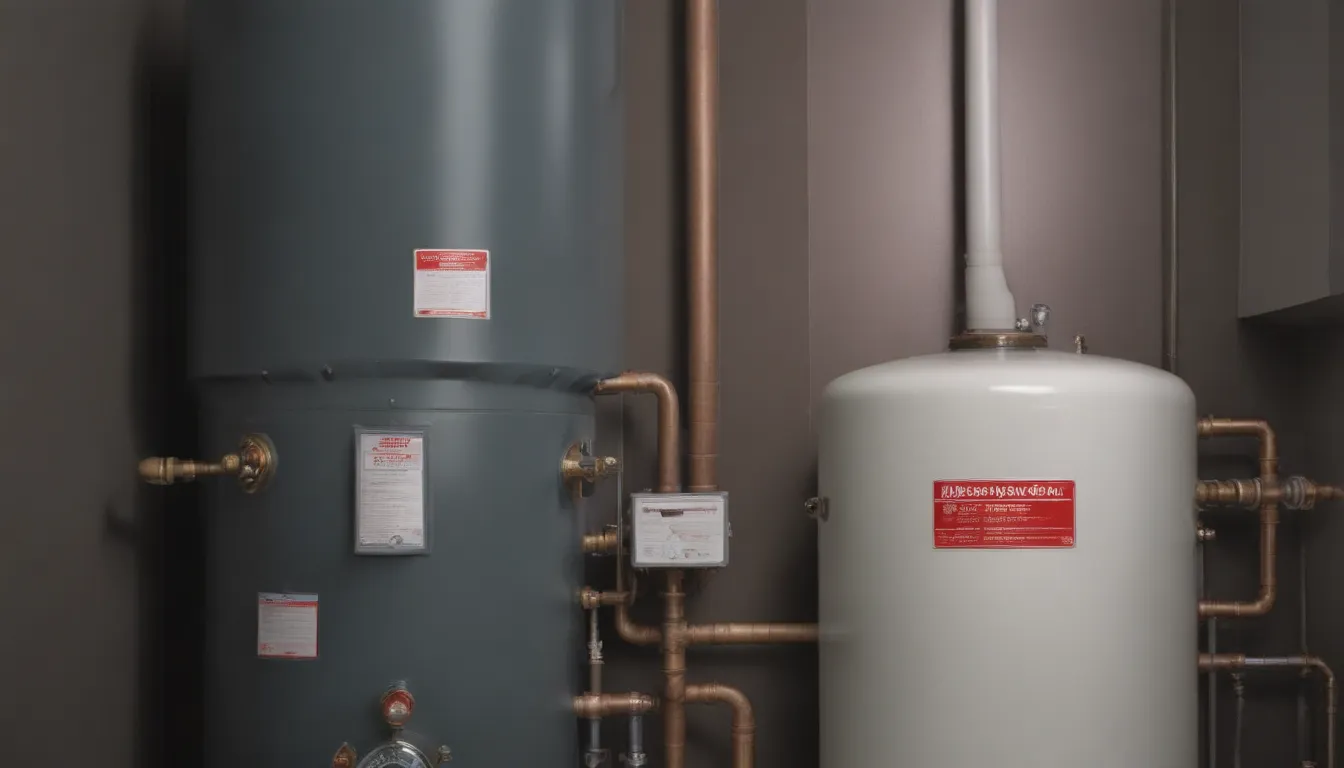
An expansion tank is a crucial safety device that protects your plumbing system. It is designed to accommodate the expansion of water as it heats up in your water heater. Without an expansion tank, the increased volume of water can create excess pressure in your pipes and fixtures, potentially leading to damage.
How an Expansion Tank Works
Inside an expansion tank is a flexible rubber diaphragm that separates the tank into two sections. One section accepts the expanding water, while the other provides an air chamber that becomes pressurized as the diaphragm expands. This setup allows the tank to relieve the pressure build-up, preventing damage to your plumbing system.
The Importance of an Expansion Tank
While not all plumbing systems require an expansion tank, it is essential in closed systems with pressure-limiting valves or back-flow preventers. Even if not mandated by building codes, installing an expansion tank can prolong the life of your water heater and prevent costly repairs down the line.
Installation Process
Installing a water heater expansion tank is a moderately difficult DIY project that requires some plumbing knowledge and experience. If you’re not comfortable working with pipes, it’s best to hire a professional plumber. However, if you’re up for the challenge, here’s a step-by-step guide on how to install an expansion tank:
Tools and Supplies You Will Need
Before you start the installation process, gather the following tools and supplies:
– Expansion tank
– Pipe-sealing tape
– Tee fitting
– Copper pipes and fittings
– Dielectric union
– Pipe wrench or channel-lock pliers
Instructions
New Water Heater Installation
- Attach a Dielectric Union: Securely attach a dielectric union to the cold water entry port of the water heater.
- Attach Copper Adapter: Thread a female threaded copper adapter onto the union and tighten it securely.
- Attach Tee Fitting: Install a tee-fitting about one foot above the water heater to provide clearance for the expansion tank.
- Attach Expansion Tank Pipe: Connect a short length of horizontal copper pipe to the tee-fitting and attach the expansion tank using sweat-soldering or push-fit connections.
- Complete the Installation: Connect the top outlet on the tee-fitting to the cold water supply pipe, then test the system for leaks.
Variations for an Existing Water Heater
When adding an expansion tank to an existing water heater, you may need to make adjustments to accommodate the tank. This can involve replacing the dielectric union, using different pipes and fittings, and installing the tank a short distance away from the water heater. For water heaters between 40 to 50 gallons, a 2-gallon expansion tank is typically sufficient.
Additional Tips
- Consider installing an extra valve before the expansion tank for easy replacement.
- Use brass fittings and nipples for better support.
- Provide pipe support with a clevis hanger from a beam.
Conclusion
Installing a water heater expansion tank is a valuable investment in the longevity of your plumbing system. By following the steps outlined in this guide, you can ensure that your water heater operates efficiently and safely. Whether you’re a seasoned DIYer or a novice plumber, with the right tools and knowledge, you can successfully install an expansion tank and enjoy worry-free hot water for years to come.


