How to Successfully Repot a Snake Plant
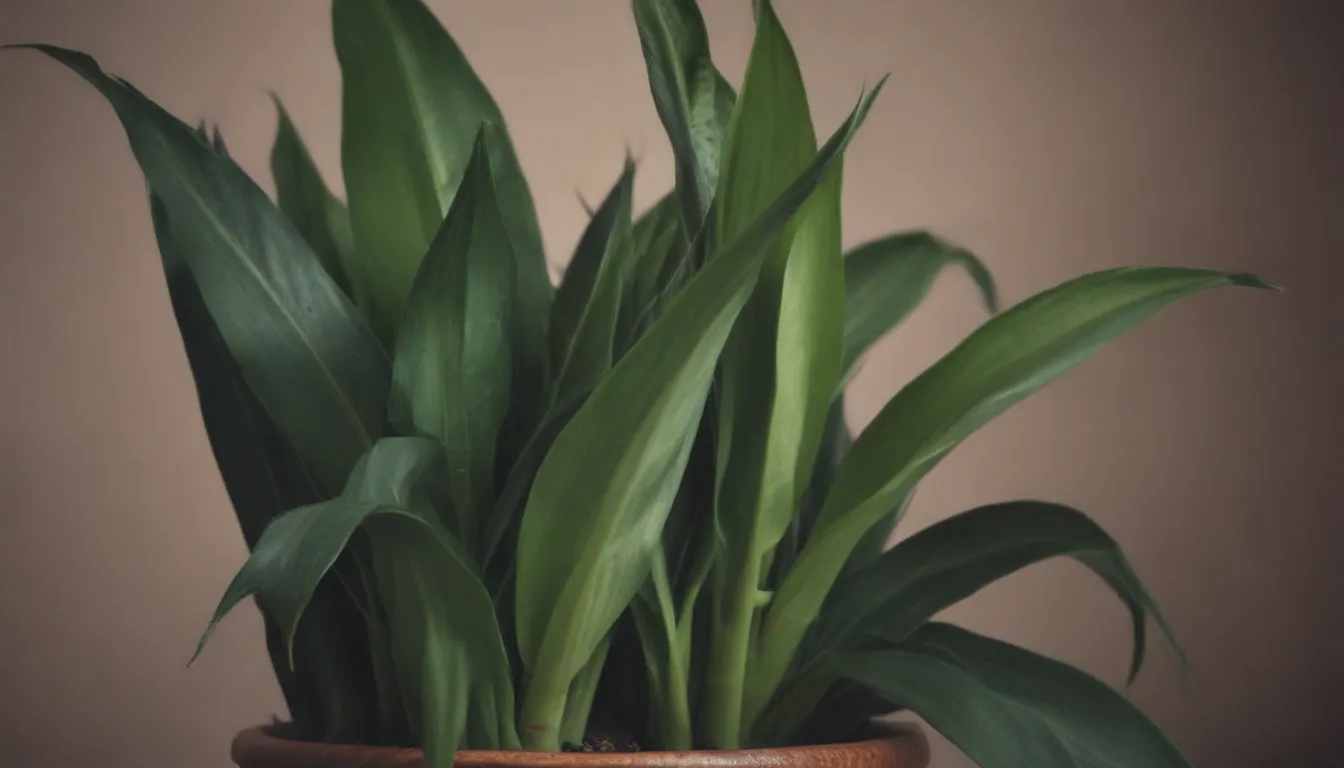
Snake plants, also known as Sansevieria, are popular houseplants known for their ability to thrive in a variety of conditions with minimal care. One key aspect of caring for a snake plant is knowing when and how to repot it. Whether you’re a beginner plant parent or a seasoned green thumb, understanding the process of repotting a snake plant can help ensure its continued growth and health. In this comprehensive guide, we will explore the ins and outs of repotting a snake plant in six easy steps, covering everything from timing to choosing the right potting medium.
Understanding When to Repot a Snake Plant
Knowing when to repot your snake plant is crucial to its overall well-being. While snake plants are resilient and can tolerate being slightly potbound, there are certain signs that indicate it’s time for a change. Here are some factors to consider when determining if your snake plant needs repotting:
- It has outgrown its current pot and the roots are beginning to circle the base.
- The plant is becoming unstable and tipping over due to its size.
- The soil has become compacted and is not draining properly.
- The plant is showing signs of nutrient deficiencies, such as yellowing leaves or stunted growth.
The ideal time to repot a snake plant is in the spring, as the plant emerges from its winter dormancy and begins actively growing. This is a period of renewed growth and vitality for the plant, making it the perfect time to transition to a new pot.
Steps to Successfully Repotting a Snake Plant
Repotting a snake plant may seem like a daunting task, but with the right approach, it can be a simple and rewarding process. Follow these six easy steps to ensure a smooth transition for your snake plant:
Step 1: Selecting the Right Pot
Choosing the right pot is essential for the health and growth of your snake plant. Opt for a pot that is at least 2 inches wider than the current one, with adequate drainage holes at the bottom. Ceramic or clay pots are recommended, as they allow for better airflow and drainage compared to plastic pots.
Step 2: Preparing the Potting Medium
Prepare a well-draining potting medium for your snake plant by mixing cactus potting soil with perlite and sand. This mixture will provide the necessary nutrients and aeration for healthy root growth.
Step 3: Removing the Snake Plant From Its Current Pot
Carefully remove the snake plant from its current pot by gently loosening the soil around the edges. If the plant is in a plastic pot, you may need to cut the pot to release the plant without damaging the roots.
Step 4: Inspecting the Rootball
Inspect the rootball for any signs of disease or rot. Trim away any damaged or diseased roots with a sharp knife or scissors to promote healthy growth.
Step 5: Placing the Snake Plant in Its New Pot
Position the snake plant in the center of the new pot, ensuring that the roots are spread out evenly. Add the prepared potting medium around the plant, gently pressing it down to secure the plant in place.
Step 6: Watering and Resuming Care
Water the snake plant sparingly after repotting, allowing the soil to dry out slightly between waterings. Avoid overwatering, as snake plants are sensitive to excess moisture. Resume regular care and maintenance, keeping an eye on the plant for any signs of stress or nutrient deficiencies.
Tips for Successful Repotting
Here are some additional tips to ensure a successful repotting process for your snake plant:
- Monitor the plant for several weeks after repotting to ensure it is adjusting well to its new environment.
- Avoid exposing the plant to direct sunlight immediately after repotting, as this can stress the plant.
- Consider dividing and propagating any offshoots or “pups” produced by the snake plant during repotting to promote new growth.
By following these steps and tips, you can successfully repot your snake plant and help it thrive in its new environment. Remember, repotting is a natural part of caring for your plants and can contribute to their overall health and longevity.
Repotting a snake plant may seem like a daunting task, but with the right approach and a little bit of know-how, you can ensure a smooth transition for your plant. By following these easy steps and tips, you can confidently repot your snake plant and watch it thrive in its new home. Remember, repotting is a simple yet crucial part of plant care that can have a big impact on the health and growth of your snake plant. So don’t be afraid to roll up your sleeves and give your plant the care it deserves!
