The Ultimate Guide to Pruning Dill Plants: Tips and Techniques for a Bountiful Harvest
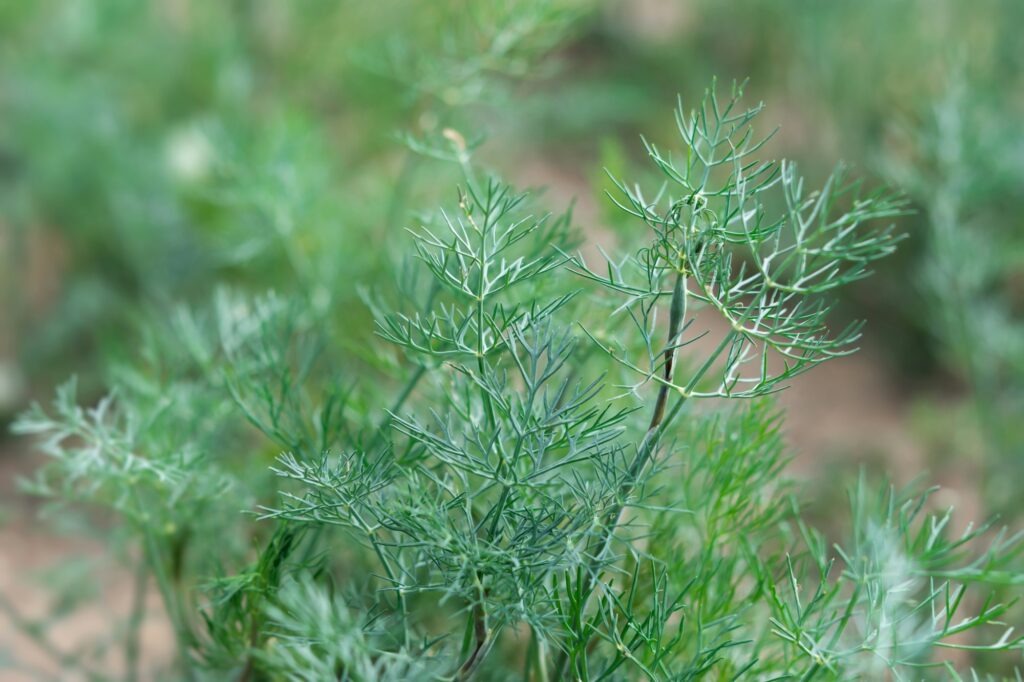
Are you looking to elevate your herb garden game? Dill, with its delicate feathery leaves and aromatic flavor, is a fantastic addition to any garden. But did you know that proper pruning can take your dill from good to great? In this comprehensive guide, we’ll explore the art of pruning dill plants, helping you cultivate a lush, productive herb garden that’ll be the envy of your neighborhood.
Why Pruning Dill Matters: More Than Just Maintenance
You might be wondering, “Why bother pruning dill at all?” Well, let me tell you, pruning isn’t just about keeping your plants tidy. It’s a game-changer for your dill’s health and productivity. Here’s why:
- Encourages bushier growth: Regular pruning stimulates your dill to branch out, giving you a fuller, more robust plant.
- Boosts new growth: By removing older parts, you’re telling your dill to focus its energy on fresh, tender leaves.
- Enhances flavor: Pruned dill often produces more flavorful leaves, perfect for your culinary adventures.
- Extends harvest season: With proper pruning, you can enjoy fresh dill for a longer period.
Now that we understand the importance of pruning let’s dive into the nitty-gritty of how to do it right.
Before You Start: Essential Pruning Tips
Before we grab those pruning shears, let’s cover some ground rules to ensure your dill pruning adventure is a success:
- Timing is everything: Prune during the active growing season for best results. Avoid pruning during extreme weather conditions.
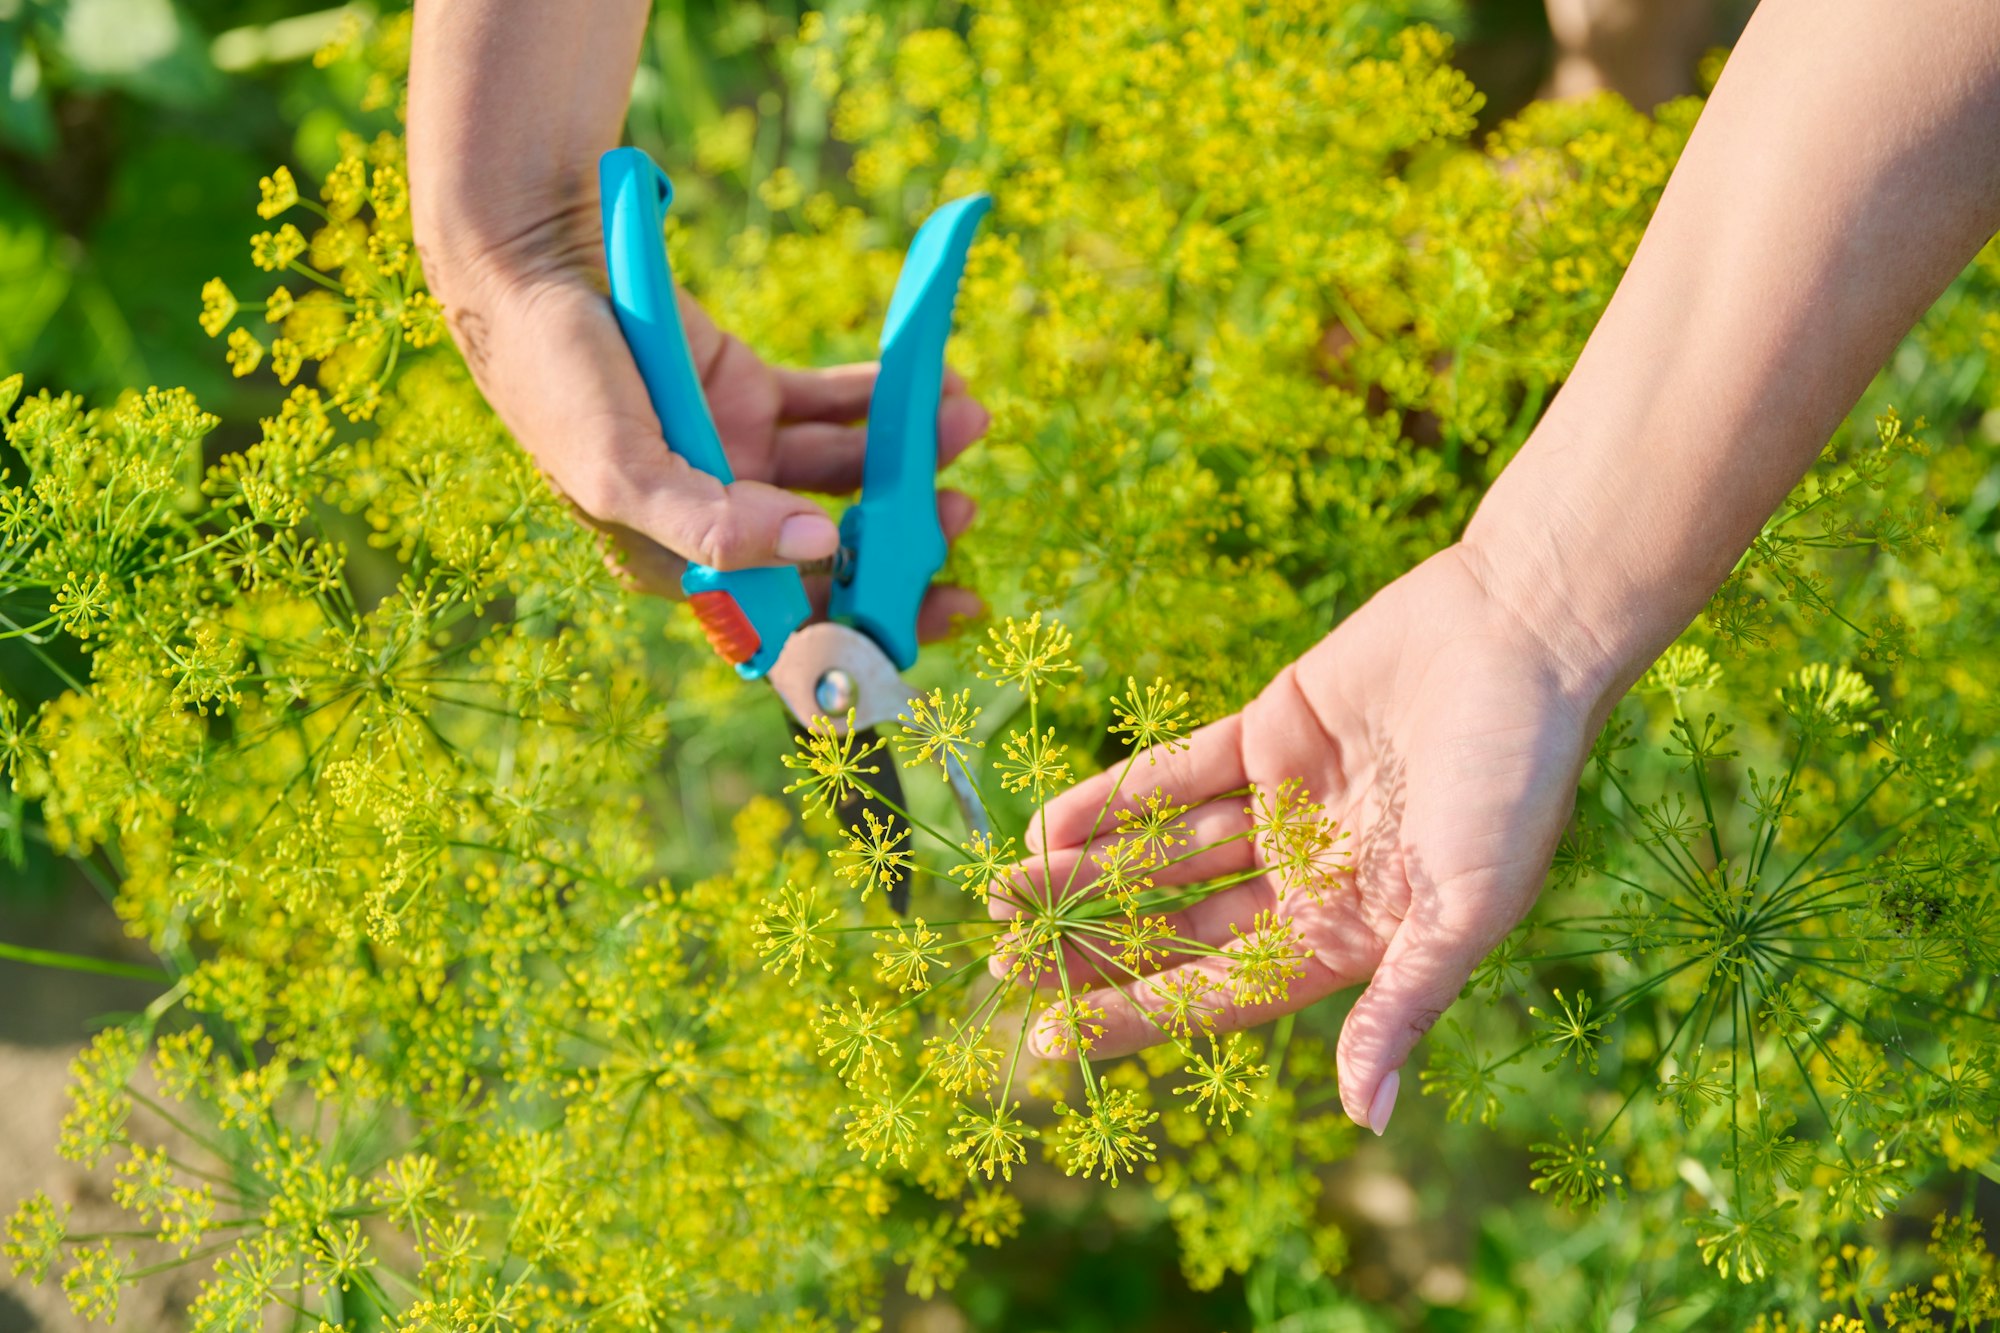
- Tools matter: Use clean, sharp pruning shears to prevent damaging the plant or spreading diseases.
- Start gentle: If you’re new to pruning dill, begin with light trimming and observe how your plant responds.
- Know your goals: Are you pruning for continuous fresh use, storage, or seed production? Your goal will influence your pruning technique.
With these tips in mind, let’s explore three effective methods for pruning your dill plants.
Method 1: Pruning Dill for Continuous Fresh Use
If you’re a home cook who loves having fresh dill at your fingertips, this method is for you. It’s all about promoting bushy growth and ensuring a steady supply of fresh herbs throughout the season.
Here’s how to do it:
- Wait until your dill plant is about 8 inches tall before the first pruning.
- Using sharp, clean pruning shears, cut the top 2-3 inches of the plant, just above a set of leaves.
- Continue this process throughout the growing season, always leaving at least two-thirds of the plant intact.
- Harvest the trimmed leaves immediately for use in your culinary creations.
Pro tip: Prune from different areas of the plant each time to encourage even growth and prevent your dill from becoming lopsided.
By following this method, you’ll encourage your dill to grow bushier and produce more leaves, giving you a continuous supply of fresh herbs for your kitchen adventures.
Method 2: Pruning Dill for Storage
Sometimes, you might want to harvest a larger quantity of dill for drying, freezing, or preserving. This method allows you to collect a significant amount of dill while still maintaining the plant’s health.
Follow these steps:
- Allow your dill plant to grow until it reaches about 12 inches in height.
- Using clean pruning shears, cut entire stems from the base of the plant, leaving about 2-3 inches of growth.
- Harvest up to one-third of the plant at a time to ensure it can recover and continue growing.
- Rinse the harvested dill thoroughly and pat it dry.
- Prepare the dill for your chosen storage method (drying, freezing, or preserving in oil).
Remember: Label and date your stored dill to keep track of freshness.
This method is perfect for those who like to stock up on herbs for future use or want to enjoy the flavor of summer dill all year round.
Method 3: Pruning Dill for Seed Production
If you’re interested in harvesting dill seeds for culinary use or future planting, this pruning method is tailored for you. It’s all about balancing leaf production with allowing the plant to flower and produce seeds.
Here’s what you need to do:
- Allow your dill plant to grow without heavy pruning until it’s about 12-15 inches tall.
- Pinch off the top 2-3 inches of growth to encourage bushiness.
- As flower buds begin to form, decide which ones you want to keep for seed production and which to pinch off for continued leaf growth.
- Allow chosen flower heads to develop fully and turn brown before harvesting seeds.
Tip: For the best of both worlds, designate some plants for seed production and others for leaf harvesting.
This method requires a bit more patience but rewards you with both fresh dill and a supply of seeds for future planting or culinary use.
Common Pruning Mistakes to Avoid
Even with the best intentions, it’s easy to make mistakes when pruning dill. Here are some common pitfalls to watch out for:
- Over-pruning: Removing more than one-third of the plant at once can stress your dill and slow its growth.
- Pruning at the wrong time: Avoid pruning during the hottest part of the day or when the plant is under stress.
- Using dirty tools: Always clean your pruning shears between plants to prevent the spread of diseases.
- Ignoring the plant’s natural shape: Work with your dill’s natural growth pattern rather than trying to force an unnatural shape.
- Forgetting to harvest regularly: Regular harvesting is a form of pruning and encourages continued growth.
Beyond Pruning: Additional Tips for Thriving Dill Plants
While pruning is crucial, it’s just one part of maintaining healthy dill plants. Here are some additional tips to ensure your dill thrives:
- Provide adequate sunlight: Dill loves full sun, so make sure it gets at least 6-8 hours of direct sunlight daily.
- Water wisely: Keep the soil consistently moist but not waterlogged. Dill doesn’t like wet feet!
- Use well-draining soil: A mix of garden soil and compost provides the nutrients dill needs while ensuring good drainage.
- Companion planting: Dill pairs well with cucumbers, lettuce, and onions. It can also attract beneficial insects to your garden.
- Fertilize sparingly: Dill doesn’t need much fertilizer. Too much can lead to less flavorful leaves.
Harvesting and Using Your Pruned Dill
Now that you’re a dill pruning pro, let’s talk about how to make the most of your harvest:
- Fresh use: Add freshly pruned dill leaves to salads, fish dishes, or homemade pickles for a burst of flavor.
- Drying: Hang bunches of dill upside down in a warm, dry place until the leaves crumble easily.
- Freezing: Chop fresh dill and freeze in ice cube trays with a bit of water or oil for easy portioning.
- Dill seeds: Use dried dill seeds in pickling spice mixes or grind them for a unique spice blend.
Remember, the key to flavorful dill is using it fresh or preserving it properly immediately after pruning.
Troubleshooting Common Dill Problems
Even with proper pruning, you might encounter some issues with your dill plants. Here are some common problems and solutions:
- Yellowing leaves: Often a sign of overwatering or poor drainage. Adjust your watering schedule and ensure good soil drainage.
- Leggy plants: Insufficient light can cause dill to become spindly. Move to a sunnier location if possible.
- Pest infestations: Aphids and spider mites can be a problem. Try introducing beneficial insects or using a mild soap solution to deter pests.
- Bolting: Dill naturally flowers and sets seed quickly. Regular pruning can delay this process, but you can also succession plant for a continuous harvest.
Conclusion: Embracing the Art of Dill Pruning
Pruning dill might seem like a small task, but it’s a powerful tool in your gardening arsenal. By understanding the why and how of dill pruning, you’re setting yourself up for a bountiful harvest of this versatile herb. Remember, each snip of your pruning shears is an investment in healthier, more productive plants.
Whether you’re pruning for fresh use, storage, or seed production, the key is to be gentle, consistent, and attentive to your plant’s needs. With these techniques in your gardening toolkit, you’re well on your way to becoming a dill pruning expert.
So, grab those pruning shears and get ready to transform your dill plants into the stars of your herb garden. Happy pruning, and may your dill harvests be plentiful and flavorful!

