How to Open and Close a Paint Can Like a Pro: Tips, Tricks, and Tools
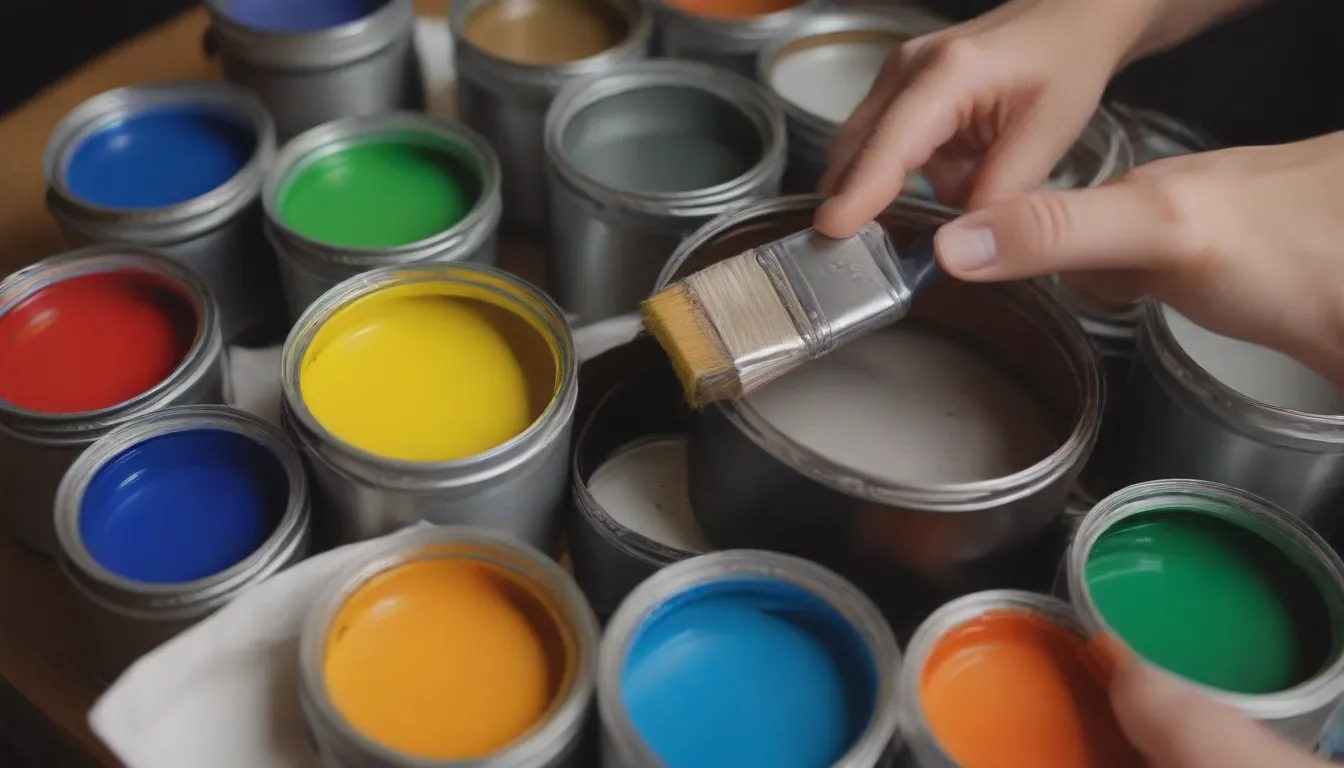
Painting is a fun and rewarding DIY project that can transform the look and feel of your space. Whether you’re a seasoned pro or a complete beginner, knowing how to properly open and close a paint can is essential for a successful painting job. In this comprehensive guide, we’ll walk you through the best techniques and tools to use, so you can open a paint can like a professional—and not spill a single drop.
The Basics of Opening a Paint Can
Opening a paint can may seem daunting at first, but with the right tools and techniques, it can be a breeze. Here are some popular tools and methods you can use to open a paint can effectively:
-
Paint Can Opener / Paint Key: This handy tool is specifically designed to open paint cans with ease. Simply insert the tip between the rim and the lid, push down on the handle to pry open the lid, and move the tool around the lid until you can lift it off fully.
-
Flathead Screwdriver: If you don’t have a paint can opener, a flathead screwdriver can also do the job. Make sure to use a screwdriver with a long handle for added leverage. Insert the tip of the screwdriver under the edge of the lid and gently press down on the handle to pop the lid up.
-
Putty Knife: A putty knife is another great tool for opening paint cans. Use a narrow, rigid putty knife to insert the edge under the lid and apply gentle yet firm pressure to raise it up, moving the knife around the can as necessary to pry it off.
-
Bottle Opener: Surprisingly, a bottle opener can also be used to open a paint can. Simply insert the blunt end of the opener under the rim of the lid and gently pry it open, being careful not to dent the lid.
-
Painter’s Multitool: A multitool with a paint can opener option can be a versatile tool to have on hand for various painting tasks. Locate the can opener on the tool and use it to gently pry open the lid, or use other tools like a putty knife or flathead screwdriver if needed.
-
An Old Key: An old key can be repurposed as a paint can opener. Insert the flat side of the key tip under the rim and press down to gently pry open the lid.
-
Butter Knife: As a last resort, a butter knife can be used to open a paint can. Insert the flat end of the knife under the lid and gently pry it open, moving around the lid as you do.
Now that you know various ways to open a paint can, let’s move on to some tips on how to prevent spills during the process.
How to Prevent Spills When Opening a Can of Paint
Spilling paint can be a messy and frustrating experience, but with some simple precautions, you can easily avoid it. Here are some tips to prevent spills when opening a can of paint:
-
Use a tarp or drop cloth: Place a tarp or drop cloth under the paint can to catch any potential spills or drips.
-
Pry the lid open slowly: Take your time when opening the paint can to prevent sudden movements that may cause spills.
-
Secure the lid for later: Once the lid is open, make sure to secure it properly to avoid accidental spills or leaks.
How to Close a Can of Paint
After you’ve finished using the paint, properly closing the can is essential to preserve the paint for future use. Here are some steps to follow when closing a can of paint:
-
Wipe excess paint: After opening the can, wipe any excess paint from the rim to prevent it from hardening and making it difficult to reopen.
-
Cover the can: Place the lid on the can and cover the entire top with a rag or cloth to protect the lid and prevent splashing.
-
Secure the lid: Using a hammer or rubber mallet, tap gently around the edge of the lid until it is securely in place. Avoid using a hammer’s claw to open the can, as it may damage the can and lid.
-
Stuck lid: If the lid is stuck, use a flathead screwdriver to scrape away dried paint from the rim, or apply a lubricant like WD-40 to loosen it before prying it open.
By following these simple tips and techniques, you can open and close a paint can like a pro and enjoy a mess-free painting experience. Happy painting!

