Comprehensive Guide: How to Properly Install a Baseboard Heater
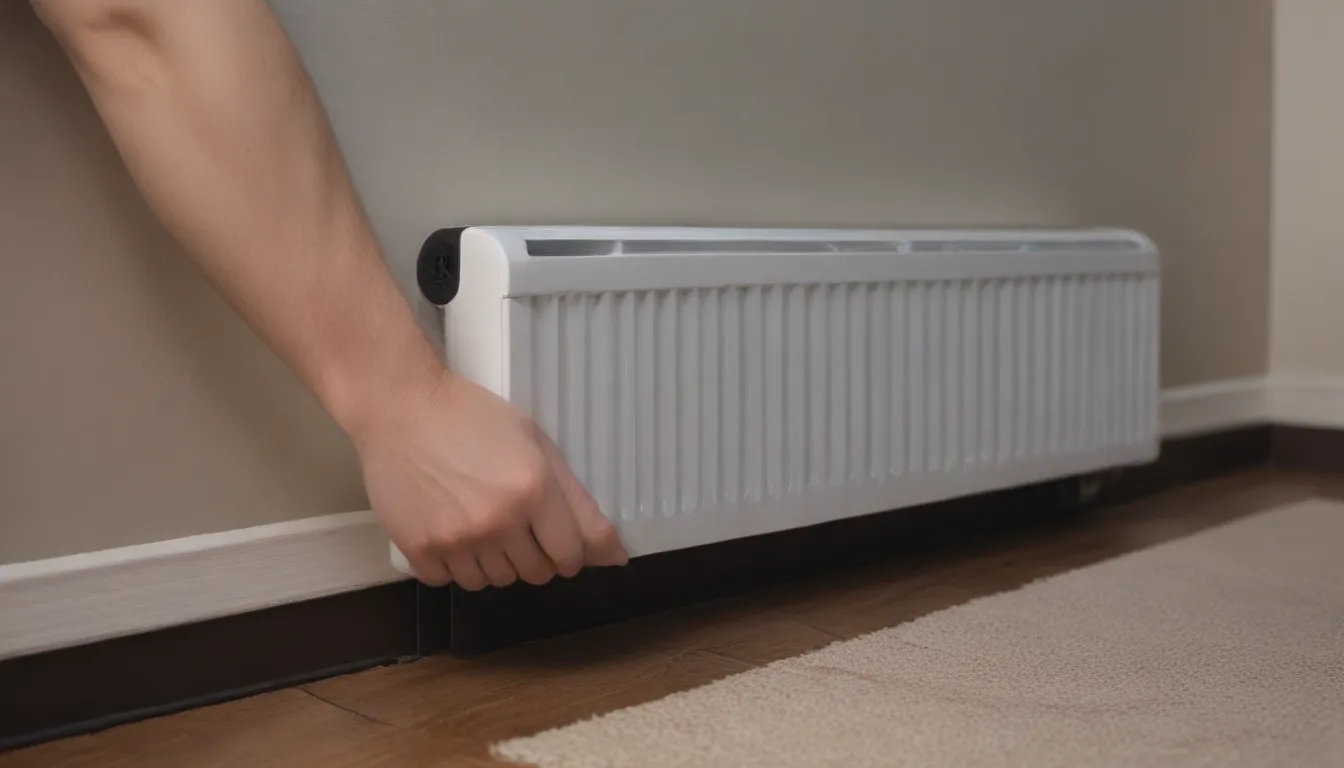
Are you considering adding a baseboard heater to a room in your home to combat those chilly winter days? Baseboard heaters can be a fantastic solution for providing supplemental heat to rooms that may lack proper insulation or are generally colder than the rest of the house. In this comprehensive guide, we will walk you through the steps of installing a baseboard heater, covering everything from choosing the right size heater to the final wiring connections. Whether you are a seasoned DIYer or new to electrical projects, this guide will help you navigate the installation process with ease and confidence.
Choosing the Right Baseboard Heater Size
Before diving into the installation process, it’s essential to select the right size baseboard heater for the room you intend to heat. Here are some key points to consider when choosing the appropriate heater size:
- Calculate the square footage of the room: Ensure that you choose a heater size that can adequately heat the entire space. A general rule of thumb is to allow approximately 10 watts per square foot of room area.
- Determine the voltage: Baseboard heaters come in two varieties – 120-volt and 240-volt. While both types can effectively heat a room, 240-volt models tend to be slightly more energy-efficient due to their higher voltage.
- Consider placement: Baseboard heaters should typically be mounted on the lower portion of an outside wall. Avoid placing them below outlets where cords might drape over the heater.
Hiring a Professional for Electrical Work
Tip: Only DIYers confident in their electrical skills should tackle this project. If you have any doubts about your ability to add a circuit or breaker, it’s best to hire a professional electrician to ensure the installation is done safely and correctly.
Breaker and Circuit Wiring
The first step in installing a baseboard heater is to wire a 20-amp circuit to power the unit. Here’s a simplified breakdown of the wiring process:
- Run a 12-2 non-metallic sheathed cable from the electrical service panel to the location of the baseboard heater.
- Connect the black and white circuit wires to a double-pole 20-amp breaker for a 240-volt heater, or a single-pole 20-amp breaker for a 120-volt heater.
- Label the white wire near the breaker, thermostat, and heater connections with a piece of black or red tape to signify that it is a hot wire, not a neutral wire.
- Ensure the bare-copper ground wire is properly connected to the ground buss on the panel.
Thermostat Wiring
Once the circuit is in place, you’ll need to connect the thermostat to the baseboard heater. Here’s how to wire the thermostat for both 240-volt and 120-volt circuits:
- For a 240-volt connection, the two hot wires from the breaker go to the “line” side of the thermostat, while the wires leading to the heater connect to the “load” side.
- Label both white circuit wires as hot with tape.
- Ground wires should be connected to the ground screw on the thermostat using a pigtail wire.
- For a 120-volt connection, the hot wire from the breaker connects to the “line” wire on the thermostat, while the wire leading to the heater connects to the “load” wire.
- The neutral wires do not connect to the thermostat but are joined together in the thermostat box.
Heater Wiring
Finally, it’s time to connect the thermostat to the baseboard heater. Follow the manufacturer’s wiring diagram for precise instructions, keeping these general guidelines in mind:
- With 240-volt circuits, each hot circuit wire typically connects to a heater wire, while the ground wire connects to the ground screw on the heater.
- For 120-volt heaters, the black hot wire connects to one heater wire and the white neutral wire connects to the other.
- Ensure all ground wires are properly connected to the ground screw on the heater.
By following these steps and guidelines, you can successfully install a baseboard heater in your home and enjoy the added warmth and comfort it provides during the colder months.
Safety Precautions
When working with electrical systems, it’s crucial to prioritize safety at all times. Here are some essential safety tips to keep in mind during the installation process:
- Always turn off the power supply before beginning any electrical work to prevent the risk of electric shock.
- Use insulated tools to avoid contact with live wires.
- Double-check all connections to ensure they are secure and properly insulated.
- If you encounter any unfamiliar or challenging wiring situations, don’t hesitate to seek guidance from a professional electrician.
Conclusion
Installing a baseboard heater can be a rewarding DIY project that enhances the comfort and warmth of your home. By following the step-by-step instructions outlined in this guide and prioritizing safety throughout the process, you can successfully add a supplemental heat source to any room in your home. Remember, if you encounter any difficulties or are unsure about any aspect of the installation, it’s always best to seek assistance from a qualified professional. Stay warm and cozy all year round with a well-installed baseboard heater!

