Smart Ways to End a Backsplash on an Open Wall: A Comprehensive Guide
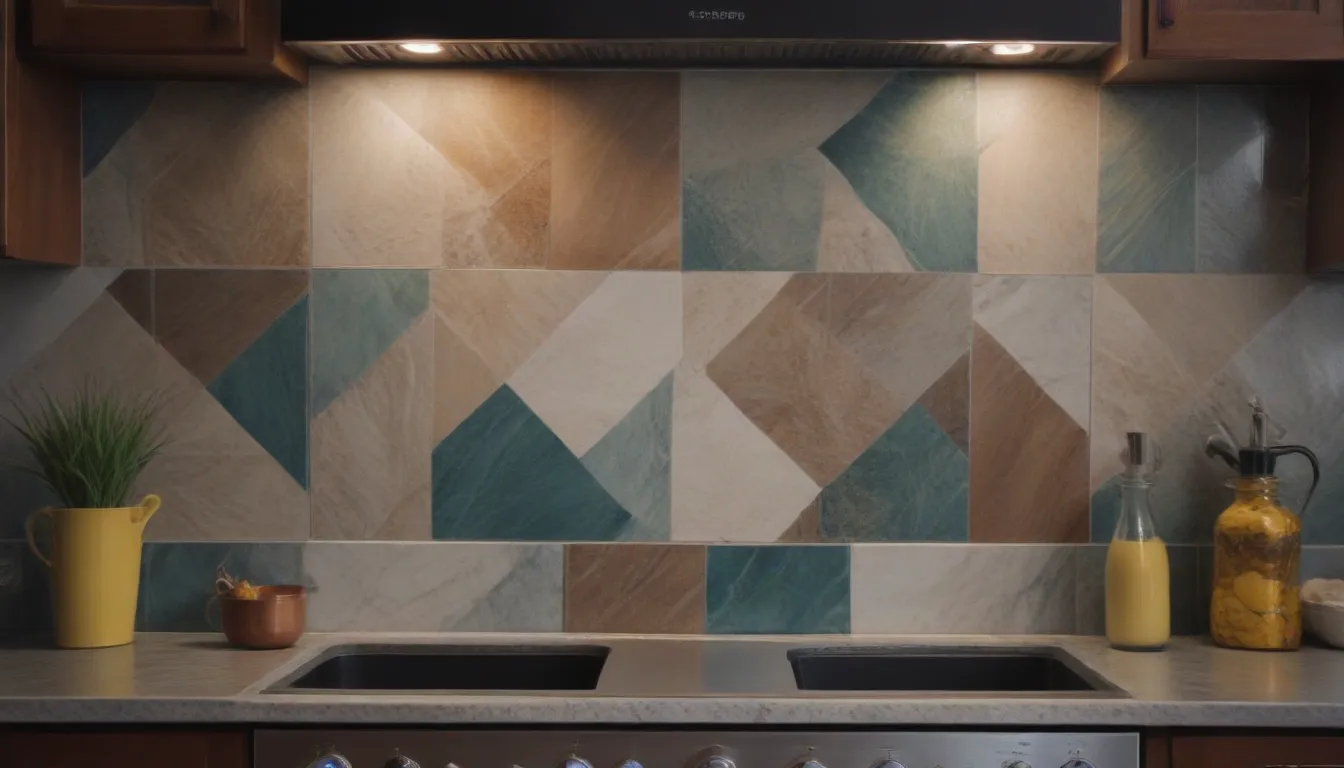
So you’ve finally found the perfect tile, mosaic, or panel for your kitchen or bathroom backsplash. But now you’re faced with the dilemma of how to properly finish the backsplash on an open wall without it looking out of place. Fear not, as we’ve got you covered with 12 smart and creative ways to seamlessly end your backsplash, ensuring a polished and cohesive look that complements your space.
Making Ends Meet
One of the simplest and most effective ways to end a backsplash is by aligning the tiles at the top to create a clean edge at a natural stopping point. This can be achieved by aligning the tiles with wall cabinetry, a soffit, or the base of a windowsill. By ending the tiling just underneath the casework, sharp edges are concealed, eliminating the need for bullnose edging or trims. You can also align the sides with cabinetry to achieve a similar polished look.
Tapering Off the Tile
For those feeling ambitious and creative, consider tapering off the backsplash at the top. Stagger the tiles towards the top and then reduce the number of tiles to seamlessly transition the backsplash onto the plain wall. This method adds a unique and visually appealing touch to your space.
Defining an Area
Create a defined area within your backsplash by framing a section of tiling. This can be achieved using a picture railing, chair railing, or trim tile. This approach is commonly used in kitchens above a cooktop to add visual interest and delineate the backsplash area.
Taking the Edge Off
Many tile collections offer bullnose trim tiles that match the main tile but feature rounded edges. These trim tiles can be used to soften the edges of the backsplash and create a seamless transition. If your selected tile does not offer coordinating trims, consider exploring similar options from other brands.
Trimming It
Trimming the backsplash with a subtle band can create a border that covers the tile edges for a smoother transition. Trim options come in various materials such as aluminum, steel, or PVC, and in different profiles ranging from rounded to L-shaped. Choose a trim that complements your style and budget to achieve a polished look.
Choosing Sides
Consider cladding the wall in tile or panel from the countertop or floor up to the ceiling while delineating the sides of the backsplash. Using trim to end the side edges or aligning the sides with cabinetry can create a cohesive look.
Setting Boundaries
Create your own defined border for the backsplash using trim or contrasting tile. This allows you to customize the height of the backsplash in different sections, achieving a tailored look. For a cleaner and more seamless appearance, consider using strips or slabs of the kitchen or vanity countertop material.
Stepping on the Ledge
Instead of abruptly ending the backsplash, consider extending a strip of the countertop material to create a slim ledge on top of the backsplash. This provides a natural stopping point and doubles as a mini-shelf for decorative accents or everyday items.
Adding a Shelf
Delineate and end the backsplash by adding floating wall shelves. This method is ideal for walls without natural stopping points and provides additional storage space for decor or spices. Enhance the functionality of your space while maintaining a cohesive look.
Getting Onboard
Enhance the look of your kitchen or bathroom backsplash by introducing depth through wainscotting above or below the backsplash. Paneling that mimics the space’s millwork can add a touch of class, while beadboard can achieve a farmhouse or cape cod aesthetic.
Reflecting On It
In bathroom settings, consider tiling from floor to ceiling for a sleek look. If cladding the entire wall isn’t feasible, create a stopping point with a large wall mirror. The mirror not only adds sophistication to the space but also serves a practical purpose.
Caulking It
For a budget-friendly and easy finishing touch, consider using caulk to end the backsplash. Apply painter’s tape to delineate the area to be caulked and achieve a clean, professional finish. Smooth out the caulk line using a covered finger or specialized tool before removing the tape.
In conclusion, ending a backsplash on an open wall doesn’t have to be daunting. By implementing one of these smart methods, you can achieve a polished and cohesive look that enhances the overall aesthetic of your space. Whether you prefer a simple and clean finish or a creative and unique touch, these tips will help you transform your backsplash into a focal point of your kitchen or bathroom. Experiment with different techniques to find the one that best suits your style and space.
