The Ultimate Guide to Upholstery Cleaning
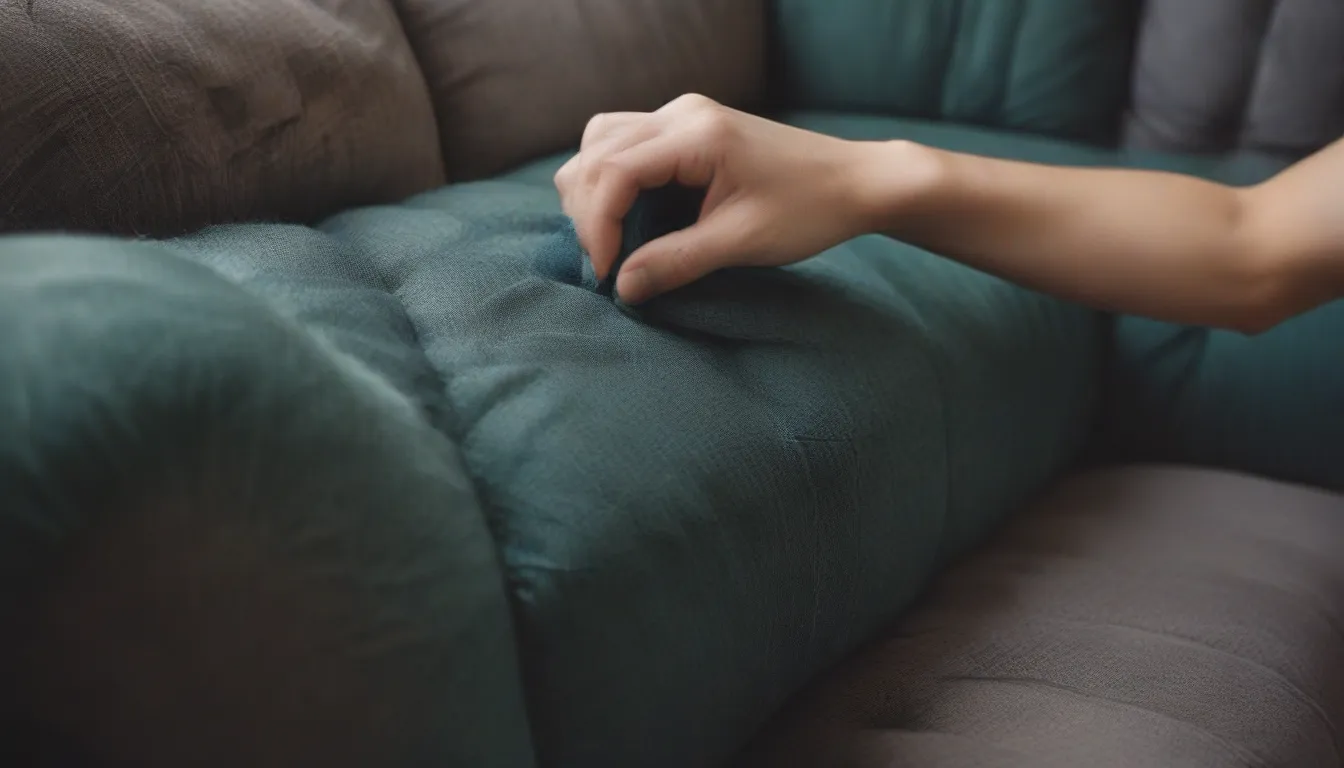
If you’re looking to give your furniture a refresh without breaking the bank, learning how to clean upholstery is a valuable skill. Stains from everyday use, pet hair, and dirt can quickly take a toll on the appearance of your upholstery. But fear not, with a few simple steps and some handy tips, you can make your furniture look nearly new again – all without having to hire a professional.
Why Clean Your Upholstery
Before we dive into the nitty-gritty of cleaning your upholstery, let’s talk about why it’s important. Upholstery cleaning not only improves the appearance of your furniture but also helps to maintain its longevity. Regular cleaning can prevent stains from setting in and keep your upholstery looking fresh for years to come.
Reasons to Clean Your Upholstery:
- Remove stains from food and drink spills
- Eliminate pet hair and dander
- Get rid of dirt and dust buildup
Now that we understand the importance of upholstery cleaning, let’s explore the step-by-step process of how to clean your furniture like a pro.
Understanding Cleaning Codes
The first step in cleaning your upholstery is to understand the cleaning codes provided by the manufacturer. These codes indicate the recommended cleaning method for your specific type of fabric. Here are the most common cleaning codes you may encounter:
- Code W: Clean with water-based cleaning solvents
- Code S: Use dry cleaning or water-free solvents
- Code W-S: Can be cleaned with water-based or solvent-based products
- Code X: Avoid using any cleaning agent, only vacuum or seek professional cleaning
It’s essential to follow these codes to ensure you don’t damage the fabric. Remember, never oversaturate the fabric with moisture, as it can lead to mold and mildew growth.
How Often to Clean Upholstery
While vacuuming your upholstery weekly is a good practice, deep cleaning and stain removal should be done quarterly or as needed. Here’s a breakdown of how often you should clean your upholstery:
- Weekly: Vacuum upholstery to remove surface dust and debris
- Quarterly: Deep clean to remove stains and refresh the fabric
Now that we have a good understanding of the basics, let’s move on to the practical steps of cleaning your upholstery.
What You Need for Upholstery Cleaning
Before you begin cleaning your upholstery, gather the necessary supplies and tools. Here’s a list of items you’ll need:
Supplies:
- Upholstery cleaner (water-based or solvent-based)
- Dishwashing liquid
- White vinegar
- Microfiber cloths
- Paper towels
- Soft-bristled brush
Tools:
- Vacuum cleaner with upholstery attachment
- Sponge or brush for spot cleaning
- Steamer (optional but recommended for deep cleaning)
- HEPA-filtered vacuum for allergen removal
Step-by-Step Upholstery Cleaning Process
Now that you have everything you need, let’s walk through the process of cleaning your upholstery:
1. Vacuum Thoroughly
Start by vacuuming the upholstery to remove surface dust, dirt, and pet hair. Use a vacuum with a HEPA filter for maximum allergen removal. Don’t forget to vacuum the sides, cushions, and bottom of the furniture.
2. Spot Treat Stains
If you have any specific stains on your upholstery, begin by blotting away moisture with paper towels. For solid stains, use a dull knife or credit card edge to lift away as much as possible. Avoid rubbing the stain, as this can push it deeper into the fabric.
3. Prepare Cleaning Solution
Depending on your fabric’s cleaning code, prepare a suitable cleaning solution. For water-based cleaners, mix dishwashing liquid with warm water. For dry-cleaning solvents, follow the product label instructions.
4. Clean the Upholstery
Dip a sponge or microfiber cloth into the cleaning solution and gently scrub the upholstery in small sections. Be cautious around metal components to avoid rust stains. Rinse with plain water and blot dry to remove any excess moisture.
Additional Tips for Upholstery Cleaning:
- Use a steamer for deep cleaning
- Test cleaning solutions in a hidden area first
- Avoid direct heat on upholstery fabric
- Consult the manufacturer’s care instructions for specific guidelines
DIY Stain Removal with Vinegar
For a natural stain removal solution, mix equal parts water and vinegar with a few drops of dish soap. Test this solution in an inconspicuous area before applying it to the stain.
By following these step-by-step instructions and tips, you can keep your upholstery looking clean and fresh for years to come. Remember, regular maintenance is key to preserving the beauty and longevity of your furniture.
So roll up your sleeves and get ready to tackle those stubborn stains and dirt – your upholstery will thank you for it!
