The Complete Guide to Replanting Orchids for a Healthy and Happy Plant Life

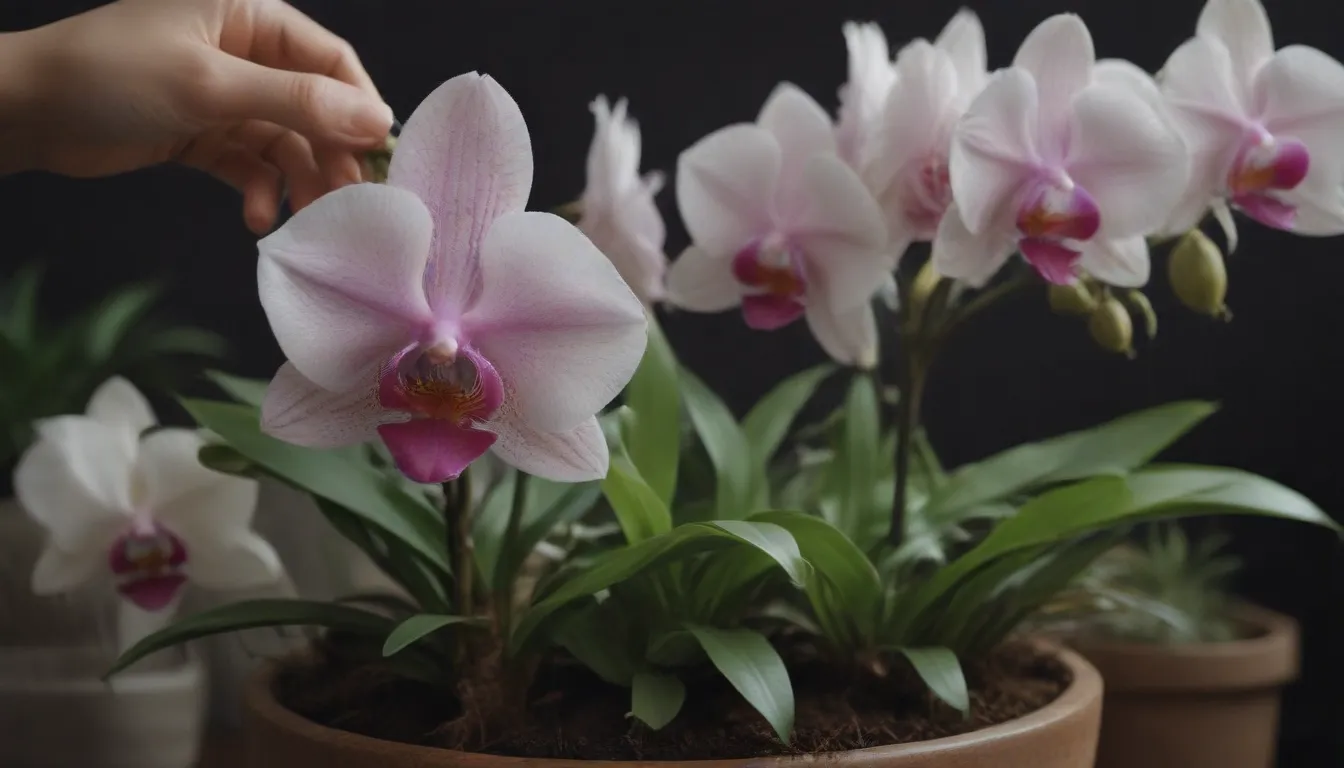
Orchids are known for their stunning blooms and delicate beauty, but did you know they require repotting every few years to ensure their health and vitality? In this comprehensive guide, we will explore the optimal growing conditions for orchid plants, step-by-step instructions on how to repot an orchid, as well as essential care tips to keep your orchid thriving year after year.
Optimal Growing Conditions for Orchid Plants
Before diving into the repotting process, it’s essential to understand the ideal growing conditions for orchid plants. Here are some key factors to consider:
- Lighting: Orchids thrive in strong light, but they should be protected from direct late-afternoon sunlight. Dendrobiums can handle more sun exposure than other varieties.
- Humidity and Airflow: Orchids require high humidity and good airflow around their roots to thrive.
- Temperature: Orchids do best in temperatures above 50 degrees but below 85°F. Creating these conditions will promote healthy growth and beautiful blooms.
Most store-bought orchids come in plastic pots with roots packed in soaked moss. Unfortunately, this setup hinders proper airflow and can lead to root rot. Orchid roots are specialized organs designed to absorb water quickly and require air circulation to thrive.
How to Repot an Orchid
Now that you understand the optimal growing conditions for orchids, let’s walk through the process of repotting an orchid to ensure its continued health and vitality.
-
Enjoy the Bloom: If your orchid is currently flowering, wait until the blooms have faded before attempting to repot it.
-
Prepare for Repotting:
- Remove the orchid from its plastic pot, being careful to remove as much moss as possible.
-
Prune any unhealthy roots by cutting away shriveled, rotten, or blackened sections.
-
Choose the Right Pot and Potting Mixture:
- Use specialized orchid pots with wide drainage slits to promote airflow.
-
Select an orchid potting mixture composed of pine bark, charcoal, and styrofoam for optimal drainage and root health.
-
Repot the Orchid:
- Set the orchid in the new pot and fill in gaps with potting mixture. The plant should be firmly situated but not completely anchored.
-
Over time, new roots will grow through the potting mixture and attach to the pot, anchoring the plant securely.
-
Provide Proper Care:
- Place the repotted orchid in an east-facing window with mild morning sun exposure.
- Use a wide, deep tray filled with gravel to provide humidity and catch excess water runoff.
Tips for Indoor Orchid Care
Caring for your orchid doesn’t have to be complicated. Follow these essential tips to ensure your orchid thrives year-round:
- Watering: During the summer, water your orchid weekly and thoroughly. Allow the water to drench the roots and fill the pebble tray.
- Feeding: During the growing season, feed your orchid weekly with a weak fertilizer solution. In the winter, reduce watering to once a month and avoid fertilizing.
- Temperature: Keep your orchid warm in the winter and mist it occasionally to maintain humidity.
- Monitoring: Watch for signs of distress such as yellowing or wrinkled leaves, lack of blooming, and adjust care accordingly.
With consistent care and attention to its growing conditions, your orchid will reward you with beautiful blooms year after year. A happy orchid will regularly produce new roots, leaves, and canes, enhancing its beauty and ensuring its longevity.
In conclusion, repotting an orchid is a crucial step in maintaining the health and vitality of these stunning plants. By following the steps outlined in this guide and providing proper care and attention, you can enjoy a thriving orchid that blooms season after season. Remember, a little love and care go a long way in ensuring your orchid’s happiness and longevity.


