Everything You Need to Know About Tack Cloths and How to Use Them

When it comes to achieving a flawless paint job or finish, dust is the enemy that can ruin your hard work. That’s where a tack cloth comes in handy. This simple tool can help you remove the smallest particles from surfaces before painting, staining, or finishing. In this in-depth guide, we will explore what tack cloth is, how it works, where to use it, and much more. So, let’s dive in and learn all about this essential tool!
What Exactly Is a Tack Cloth?
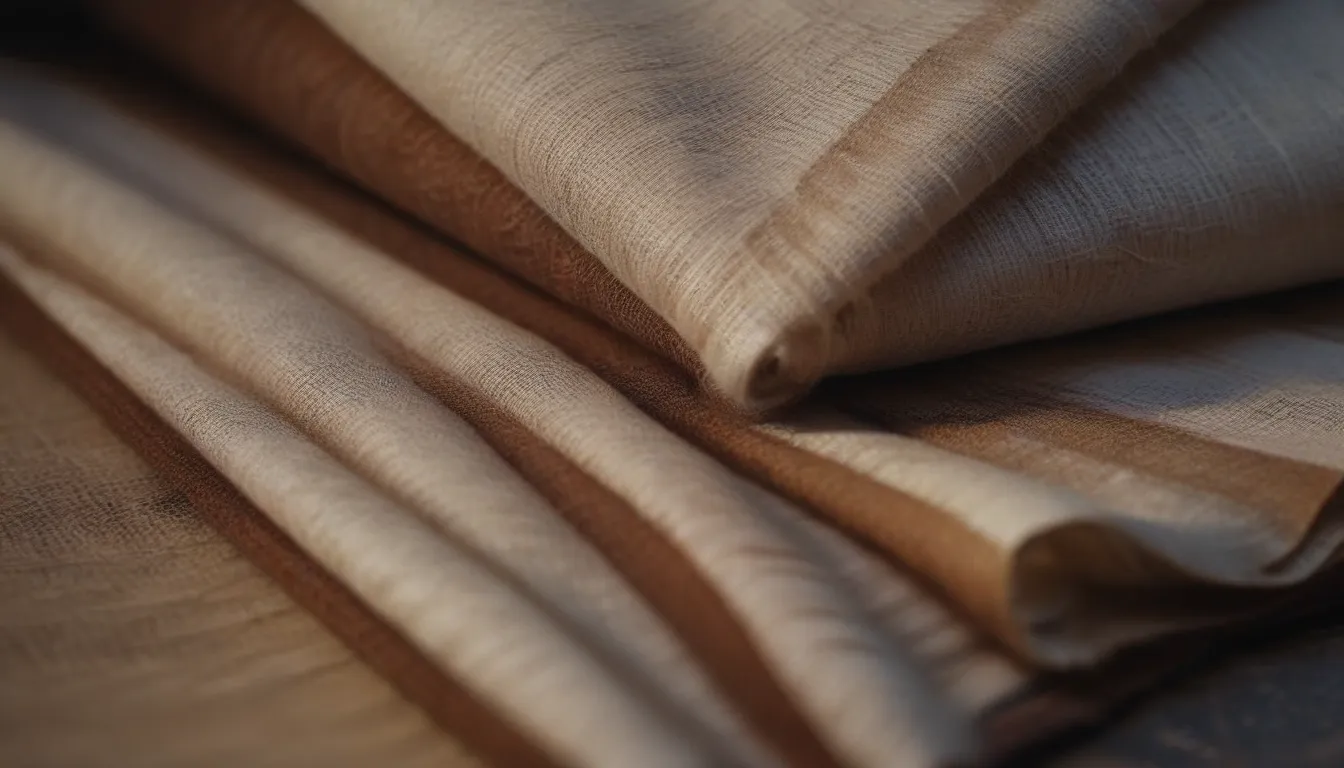
A tack cloth is a large sheet of loosely woven cheesecloth that is impregnated with beeswax. Cheesecloth is similar to medical-grade gauze, but the tack cloth is specifically designed to pick up dust and grime from surfaces without the need for water. The beeswax makes the cloth tacky, allowing it to attract and hold onto dust particles effectively. You can cut the tack cloth into smaller sections for easier use.
Using a tack cloth is like wiping down a surface with a damp cloth, but without the negative effects of water on porous surfaces. The beeswax acts as a magnet for dust, ensuring your surface is clean and ready for painting or staining.
How Does a Tack Cloth Work?
A tack cloth works by using the sticky properties of beeswax to attract and trap dust particles on its surface. The loosely woven cheesecloth allows the cloth to pick up even the smallest particles without embedding them in the surface. Professional painters and woodworkers use tack cloths to clean off surfaces like baseboards, trim, cabinets, and furniture before applying a finish.
It’s essential to remember that a tack cloth is a one-time use item. Once it’s full of dust and debris, you’ll need to dispose of it and use a new one for the next cleaning task.
Where Can You Use a Tack Cloth?
Tack cloths are perfect for cleaning small interior areas or items before painting or finishing. They excel at picking up sawdust, metal shavings, and other dry construction-related particles. Some appropriate surfaces and uses for tack cloths include:
- Baseboards
- Trim
- Cabinets
- Furniture
However, there are some surfaces where using a tack cloth may not be suitable. It’s important to avoid using a tack cloth on heavily soiled surfaces or areas with large quantities of debris, as it may not effectively pick up all the dirt.
Tack Cloth Alternatives
If you find yourself in a situation where you can’t use a tack cloth, there are several alternative options available. These alternatives won’t leave a sticky residue on your surface like a tack cloth might. Some alternatives include:
- Microfiber cloth
- Synthetic tack cloth
- Swiffer cloth
- Damp cloth
These alternatives can help you clean your surface effectively without the need for a tack cloth.
How to Use a Tack Cloth
Using a tack cloth is simple and straightforward. Here are some steps to guide you through the process:
- Cut the Tack Cloth: Use shop scissors or a utility knife to cut the tack cloth into smaller sections for easier handling.
- Clean the Surface: Before using the tack cloth, make sure to vacuum or wipe down the surface with a clean, dry cloth to remove any loose debris.
- Use the Tack Cloth: With light strokes, gently draw the tack cloth across the surface to pick up dust and particles. Avoid applying too much pressure, as this can embed the wax into the surface.
- Check Your Progress: Shine a light across the surface at a low angle to check for any remaining dust or debris. You can also use a clean white cloth to wipe the surface and inspect for leftover particles.
- Dispose of the Cloth: Once the tack cloth is full of debris, dispose of it in the regular household garbage. Do not attempt to reuse or wash the tack cloth.
By following these steps, you can effectively use a tack cloth to prepare your surfaces for painting or finishing.
How to Make Your Own Tack Cloth
While tack cloths are readily available at home centers and hardware stores, you can also create your own tack cloth in a pinch. Here’s how experienced woodworkers make their own tack cloths:
- Fold the Cloth: Thoroughly launder and dry a white cotton dish towel, then fold it in half several times to create a pad.
- Moisten the Cloth: Pour turpentine onto the towel and work it into the folds until the cloth is fully moist but not soaked.
- Add Varnish: Pour varnish onto the dampened cloth and distribute it evenly until the cloth is tacky to the touch.
- Store the Cloth: Keep the cloth in an airtight container until you need it. You can renew the tackiness by adding more turpentine and varnish as needed.
Creating your own tack cloth can be a cost-effective solution when you need one in a pinch.
In Conclusion
Tack cloths are essential tools for achieving a clean and dust-free surface before painting, staining, or finishing. By understanding how tack cloths work, where to use them, and how to make your own, you can ensure a professional-quality finish on your projects. Next time you’re prepping a surface for painting, reach for a tack cloth to make the job easier and more effective.


