Understanding Fertilizer Burn on Plants and How to Resolve It
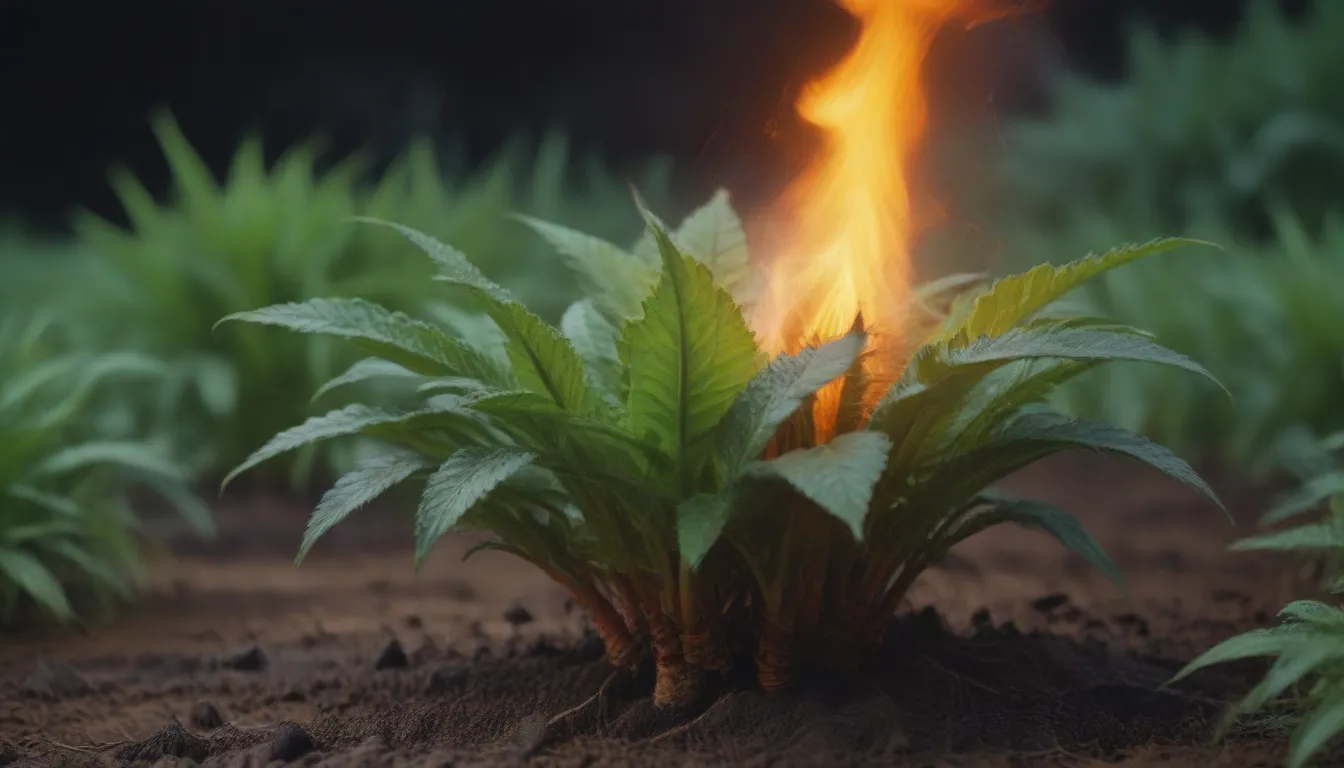
Hello plant enthusiasts! Today we’re diving into the topic of fertilizer burn to ensure that your plant babies thrive and flourish. Fertilizing your plants is crucial for their growth, but it’s essential to strike the right balance to prevent any damage. Let’s explore what fertilizer burn is, how to identify it, and most importantly, how to fix it!
What Is Fertilizer Burn?
Fertilizer burn occurs when plants receive too much fertilizer or when it is applied too frequently. Fertilizers contain salts that can accumulate in the soil after the roots absorb nutrients, leading to damage over time. For houseplants, which rely on supplemental feeding in pots, overfertilizing can be a common mistake. Most houseplant fertilizers are water-soluble, either rapid or slow-release, and the effects of overfertilizing can manifest differently depending on the formula used.
Signs of Fertilizer Burn on Houseplants
Here are some common signs that your plant may be experiencing fertilizer burn:
- White Crust: A white crust on the soil surface or pot indicates the presence of excess salts.
- Brown Leaf Tips and Margins: Brown leaf tips and edges can be a result of incorrect watering and/or fertilizing.
- Stunting: If your plant is not growing as expected or showing signs of stunted growth, it could be due to overfertilization.
- Wilting: Wilting can be a sign that your plant is not receiving the proper balance of nutrients.
When you notice these symptoms, it’s crucial to take action to correct the issue and save your plant.
How to Fix Fertilizer Burn
When dealing with fertilizer burn, early recognition and action are key to saving your plants. Here are some steps you can take to fix fertilizer burn:
Flush the Pot
- Flushing the pot with cool, clean water multiple times can help remove excess salts.
- Allow the water to drain away, ensuring that the plant is not sitting in standing water.
- Prune out any severely damaged leaves and refrain from feeding until the plant shows signs of new, healthy growth.
Tip: Consider using distilled or rainwater for your plants if you notice consistent salt deposits.
Repot
- Repotting your plant can help remove white deposits on the soil, pot surfaces, and foliage.
- Rinse the roots thoroughly with clean water before transferring the plant to a fresh pot with new potting medium.
- If there are no other signs of fertilizer burn, resume a diluted feeding schedule.
Tip: Replace the top inch of soil if you notice white crust to prevent further salt buildup.
Prune Damaged Roots
- Stunting and wilting may indicate damaged roots that need to be pruned.
- Carefully inspect the roots, removing any dried up or discolored sections.
- Gently rinse the roots and repot using fresh potting medium, withholding fertilizer until the plant has recovered.
Remember, prevention is always better than cure when it comes to fertilizer burn. Here are some tips to help you prevent this issue:
Preventing Fertilizer Burn
- Know Your Plant: Different plants have varying nutrient requirements, so it’s essential to understand the specific needs of each plant.
- Monitor Symptoms: Keep an eye out for signs of fertilizer burn such as dry leaf tips, white crust on soil, stunted growth, and wilting.
- Proper Watering: Ensure that your plant is receiving adequate water to help flush out excess salts.
- Follow Feeding Instructions: Always follow the recommended feeding instructions on the fertilizer package to avoid overapplication.
In conclusion, fertilizing your plants is essential for their health and growth, but it’s crucial to do so in moderation to avoid fertilizer burn. By understanding the signs of overfertilization and taking prompt action, you can help your plants thrive and flourish. Remember, a little goes a long way when it comes to feeding your plant babies!
