Creative DIY Countertop Ideas to Transform Your Space
Are you tired of looking at your old, worn-out countertops? Do you dream of a kitchen or bathroom makeover but worry about the cost? Look no further! DIY countertop ideas are here to save the day. With a little creativity and elbow grease, you can transform your space without breaking the bank.
In this comprehensive guide, we’ll explore various DIY countertop ideas that will breathe new life into your home. From simple updates to more ambitious projects, there’s something for everyone. Whether you’re a seasoned DIY enthusiast or a beginner looking to dip your toes into home improvement, these ideas will inspire you to create the countertops of your dreams.
Why Choose DIY Countertop Ideas?
Before we dive into the exciting world of DIY countertop ideas, let’s consider why this approach might be right for you:
- Cost-effective: DIY countertops can save you a significant amount of money compared to professional installation.
- Customization: You have complete control over the design, color, and finish of your countertops.
- Satisfaction: There’s a unique sense of pride in completing a project with your own hands.
- Flexibility: You can work on your countertops at your own pace and schedule.
- Learning opportunity: Gain valuable skills and knowledge about home improvement.
Now that we’ve established the benefits, let’s explore some fantastic DIY countertop ideas that will transform your space.
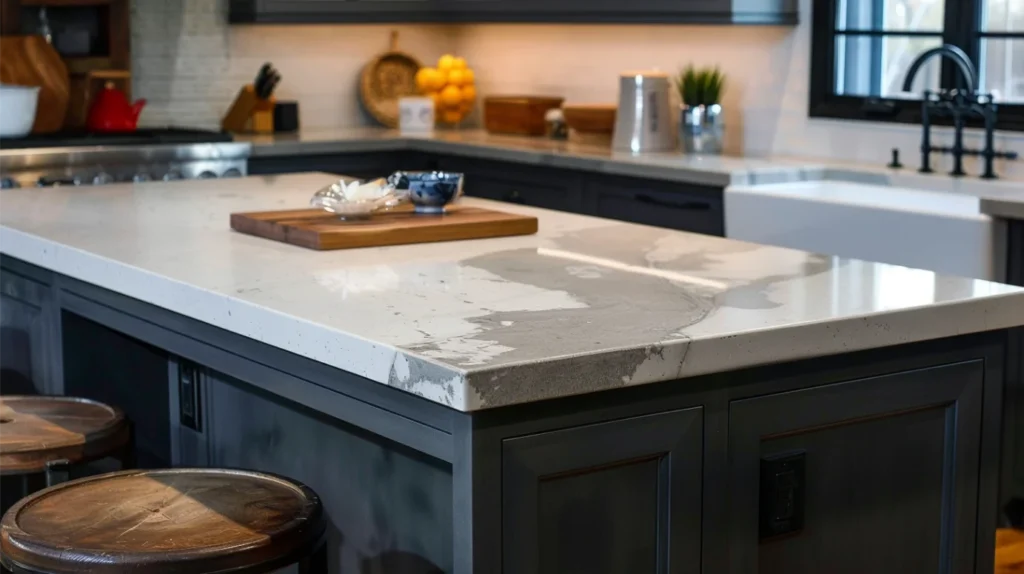
1. Concrete Countertops: Industrial Chic on a Budget
Concrete countertops have gained popularity in recent years, and for good reason. They offer a sleek, modern look that fits well in both contemporary and rustic spaces. Here’s how you can create your own concrete countertops:
Materials needed:
- Concrete mix
- Melamine boards for forming
- Reinforcement mesh
- Concrete sealer
- Sandpaper
Steps:
- Build a mold using melamine boards, ensuring it’s the exact size and shape of your desired countertop.
- Mix the concrete according to the manufacturer’s instructions.
- Pour the concrete into the mold, adding reinforcement mesh for strength.
- Allow the concrete to cure for at least 24 hours.
- Remove the mold and sand the surface for a smooth finish.
- Apply a concrete sealer to protect your new countertop.
Pro tip: Add glass fragments or metallic powders to the concrete mix for a unique, personalized look.
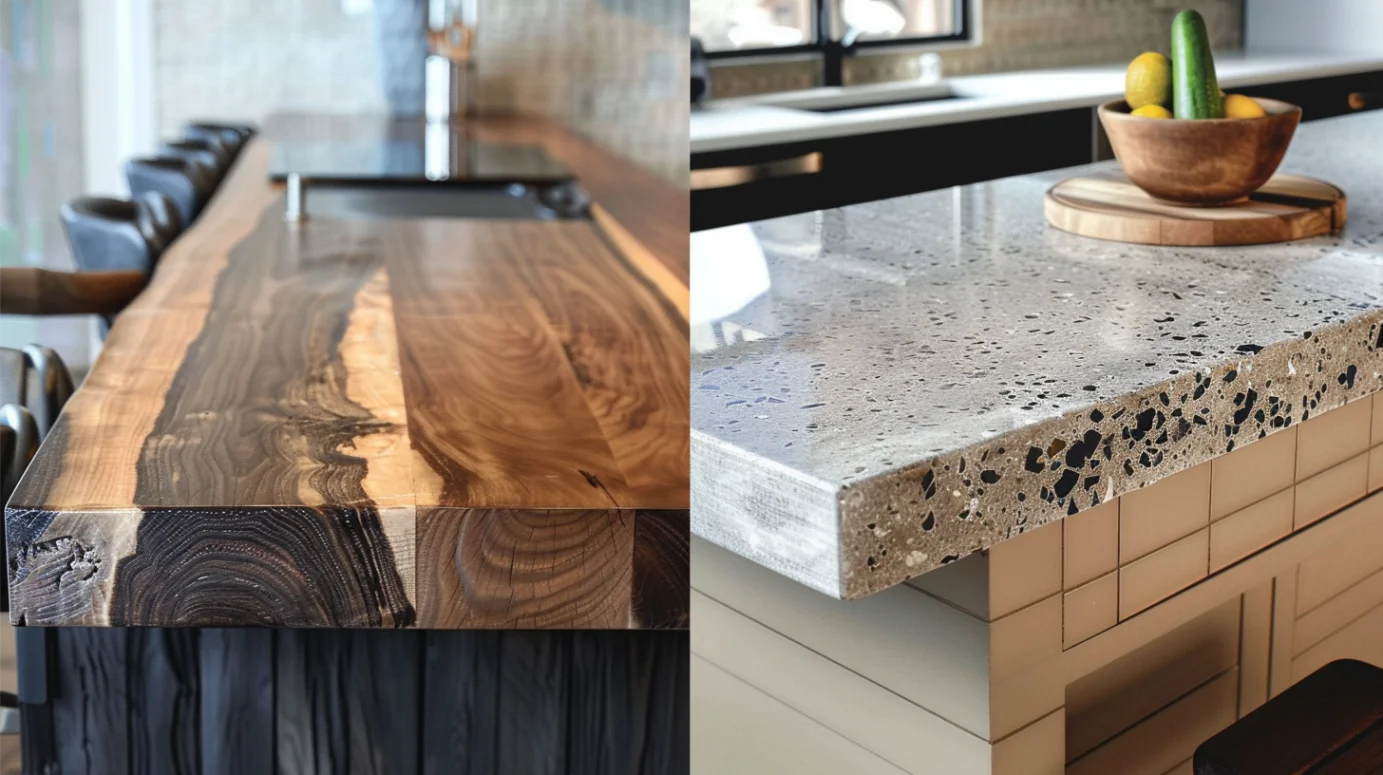
2. Butcher Block Countertops: Warm and Inviting
Butcher block countertops bring a touch of warmth and natural beauty to any kitchen. They’re relatively easy to install and can be customized to fit your space perfectly.
Materials needed:
- Butcher block slabs
- Wood glue
- Clamps
- Saw (if cutting is required)
- Food-grade mineral oil or butcher block oil
Steps:
- Measure your countertop area and purchase appropriately sized butcher block slabs.
- Cut the slabs to size if necessary, ensuring a snug fit.
- Apply wood glue to the edges and join the pieces together, using clamps to hold them in place.
- Once dry, sand the surface for a smooth finish.
- Apply several coats of food-grade mineral oil or butcher block oil to protect the wood.
Remember: Regularly oil your butcher block countertops to maintain their beauty and durability.
3. Painted Countertops: A Budget-Friendly Facelift
If you’re working with a tight budget or want a quick update, painting your existing countertops can be an excellent option. This method works well on laminate, wood, or even tile countertops.
Materials needed:
- Sandpaper
- Primer designed for your countertop material
- Paint (epoxy or acrylic, depending on the surface)
- Clear topcoat
- Paint rollers and brushes
Steps:
- Clean the countertop thoroughly and sand the surface to create a good base for the paint.
- Apply a primer designed for your countertop material.
- Once the primer is dry, apply your chosen paint color in thin, even coats.
- For a faux stone look, use a sponge to dab on additional colors.
- Seal the painted surface with a clear, durable topcoat.
Tip: Use painter’s tape to create patterns or designs for a more custom look.
4. Tile Countertops: Endless Design Possibilities
Tiling your countertops offers unlimited potential for creativity. You can choose from a wide variety of colors, sizes, and patterns to create a truly unique look.
Materials needed:
- Tiles of your choice
- Tile adhesive
- Grout
- Tile spacers
- Notched trowel
- Grout float
- Tile cutter or wet saw
Steps:
- Prepare the countertop surface by cleaning and sanding.
- Apply tile adhesive using a notched trowel.
- Place tiles in your desired pattern, using spacers for even gaps.
- Allow the adhesive to dry completely.
- Apply grout, ensuring it fills all gaps between tiles.
- Wipe away excess grout and allow it to cure.
- Seal the grout to protect it from stains.
Design idea: Mix and match different tile shapes or colors for a striking, one-of-a-kind countertop.
5. Epoxy Resin Countertops: Glossy and Durable
Epoxy resin countertops offer a sleek, high-gloss finish that’s both beautiful and durable. While this project requires patience and precision, the results can be stunning.
Materials needed:
- Epoxy resin kit
- Mixing containers and stir sticks
- Protective gear (gloves, respirator)
- Heat gun or torch (for removing bubbles)
- Sandpaper
- Optional: Colorants or metallic powders
Steps:
- Prepare the countertop surface by sanding and cleaning thoroughly.
- Mix the epoxy resin according to the manufacturer’s instructions.
- Pour the mixed resin onto the countertop, spreading it evenly.
- Use a heat gun or torch to remove any air bubbles.
- Allow the resin to cure completely (usually 24-72 hours).
- Sand and polish the surface for a smooth, glossy finish.
Creative idea: Add colorants or metallic powders to create swirls, patterns, or a faux stone look.
6. Reclaimed Wood Countertops: Rustic Charm
For a unique, eco-friendly option, consider using reclaimed wood for your countertops. This approach adds character and history to your space.
Materials needed:
- Reclaimed wood planks
- Wood glue
- Clamps
- Sandpaper
- Wood sealer or food-safe finish
Steps:
- Clean and prepare the reclaimed wood planks.
- Arrange the planks in your desired pattern.
- Glue and clamp the planks together, ensuring a tight fit.
- Once dry, sand the surface to achieve a smooth finish.
- Apply a wood sealer or food-safe finish to protect the surface.
Eco-tip: Source reclaimed wood from local salvage yards or online marketplaces for sustainable and unique materials.
FAQs About DIY Countertop Ideas
Q: How long do DIY countertops typically last?
Q: How long do DIY countertops typically last? A: The longevity of DIY countertops depends on the materials used and how well they’re maintained. With proper care, most DIY countertops can last 5-10 years or more.
Q: Are DIY countertops safe for food preparation?
A: Many DIY countertops can be made food-safe by using appropriate sealers or finishes. Always check that the materials and products you use are approved for food contact.
Q: What tools do I need for most DIY countertop projects?
A: Common tools include a saw, drill, sander, level, and measuring tape. Specific projects may require additional specialized tools.
Q: Can I install a sink in a DIY countertop?
A: Yes, but it requires careful planning and execution. Make sure to account for the sink’s weight and provide proper support.
Q: How do I maintain my DIY countertops?
A: Maintenance varies depending on the material. Generally, regular cleaning and periodic resealing or refinishing will keep your DIY countertops looking great.
Conclusion: Embrace Your DIY Countertop Journey
DIY countertop ideas offer an exciting opportunity to transform your space while expressing your creativity. Whether you choose the industrial chic of concrete, the warmth of butcher block, or the glossy allure of epoxy resin, your new countertops will be a source of pride and satisfaction.
Remember, the key to success with any DIY project is patience and preparation. Take your time, gather the right materials, and don’t be afraid to ask for help or advice when needed. With these DIY countertop ideas, you’re well on your way to creating a beautiful, personalized space that reflects your style and budget.
So, roll up your sleeves, unleash your creativity, and get ready to enjoy the satisfaction of a job well done. Your dream countertops are just a DIY project away!

