Understanding Baseboard Joints: Mitered vs. Coped
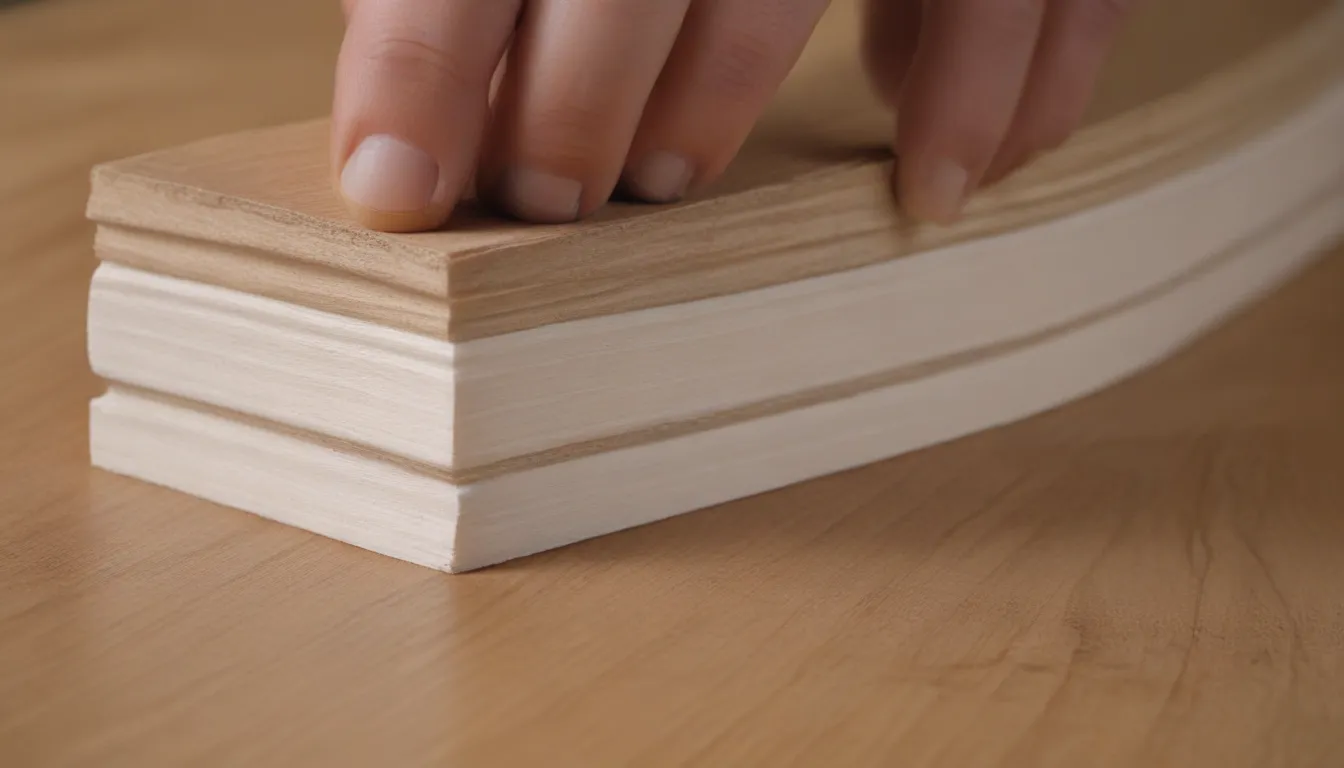
When it comes to installing baseboards, crown moldings, or other types of millwork, navigating inside corners can be a bit tricky. One common dilemma that many DIYers and professionals face is whether to use mitered joints or coped joints for these corners. Each technique has its pros and cons, so it’s essential to understand the differences between them to make an informed decision based on your specific project needs.
Inside Corner and Outside Corner: What’s the Difference?
Before delving into the specifics of mitered and coped joints, it’s crucial to understand the distinction between inside and outside corners. An inside corner is where two walls face inward at a 90-degree angle, while an outside corner is where the walls face outward at a 90-degree angle. Coped joints are suitable for inside corners, whereas mitered joints can work for both inside and outside corners.
Coped Joints: A Closer Look
A coped joint involves cutting one molding piece square and butting it into the wall corner, followed by cutting the mating piece to conform to the profile of the first piece. This second piece then butts into the face of the first piece, creating a seamless joint. Coping is a traditional method of baseboard joinery that is favored by many professionals for its clean finish and resistance to gaps.
The Basics of Coped Corners:
- Coped joints are less affected by imperfect walls compared to mitered joints.
- They tend to open up less when wood shrinks during dry weather.
- Coped joints can accommodate out-of-square wall corners better than miters.
- Coping requires precision and skill, making it a mark of craftsmanship in woodworking.
Reasons to Consider Coped Joints:
- Area Is Humid or Moisture-Prone: Coped joints are ideal for wood moldings in climates with significant humidity fluctuations.
- Room’s Walls Are Not Square: Coped joints are better suited for walls that are not perfectly square.
- To Create a Polished Look: Coped joints are preferred for period homes seeking to replicate original craftsmanship.
- For Chair Rails and Crown Moldings: Coped joints are recommended for highly visible trim like chair rails and crown moldings.
Pros and Cons of Coped Joints:
- Pros: Less prone to opening up, good for out-of-square walls, ideal for noticeable trim.
- Cons: Difficult to cut, requires precise marking, challenging to fix if cut too short.
Mitered Joints: An Alternative Approach
Mitered joints involve cutting both ends of the molding at 45-degree angles and fitting them together to form a 90-degree inside corner. This technique is commonly used in projects requiring perfect 90-degree angles, such as picture frames.
The Basics of Mitered Corners:
- Mitered joints are quick and easy to make, making them popular among both DIYers and professionals.
- They require either a power miter saw or a hand miter box and saw for accurate cuts.
- Mitered joints can be prone to opening up if the walls are not perfectly square.
Reasons to Choose Mitered Joints:
- When Using PVC or MDF Trim: Mitered joints are suitable for materials like polyurethane and MDF that do not expand or contract.
- When Walls Are Square: Mitered joints work well for walls that are closer to 90 degrees.
- Where Skill Is an Issue: Mitered joints are easier to cut and require less manual skill compared to coped joints.
- Where Speed is Important: Mitered joints are quicker to install for those looking to finish a project promptly.
Pros and Cons of Mitered Joints:
- Pros: Simple to cut, easier to mark, no manual cutting required.
- Cons: Can be difficult to square on some walls, joint may open up, seam may be more visible from above compared to coped joints.
In conclusion, the choice between mitered and coped joints ultimately depends on the specific requirements of your project, your skill level, and the desired finish. While mitered joints are quick and easy to make, coped joints offer a cleaner and more precise finish, especially for out-of-square walls or visible trim. By understanding the differences between these two techniques, you can make an informed decision that will ensure a professional and polished look for your millwork installations.

