Transforming Textured Walls for Wallpaper: A Complete Guide
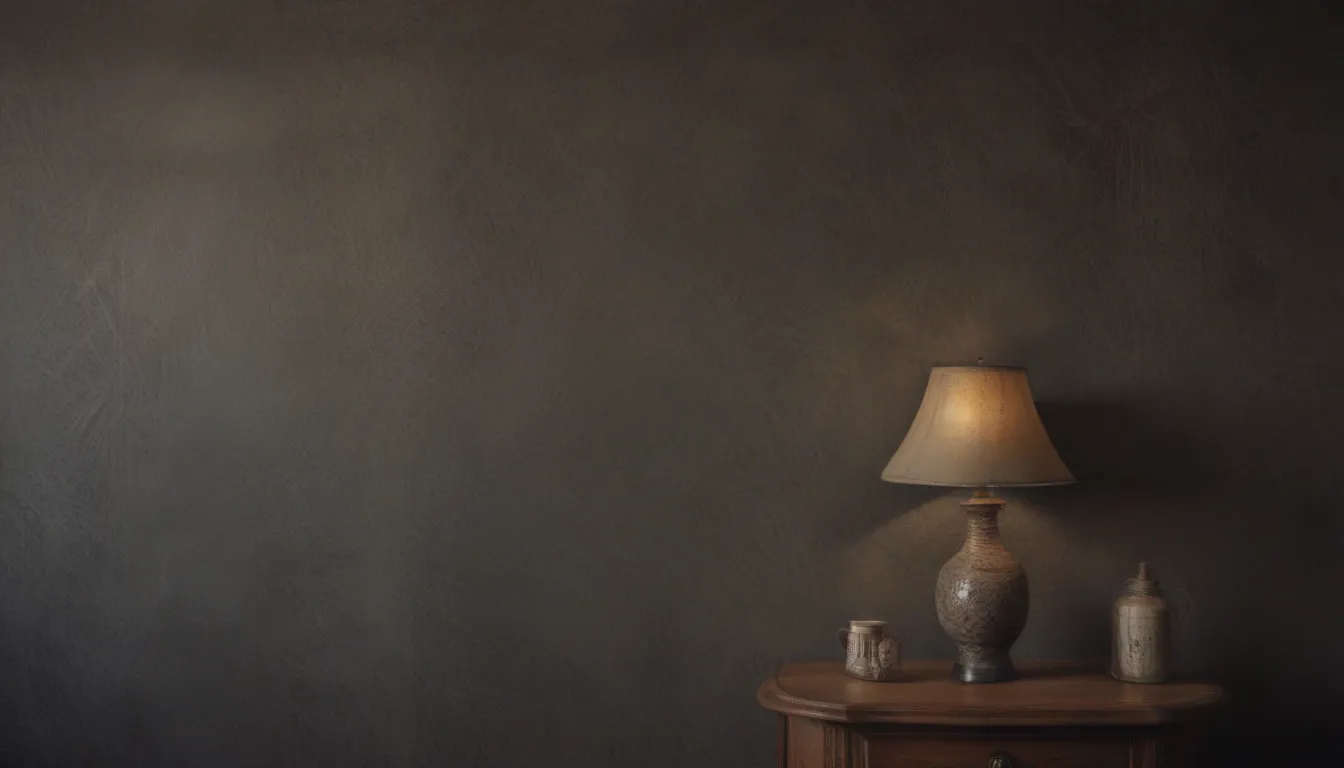
Are you looking to dress up your textured walls with some stylish wallpaper but not sure where to start? Textured walls can be a challenging surface for wallpaper installation, but with the right preparation, you can create a flawless finish that will last for years to come. In this in-depth guide, we’ll explore why textured walls are not ideal for wallpaper, tips for wallpapering directly on textured walls, and the correct way to prepare a textured wall for wallpaper. Let’s dive in!
Why Textured Walls Don’t Work for Wallpaper
Textured walls present a unique set of challenges when it comes to wallpaper installation. Here are some reasons why textured walls are not the best base for wallpaper:
- Poor Adhesion: The uneven surface of textured walls reduces the amount of contact area available for the wallpaper to adhere to, leading to issues with adhesion, especially in warm and moist environments.
- Imperfect Seams: Matching up seams on textured walls can be tricky, as the depth and texture variations between adjacent sheets can create visible imperfections.
- Texture Transfer: The texture of the wall can show through the surface of the wallpaper, resulting in unsightly bumps and ridges.
Tips for Putting Wallpaper on Textured Walls
While the ideal solution is to apply a skim coat to textured walls before installing wallpaper, there are some tips you can follow to help the wallpaper stick better and last longer on textured walls:
- Apply on Flatter Textures: Opt for wallpaper application on flatter textures like knockdown texture, which provide more surface area for the wallpaper to adhere to.
- Knock off High/Sharp Points: Use a wide drywall knife to smooth out any high ridges or sharp points on the textured wall before wallpaper installation.
- Use Paper Wallpaper and Paste: Traditional paper wallpaper and paste can help fill in gaps and low spots on the wall, providing a better surface for the wallpaper to adhere to.
- Press Seams: Press firmly on the seams between adjacent papers to ensure a seamless finish.
- Clean Walls: Thoroughly clean textured walls before installing wallpaper to ensure optimal adhesion.
How to Correctly Prepare a Textured Wall for Wallpaper
The most effective way to prepare a textured wall for wallpaper is to skim coat it. Skim coating involves applying a thin layer of joint compound to create a smooth, flat surface for wallpaper installation. Here’s how to do it:
- Knock off Sharp Points: Use a wide drywall knife to smooth out any sharp points on the textured wall.
- Clean Walls: Thoroughly clean the walls using TSP and microfiber cloths to remove any debris.
- Prepare Joint Compound: Add joint compound to a drywall tray and remove any bubbles.
- Spread Joint Compound: Use the edge of the drywall knife to spread the joint compound in long, even strokes across the wall.
- Finish Wall: Allow the skim coat to dry for at least two hours before sanding the wall with fine-grit sandpaper to create a smooth finish.
Tips for Skim Coating Textured Walls
- Fill Low Spots: The goal of skim coating is to fill in low spots while leaving high spots untouched to create a level surface.
- Ensure Proper Drying: Allow the skim coat to dry thoroughly before sanding to ensure optimal results.
- Touch Up as Needed: Inspect the wall after the first coat of joint compound to identify any areas that may need additional smoothing.
By following these tips and techniques, you can transform your textured walls into the perfect canvas for wallpaper installation. With the right preparation and attention to detail, you can achieve a flawless finish that will enhance the beauty of your space. So go ahead, unleash your creativity, and give your textured walls a stunning makeover with wallpaper!
