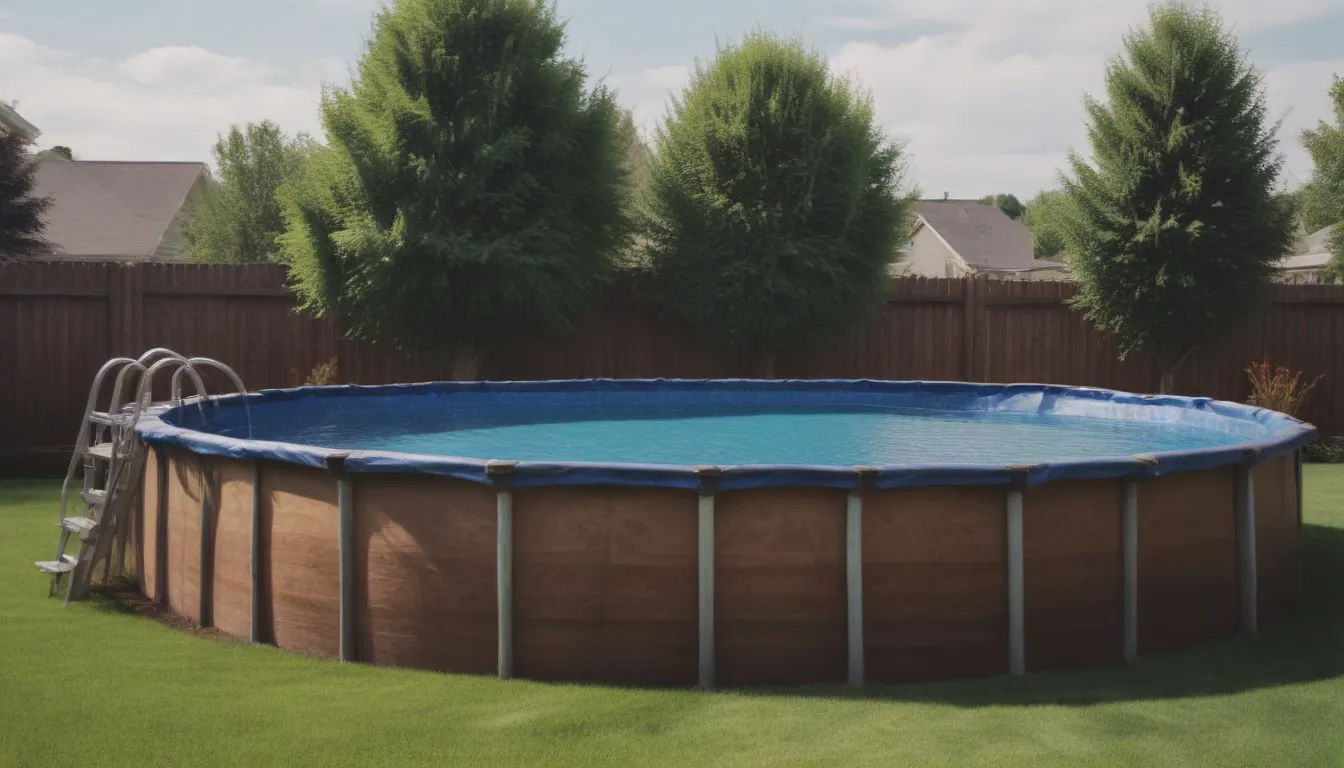
Your Complete Guide to Above-Ground Pool Installation

Are you considering adding an above-ground pool to your backyard but feeling a bit overwhelmed by the installation process? Don’t worry, we’ve got you covered! In this comprehensive guide, we’ll walk you through everything you need to know about installing an above-ground pool, whether you’re a seasoned DIY enthusiast or a first-timer looking to dive into a new project.
Planning and Preparation
Before you embark on your above-ground pool installation journey, there are a few key things to keep in mind to ensure a smooth process.
Check for Permits
Before you start digging that hole for your above-ground pool, it’s essential to check with your local permitting office to see if you need to apply for a building permit. This step is crucial as failing to obtain the necessary permits can lead to potential legal issues down the line.
Step 1: Ground Preparation
The first step in installing an above-ground pool is preparing the ground where your pool will sit. Here’s what you need to do:
- Level the ground to ensure a stable base for your pool.
- Remove any sharp objects or debris from the area to prevent damage to the pool liner.
Tip: Consider using a poured concrete slab topped with a pool pad for the best foundation. Alternatively, grass, dirt, or sand can also be used, but may not provide as stable of a base.
Step 2: Pool Frame and Sand Base
With the ground prepared, it’s time to start assembling the pool frame and laying down the sand base. Follow these steps carefully to ensure a level and sturdy foundation for your pool.
Step 3: Installing the Pool Body
This step may require the assistance of a few extra hands to help you lift and secure the pool walls in place.
Step 4: Floor Preparation and Support Installation
After the pool walls are up, it’s time to install the wall supports and level the sand floor to create a smooth surface for the pool liner.
Step 5: Liner Installation
As you install the pool liner, you’ll start to see your above-ground pool take shape and begin to resemble a functional swimming space.
Step 6: Skimmer Mouth Installation
Once the wrinkles are smoothed out of the liner, it’s time to add water to the pool and prepare for the installation of the skimmer mouth.
Step 7: Filter, Pump, and Return Installation
Next, it’s time to install the filter, pump, and return system to keep your pool water clean and clear.
Step 8: Completing the Pool Body
Finish off the installation by adding the top rail to secure the pool walls and create a finished look for your above-ground pool.
Step 9: Filling the Pool and Checking for Leaks
Once all the components are in place, fill the pool with water and carefully check for any leaks that may need to be addressed.
Step 10: Adding Chemicals
After ensuring your pool is watertight, it’s time to add the necessary chemicals to maintain water quality. Use test strips to determine the correct chemical balance for your pool.
Hiring Professionals for Pool Installation
While DIY above-ground pool installation can be a rewarding project, you may also consider hiring professional pool installers to take on the job. Hiring experts can save you time and ensure that your pool is installed correctly the first time.
According to Home Advisor, the cost of hiring professionals for above-ground pool installation can range from $1,037 to $6,026, depending on factors such as pool size and location. For larger or custom-shaped pools, the cost can exceed $10,000.
Whether you choose to tackle the installation yourself or hire professionals, installing an above-ground pool can provide endless hours of summer fun for you and your family. With proper planning and attention to detail, you’ll soon be enjoying your backyard oasis in no time!
So, what are you waiting for? Dive into the world of above-ground pool installation and make a splash in your own backyard today!


