The Art of Hanging Pictures: Expert Tips and Tricks
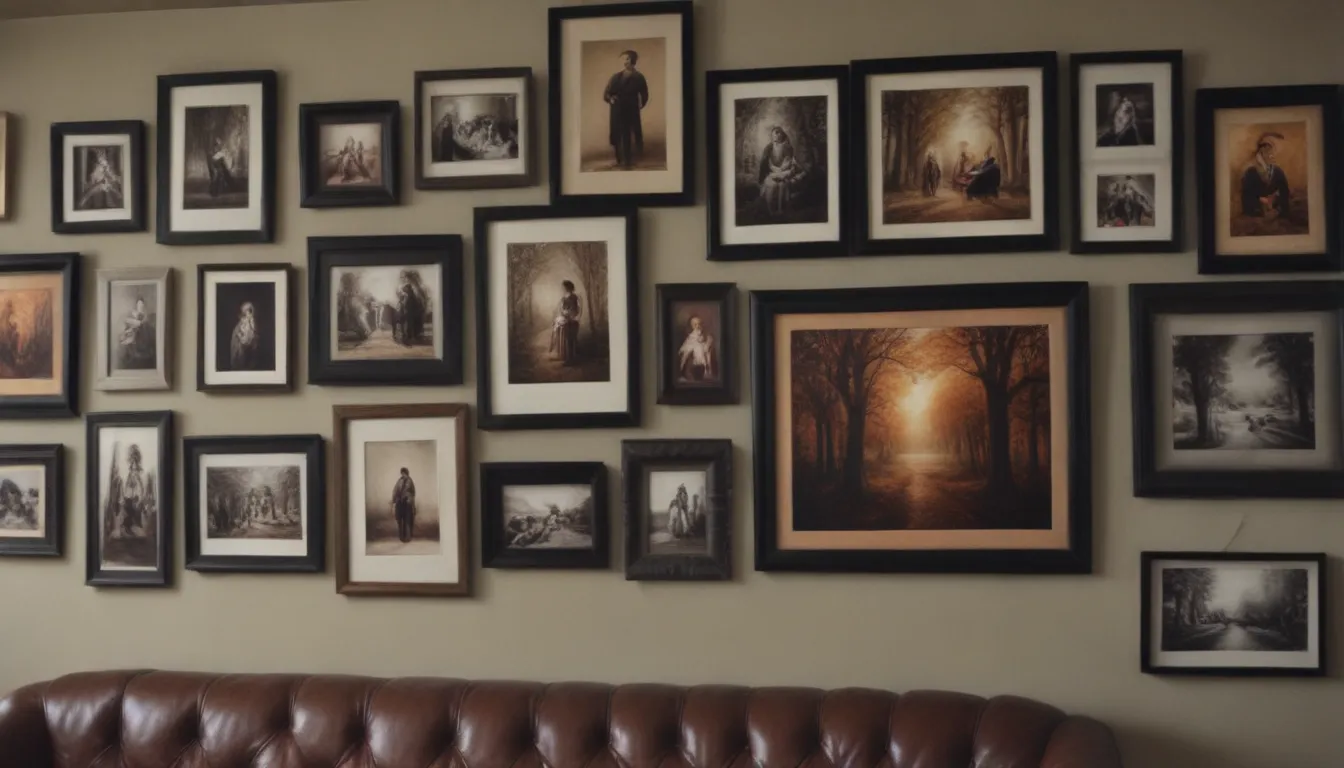
Are you often left scratching your head, wondering how high to hang pictures on your walls? Fear not, for we’ve got you covered with expert advice to make this task a breeze. Say goodbye to guesswork and hello to a well-curated gallery wall that will impress all who enter your home.
Finding the Perfect Height
Design experts have developed a handy formula to determine the ideal height for hanging pictures: 57 inches from the center of your picture to the floor. This standard height is a great starting point, but feel free to make adjustments based on your personal preferences and the specifics of your space. Keep in mind that the 57-inch rule is meant to hang pictures at eye level for the average person, so it may need to be adapted for taller or shorter individuals.
If 57 inches feels too low for your liking, you can always bump it up to 60 inches for a bit of extra height. To find the perfect spot to place your nail on the wall, simply measure the full height of your picture, divide it in half, and add that number to 57 inches. Voilà! You now have the ideal placement for the top of your frame.
However, the 57-inch rule may not always be suitable for every situation. Consider these factors when determining the best height for hanging pictures:
- Gallery walls: Create a visually striking display by grouping multiple pieces of art in a cohesive manner.
- Hallways and entryways: Make a bold statement and set the tone for your home right from the entrance.
- Hanging pictures above furniture: Coordinate the height of your artwork with the furniture below for a balanced look.
- Large pictures: Allow these statement pieces to shine by giving them ample space to command attention.
- Small pictures: Group together smaller pieces to create a visually appealing arrangement that doesn’t get lost on the wall.
- Rooms with high ceilings: Take advantage of vertical space by positioning artwork higher up on the wall.
- Vertical art: Emphasize the height of your space by choosing art that complements the verticality of the room.
- Use templates: Before committing to hammering nails into your wall, try out different arrangements using paper templates to find the perfect layout.
Breaking Away from Tradition
While the 57-inch rule is a helpful guideline, don’t be afraid to think outside the box and experiment with different heights and placements. Consider the relationship between your artwork and its surroundings to achieve a look that is both visually appealing and harmonious with your space.
When hanging pictures, keep these additional tips in mind:
- Aim to strike a balance between the size of the artwork and the wall space available.
- Experiment with different heights and arrangements before making any permanent decisions.
- Don’t be afraid to mix and match different styles of art to create a dynamic and eclectic display.
- Consider the viewing angle from various vantage points in the room to ensure your artwork is easily visible and enjoyed.
Protecting Your Artwork
As you embark on your journey to create a stunning gallery wall, remember to protect your valued pieces of art from potential damage. Avoid hanging artwork in locations where it may be exposed to harsh sunlight, extreme temperatures, or high humidity. Opt for moisture-resistant materials or choose frames made of metal, glass, or acrylic for added durability.
By following these expert tips and tricks, you’ll be well on your way to creating a gallery-worthy display that will enhance the beauty of your home. So go ahead, grab your hammer and nails, and start transforming your walls into works of art!
