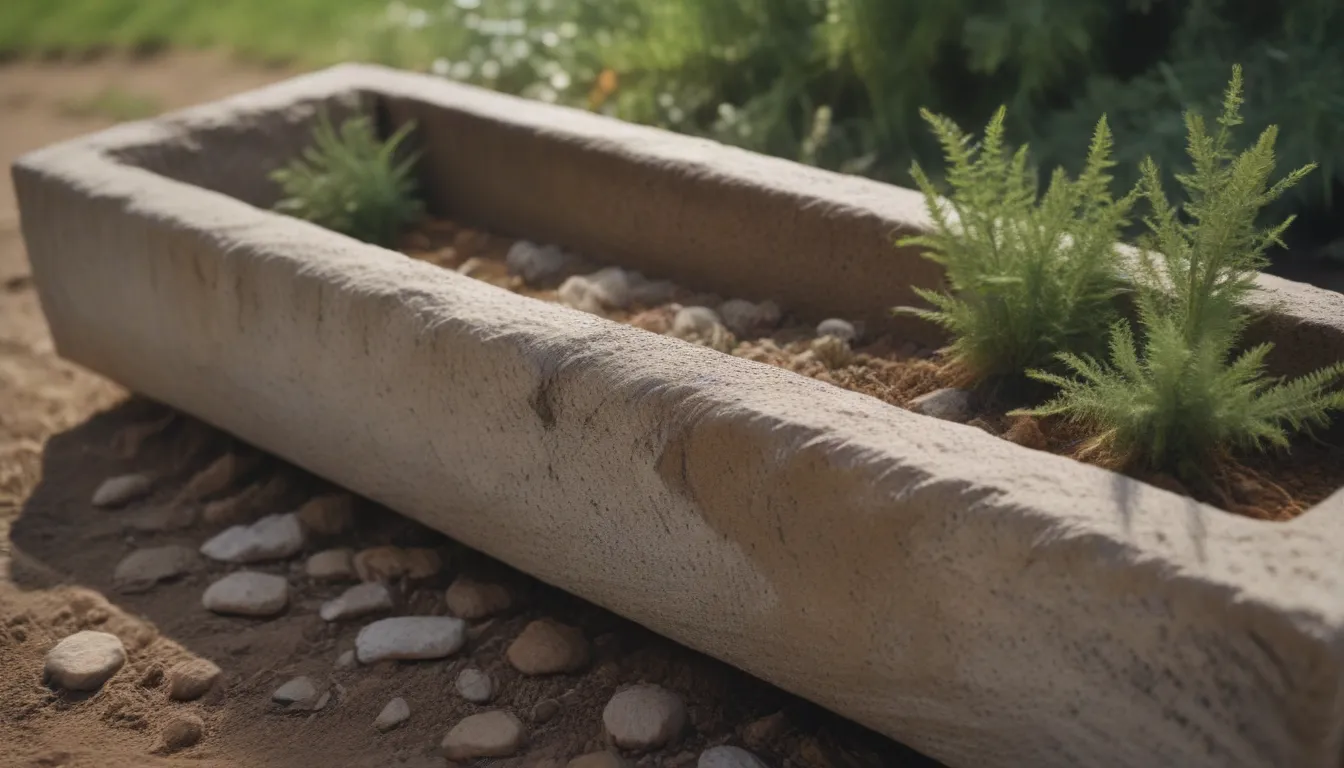
Crafting Your Own Hypertufa Trough: A Guide to DIY Garden Decor

If you are looking to add a touch of stone-like elegance to your garden without the hefty weight and price tag, then creating a hypertufa trough may be just the project for you. Hypertufa, a mixture made of cement, perlite, and peat moss, is a versatile and cost-effective alternative to real tufa, a type of limestone. Originally developed for use in alpine gardens, hypertufa has since become a popular choice for gardeners looking to craft unique planters and garden decor. In this comprehensive guide, we will walk you through the step-by-step process of creating your very own hypertufa trough, from gathering materials to curing the final product.
What You Need
Before you dive into the exciting world of hypertufa crafting, it’s essential to gather all the necessary materials and tools. Here’s a list of what you will need to get started:
- Cement: Approximately 2 parts
- Perlite: Approximately 3 parts
- Peat Moss: Approximately 3 parts
- Reinforcing fibers
- Water
- Heavy-duty rubber gloves
- Dust mask
- Screen or sieve
- Stiff wire brush
- Large mixing tub
- Plastic sheet or tarp
- Large plastic bag
- Mold or form for the trough
Creating a Mold for Your Hypertufa
While you can purchase molds specifically designed for hypertufa projects, you can also get creative and make your own mold using readily available materials. Plastic, cardboard, and Styrofoam are excellent choices for molds as they prevent the mixture from sticking. Here’s how you can create a basic trough mold using two boxes or plastic tubs:
- Find two boxes or tubs of different sizes that can nest inside each other with a gap of 1 to 2 inches.
- Ensure that the larger the trough, the thicker the sides should be. Curved sides should be at least 2 inches thick.
Making the Hypertufa Mixture
With your mold ready, it’s time to mix up the hypertufa concoction. Put on your gloves and follow these steps:
- Measure out the cement, perlite, and peat moss according to the proportions mentioned earlier.
- Mix the dry ingredients thoroughly in a large tub.
- Add water gradually until the mixture is damp but not watery.
- Test the consistency by squeezing a handful of the mixture—aim for it to hold together and barely drip.
Forming the Trough
Now comes the fun part—forming the hypertufa mixture into a trough shape. Follow these steps:
- Spread a 1- to 2-inch layer of the mixture on the bottom of the larger box.
- Place the smaller box on top, centered.
- Pack the mixture between the sides of the two boxes, smoothing it off at the top.
If you’re using a rounded mold, such as a bowl, start by creating a ring of mixture around the base and building it up and over the mold.
Curing the Final Creation
Once you’ve molded the hypertufa into the desired shape, it’s time to let it cure. Follow these steps to ensure a sturdy final product:
- Place the trough in a plastic bag and keep it in a sheltered spot away from direct sunlight.
- Allow it to cure for 12 to 36 hours, testing its readiness by poking the side with your fingernail.
- Once hardened, carefully remove it from the mold using a rubber mallet.
- Use a wire brush or sandpaper to smooth out any rough edges.
After curing, let the trough sit in a shady spot for three weeks to further develop its rigidity and light color. To remove any excess lime that may harm your plants, leech the trough by filling it with water for seven to 10 days, refilling as needed. If drainage holes are desired, use a small masonry bit to drill them after the final curing.
Your hypertufa trough is now ready to be filled with your favorite plants. Whether you choose alpines, succulents, or other flora, your handmade creation is sure to add a touch of charm to your garden.
Crafting your own hypertufa trough is a rewarding and enjoyable DIY project that allows you to unleash your creativity and add a personal touch to your outdoor space. With just a few materials and a little bit of patience, you can create a unique and long-lasting garden decor piece that will be the envy of your neighbors. So roll up your sleeves, gather your supplies, and start crafting your very own hypertufa trough today!


