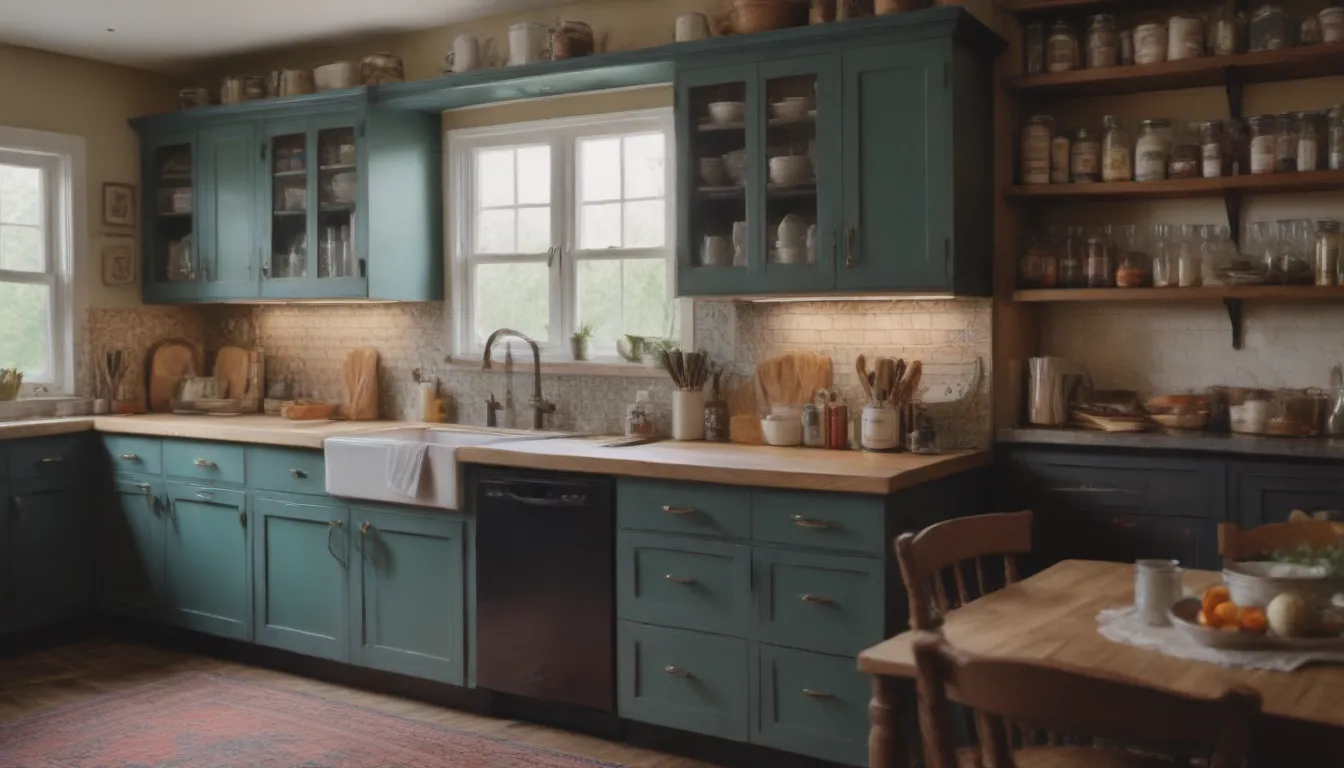
The Ultimate Guide to Organizing Your Kitchen Cabinets

Are you tired of rummaging through cluttered kitchen cabinets in search of that one specific ingredient for your recipe? Do you struggle to find the right pot or pan when you need it most? If so, it’s time to revamp your kitchen organization and create a space that is not only practical but aesthetically pleasing as well. In this comprehensive guide, we will walk you through the steps to declutter, categorize, and assign items in your kitchen cabinets to ensure a functional and efficient kitchen space.
Why Organizing Your Kitchen Cabinets Matters
Having a well-organized kitchen is essential for several reasons. Not only does it save you money by allowing you to easily see what ingredients you have on hand, but it also saves you time during meal preparation, meal planning, and grocery shopping. Additionally, a organized kitchen makes cleaning less of a chore when everything has a designated place.
Step 1: Declutter Your Kitchen Cabinets
Before diving into organizing your kitchen cabinets, it’s crucial to declutter and get rid of any unnecessary items. Follow these simple steps to streamline your kitchen space:
- Have a trash bin and a box for items to donate or sell nearby.
- Take everything out of your cabinets and go through each item, categorizing them into “trash”, “donate/sell”, or “keep” piles.
- Remove the trash and donation items before addressing the items you plan to keep.
Step 2: Categorize Your Kitchen Items
Once you’ve decluttered your kitchen cabinets, it’s time to categorize your items. Organize your items in a way that makes sense for how your household uses the kitchen. Divide your items into groups such as food items, cookware, and dinnerware and further subdivide them based on your needs. For example:
- Food items can be subdivided into drinks, baking ingredients, snacks, canned goods, etc.
- Cookware and dinnerware can be subdivided into pots and pans, cooking utensils, plates and bowls, glasses and mugs, etc.
The goal is to keep each subcategory together for easy access.
Step 3: Assign Items to Kitchen Cabinets
Before putting everything back in your cabinets, evaluate how you use your kitchen on a daily basis. Place items in cabinets based on their frequency of use and convenience. Consider the following tips:
- Keep items you use often close to where you use them most.
- Strategically plan the position of items within each cabinet for easy access.
- Store items you rarely use on higher shelves or elsewhere to free up space.
What to Store in Upper Cabinets:
- Food items
- Glasses and dishes
- Cookbooks
- Food storage containers
What to Store in Lower Cabinets:
- Appliances
- Pots, pans, and baking sheets
- Mixing bowls and cutting boards
- Cleaning supplies
Step 4: Maintain Your Cabinet Organization
After organizing your kitchen cabinets, it’s important to maintain the system for the long run. Here are some tips to keep your cabinets organized:
- Ensure everyone in your household knows where items belong.
- Consider labeling containers or cabinet doors for easy identification.
- Keep items neat and organized when putting them away to encourage others to do the same.
- Regularly declutter and reorganize your kitchen cabinets at least once or twice a year to keep them functional and efficient.
By following these steps and implementing a system that works for your household, you can transform your kitchen cabinets into a well-organized space that saves you time and stress during meal preparation. Start your kitchen organization journey today and enjoy a more efficient and beautiful kitchen tomorrow!


