How to Properly Divide and Transplant Bearded Iris
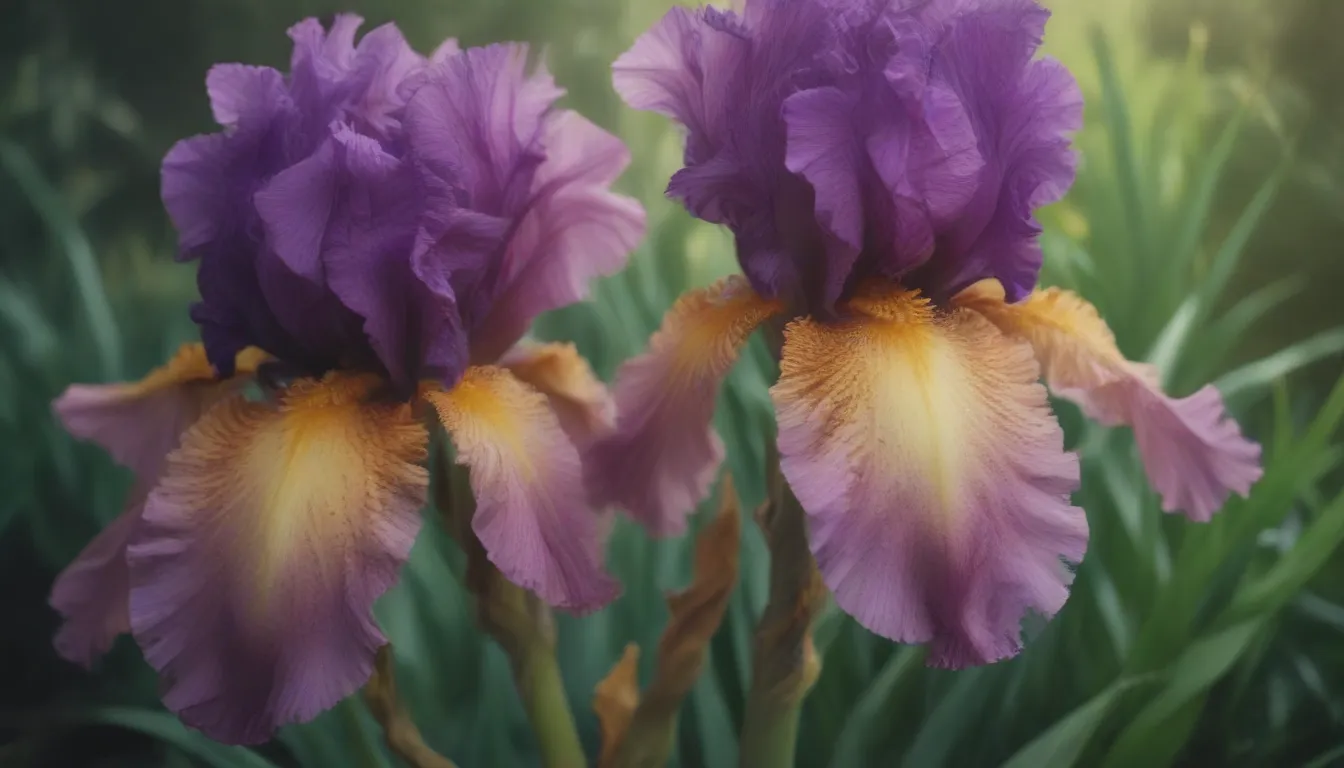
Are you a fan of beautiful bearded irises, but unsure of how to properly care for them? Look no further! In this detailed guide, we will walk you through the process of dividing and transplanting your bearded irises for healthier, more abundant blooms.
Understanding Bearded Irises
Bearded irises are stunning flowers that are not only easy to care for but also relatively simple to propagate and transplant. These flowers grow from fleshy underground stems called rhizomes, which store important nutrients and allow for asexual propagation. Rhizomes play a vital role in the growth and survival of bearded irises, enabling them to withstand poor growing conditions.
Why Divide and Transplant Bearded Irises?
Bearded iris clumps can become overcrowded over time, leading to issues such as decreased blooming and susceptibility to pests. Dividing and transplanting your irises every three to four years can help rejuvenate the plants and promote a healthier, more prolific bloom. Additionally, dividing and transplanting is a great way to share your irises with friends or family members.
Dividing and Transplanting Process
To ensure successful division and transplantation of your bearded irises, follow these step-by-step instructions:
Tools and Supplies You Will Need:
- Garden shovel
- Sharp pruners or knife
- Fungicide powder (optional)
- Compost or peat moss
Dig up the Clump:
Using a garden shovel, carefully dig up the entire clump of iris by making deep cuts around the plant and then prying it out of the ground.
Divide the Clump Into Sections:
Shake off any loose dirt and separate the clump into sections by tugging them apart with your hands or using a knife. Discard the old, woody center section and divide the remaining sections into smaller pieces with at least some foliage and roots.
Trim the Leaves:
Using sharp pruners, trim the leaves on each division to a length of 4 to 6 inches in a fan-like shape. Inspect the rhizome sections for any signs of iris borer activity, and trim away affected areas if necessary.
Prepare for Storage:
If you’re not ready to replant the rhizome sections immediately, wrap them in newspaper or peat moss and store them in a dark, dry, cool location over the winter.
Planting the Iris:
Select a sunny location with well-drained, slightly acidic soil for planting your irises. Dig a shallow hole, position the rhizome section over a mound of soil, and water thoroughly. Remember to avoid planting the iris too deeply and space the rhizomes according to your desired results.
Caring for New Iris:
After transplanting, water the iris regularly until new growth appears. Once new growth emerges, reduce watering to no more than weekly. Be mindful of iris borer infestation and practice good garden sanitation to prevent future pest issues.
By following these simple steps, you can successfully divide and transplant your bearded irises for a vibrant and healthy garden display.
Conclusion
Bearded irises are not only beautiful additions to any garden but also relatively easy to care for and propagate. By dividing and transplanting your irises every few years, you can ensure that they remain healthy, blooming, and pest-free. So, roll up your sleeves, grab your gardening tools, and give your bearded irises the care they deserve for a stunning spring garden display!

