The Ultimate Guide to Bleaching Shirts and Creating Your Own Designs
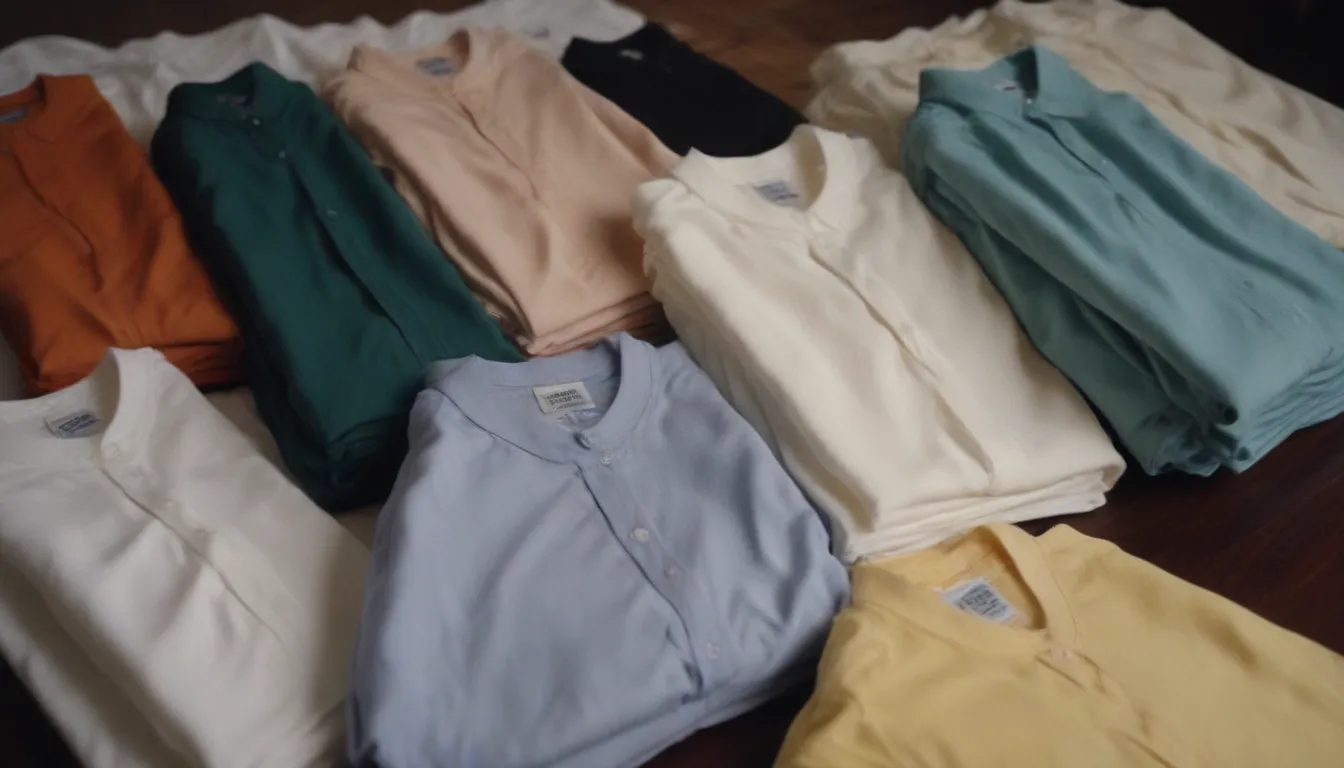
Do you have a stained shirt that you just can’t seem to salvage? Or maybe you’re looking to add a unique touch to your wardrobe? Bleaching a shirt with your own designs can be a fun and creative way to breathe new life into your clothing. In this comprehensive guide, we’ll walk you through everything you need to know about bleaching shirts, from choosing the right technique to safely neutralizing the bleach. Whether you’re a seasoned crafter or a beginner looking to try something new, this article is for you.
Why Bleach a Shirt?
Chlorine bleach is a powerful chemical that can remove color from fabrics and create stunning designs. While many of us have experienced the frustration of accidental bleach stains, this guide will show you how to harness the power of bleach to intentionally transform your clothing. From subtle color lightening to bold patterns, the possibilities are endless when it comes to bleaching shirts.
Safety First
Before we dive into the creative process, it’s important to prioritize safety. Cleaning chemicals, particularly bleach and hydrogen peroxide, should never be mixed. For this project, we’ll be using diluted solutions containing bleach and hydrogen peroxide, so be sure to work in a well-ventilated space and avoid mixing undiluted chemicals.
Before You Begin
Before you start bleaching your shirt, there are a few key steps to take to ensure the best results. Here’s what you’ll need:
- Chlorine bleach
- Hydrogen peroxide
- Water
- Wooden spoon
- Plastic tub or sink
- Old white towels
How to Make a Neutralizing Solution
To prevent the bleach from over-bleaching your fabric, it’s essential to have a neutralizing solution on hand. Mix one part hydrogen peroxide with 10 parts water in a plastic tub or sink. This solution will stop the bleaching action when your fabric reaches the desired color.
Step-by-Step Instructions
Now that you have your supplies ready, it’s time to start bleaching your shirt. Follow these step-by-step instructions to create your own unique designs:
Step 1: Choose Your Shirt
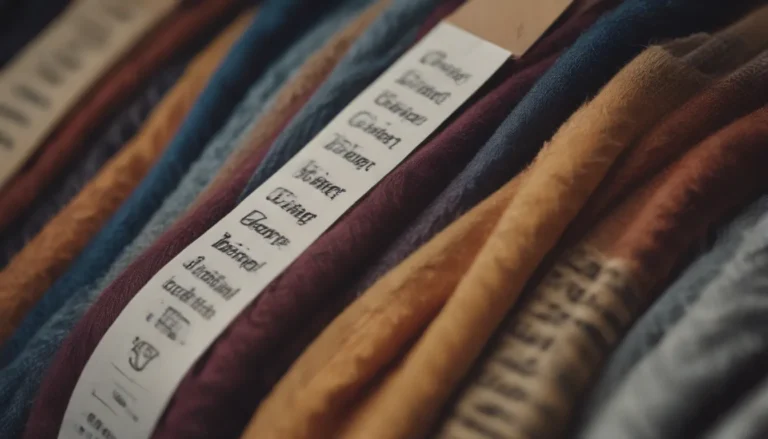
Select a clean, unwrinkled shirt that is suitable for bleaching. Read the label to ensure the fabric can withstand bleach. It’s a good idea to practice on an old shirt first to test out your design ideas.
Step 2: Choose a Design Technique
There are several design techniques you can use when bleaching a shirt. Here are a few popular options:
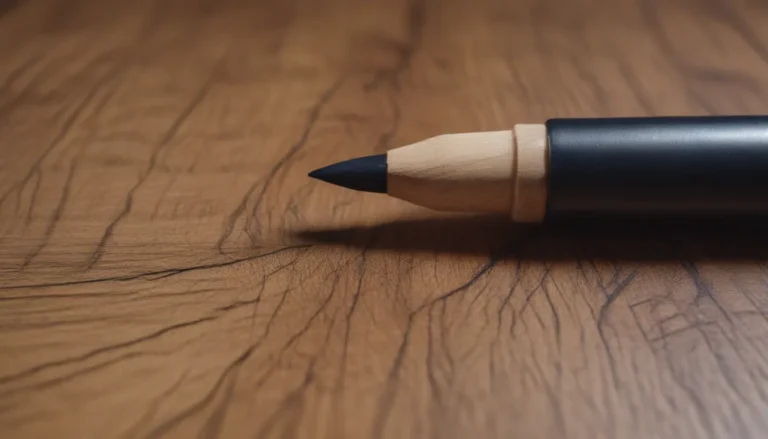
- Bleach pens
- Stencils
- Sublimation printer
- Spray bleach designs
- Bleaching gel
Step 3: Prepare the Bleach Neutralizer
Have your neutralizing solution ready before you begin. This will ensure you can stop the bleaching process at the right moment.
Step 4: Employ Your Chosen Design Technique
Whether you’re using bleach pens, stencils, or spray bleach designs, be sure to protect the surrounding areas with old white towels to avoid any bleach bleeding.
Step 5: Rinse and Neutralize
After you’ve achieved your desired design, rinse the shirt under cold water and then submerge it in the neutralizing solution. Allow it to soak for 15 minutes before rinsing it again.
Step 6: Dry and Wear
Once your shirt is rinsed and neutralized, dry it according to the care label and show off your custom creation.
Lightening Colors with Bleach
If you’re looking to lighten the color of your fabric, follow these steps:
- Wear rubber gloves and mix 3/4 cup of chlorine bleach per gallon of water.
- Submerge the fabric in the solution and agitate occasionally.
- Monitor the color and remove the fabric when it reaches your desired lightness.
- Transfer the fabric to the neutralizing solution for ten minutes before washing as usual.
Reverse Tie-Dye with Bleach
For a unique tie-dye effect, try reverse tie-dye with bleach:
- Gather, fold, and tie the fabric as desired.
- Mix a solution of 10 parts water and one part chlorine bleach.
- Submerge the fabric until the background color is to your liking.
- Neutralize the bleach with a solution of hydrogen peroxide and water.
- Wash the fabric as usual after neutralizing.
Tips for Success
- For cotton or lightweight fabrics, bleach when dry; for heavier materials, bleach when slightly damp.
- Always neutralize bleach with hydrogen peroxide to stop the bleaching process.
- Use a fresh bleach solution for each new project to avoid transferring dye.
With these tips and techniques, you can confidently bleach shirts and create your own custom designs. Whether you’re lightening colors or experimenting with tie-dye effects, bleach can be a versatile tool for transforming your wardrobe. Just remember to work safely and have fun with your creative projects!
