How to Rescue Overwatered Tomato Plants: A Comprehensive Guide
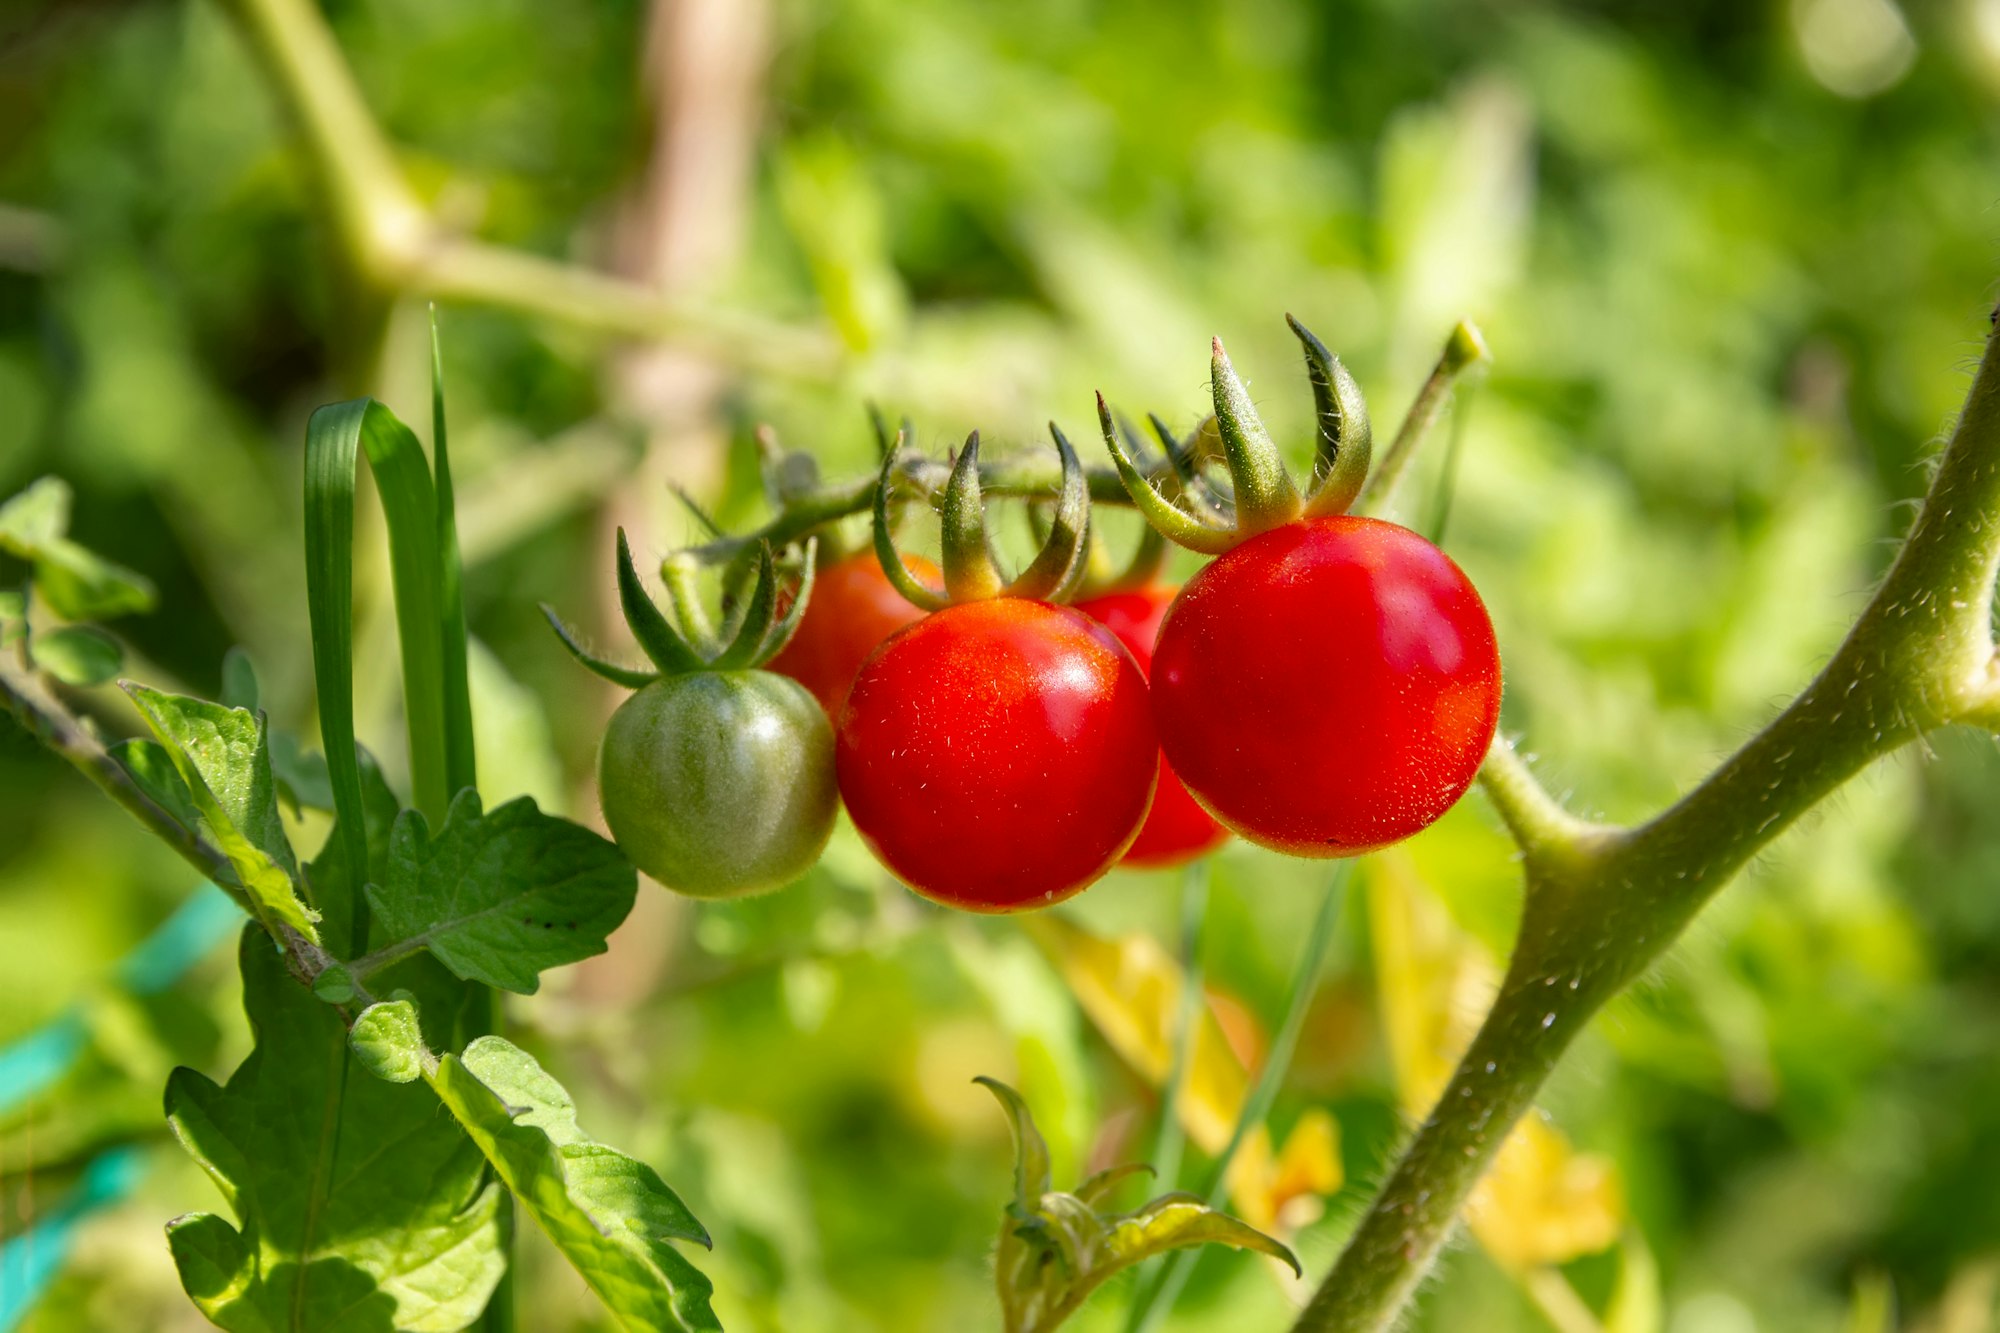
Are your tomato plants looking a bit under the weather? Droopy leaves, yellowing foliage, and stunted growth might have you scratching your head. But don’t worry! These are classic signs of overwatering, and with a little know-how, you can bring your plants back to life. In this comprehensive guide, we’ll walk you through everything you need to know about rescuing overwatered tomato plants and preventing future water woes.
Understanding Overwatering: Why Too Much of a Good Thing Can Be Bad
We all want our tomato plants to thrive, and it’s easy to think that more water equals more growth. But here’s the thing: tomatoes, like many plants, need a delicate balance of water and air in their soil. When we overwater, we’re essentially drowning the roots, depriving them of the oxygen they need to function properly.
Overwatering can lead to a host of problems, including:
- Root rot
- Nutrient deficiencies
- Stunted growth
- Increased susceptibility to pests and diseases
But don’t despair! With a little detective work and some TLC, you can turn things around for your waterlogged tomatoes.
Spotting the Signs: Is Your Tomato Plant Overwatered?
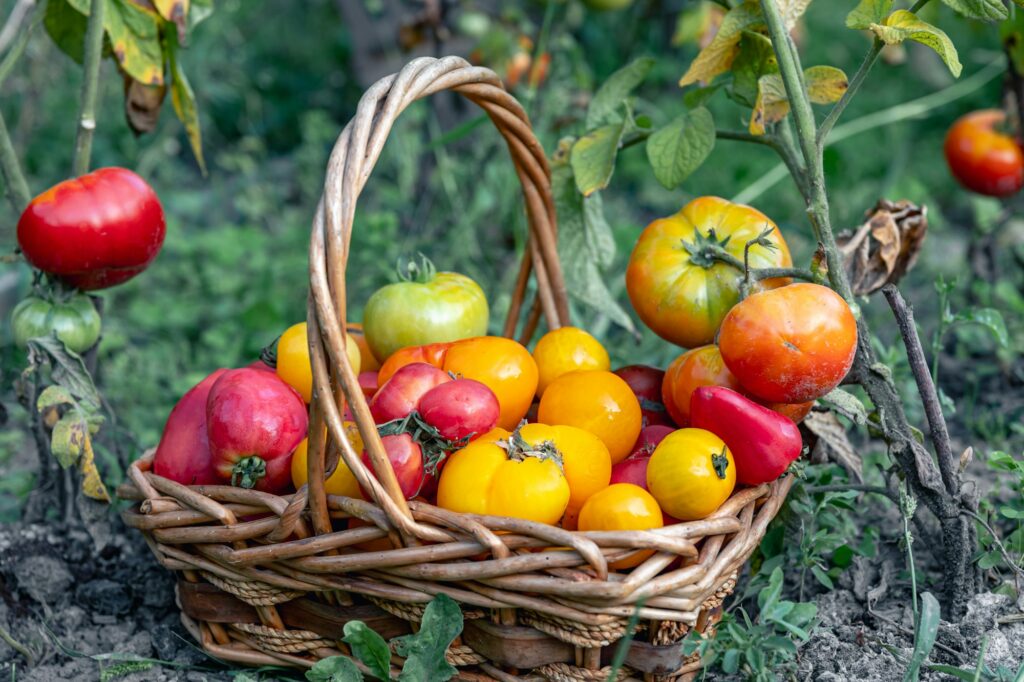
Before we dive into rescue tactics, let’s make sure we’re dealing with overwatering. Here are the telltale signs to look out for:
- Drooping stems and leaves: If your plant looks like it’s wilting, even though the soil is wet, that’s a red flag for overwatering.
- Yellowing leaves: Excess water can wash away nutrients, leading to yellow leaves, especially on the lower part of the plant.
- Soggy soil or standing water: If you see puddles around your plants or the soil feels consistently wet, you’re likely overwatering.
- Stunted growth: Overwatered plants often struggle to grow, as their roots can’t effectively take up nutrients.
- Blistered leaves or fruit: Too much water can cause cells to swell and burst, leading to blisters on leaves or fruit.
- Foul odor from the soil: If you catch a whiff of something unpleasant near your plants, it could be a sign of root rot due to overwatering.
The Root of the Problem: Inspecting Your Tomato Plant’s Roots
To confirm overwatering and assess the damage, you’ll need to take a peek at the roots. Here’s how to do it safely:
- Gently remove some soil from around the base of the plant.
- Look for roots that are dark, mushy, or have an unpleasant odor – these are signs of root rot.
- Healthy roots should be firm and white or light-colored.
Don’t worry if you see some damaged roots. Tomatoes are resilient, and with proper care, they can bounce back!
Rescue Mission: How to Save Your Overwatered Tomato Plants
Now that we’ve confirmed the problem, let’s roll up our sleeves and get to work. Here’s your step-by-step guide to rescuing overwatered tomato plants:
Step 1: Stop Watering and Let the Soil Dry Out
The first and most crucial step is to stop watering your plants. Give the soil a chance to dry out:
- For potted plants, move them to a shaded area with good air circulation.
- For garden plants, cover the soil with a tarp if rain is expected.
Wait until the top 2-3 inches of soil feel dry to the touch before considering watering again.
Step 2: Improve Drainage
Poor drainage is often a contributing factor to overwatering. Here’s how to address it:
- For potted plants:
- Remove the plant from its pot.
- Check the drainage holes and clear any blockages.
- Consider repotting with fresh, well-draining soil mix.
- For garden plants:
- Gently fork the soil around the plant to improve aeration.
- Add organic matter like compost to improve soil structure.
- Consider creating raised beds or mounds for better drainage.
Step 3: Prune Damaged Parts
Remove any yellowed or wilted leaves to help the plant focus its energy on recovery:
- Use clean, sharp pruning shears.
- Cut off affected leaves at the stem.
- If stems are mushy, prune them back to healthy tissue.
Step 4: Treat for Root Rot
If you suspect root rot, take these steps:
- Gently remove the plant from the soil.
- Wash the roots under running water.
- Trim away any dark, mushy roots with clean, sharp scissors.
- Apply a fungicide specifically designed for root rot.
- Replant in fresh, sterile potting mix or well-draining garden soil.
Step 5: Provide the Right Care During Recovery
As your tomato plant recovers, it needs special attention:
- Place the plant in a spot with bright, indirect light.
- Maintain good air circulation around the plant.
- Hold off on fertilizing until you see new growth.
- Water only when the top 2-3 inches of soil are dry.
Preventing Future Waterlogging: Tips for Proper Tomato Plant Watering
Once you’ve rescued your tomato plants, you’ll want to prevent overwatering in the future. Here are some best practices:
- Water deeply but less frequently: This encourages deeper root growth and better drought resistance.
- Use the finger test: Stick your finger about 2 inches into the soil. If it’s dry at that depth, it’s time to water.
- Water at the base: Avoid wetting the leaves to prevent fungal diseases.
- Mulch wisely: Apply a 2-3 inch layer of organic mulch around your plants to retain moisture and regulate soil temperature.
- Consider drip irrigation: This method delivers water directly to the roots, reducing waste and overwatering risk.
- Adjust watering based on weather: Reduce watering during rainy periods and increase during hot, dry spells.
- Use well-draining soil: Mix in compost or perlite to improve drainage in heavy soils.
- Choose the right containers: For potted plants, ensure pots have adequate drainage holes.
The Road to Recovery: What to Expect
Rescuing overwatered tomato plants takes time and patience. Here’s what you might see during the recovery process:
- Week 1-2: The plant may look worse before it gets better as it sheds damaged leaves.
- Week 3-4: Look for signs of new growth, such as fresh leaves or stronger stems.
- Week 5-6: Your plant should start to look healthier, with improved color and vigor.
- Week 7+: With continued care, your tomato plant should be back on track for healthy growth and fruit production.
Remember, every plant is different, and recovery times can vary. Stay patient and consistent with your care routine.
When to Say Goodbye: Knowing When to Start Over
While tomatoes are resilient, sometimes the damage from overwatering is too severe. If after several weeks of proper care you see:
- No signs of new growth
- Continued wilting or yellowing
- Spread of rot to the main stem
It might be time to start fresh with a new plant. Don’t be discouraged – even experienced gardeners face these challenges sometimes.
Wrapping Up: Your Tomato Plants’ Future is Bright
Overwatering is a common problem, but with the right knowledge and care, it’s one you can overcome. By following this guide, you’re well-equipped to rescue your overwatered tomato plants and prevent future watering mishaps.
Remember, gardening is a journey of learning and growth – for both you and your plants. Each challenge you face makes you a better gardener. So, roll up your sleeves, get your hands dirty, and enjoy watching your tomato plants thrive under your expert care.
Happy gardening, and here’s to juicy, homegrown tomatoes in your future!
