The Ultimate Guide on How to Use a Basin Wrench

If you are a homeowner who loves to tackle DIY plumbing projects or a professional plumber, chances are you have come across the indispensable tool known as a basin wrench. This specialized plumbing tool is designed for one purpose: to install or remove a faucet, and it does the job better than any other tool in your plumbing kit. In this comprehensive guide, we will explore everything you need to know about using a basin wrench effectively, from understanding its parts to maintenance tips and everything in between.
What Is a Basin Wrench?
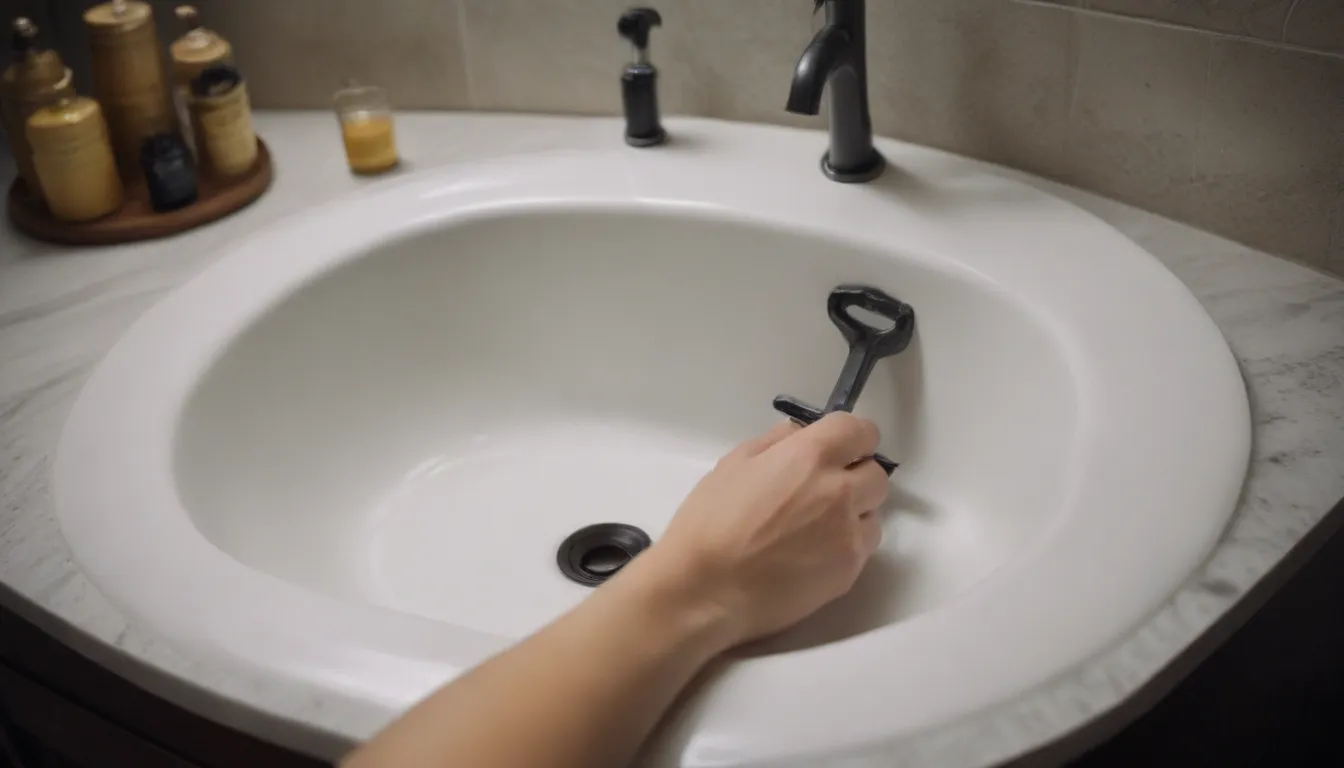
A basin wrench is a must-have tool for every plumbing enthusiast. It features a rotating, self-adjusting gripping head and a long handle, making it ideal for tightening and removing mounting nuts on faucet tailpieces. The design of the basin wrench allows it to function in tight spaces where standard wrenches and pliers can’t reach.
Basin Wrench vs. Channel-Lock Pliers
While some DIYers may attempt to use long-handled channel-lock pliers as an alternative to a basin wrench, the reality is that the latter is a far more efficient tool for the job. Channel-lock pliers may work in a pinch, but they are much harder to grip faucet mounting nuts compared to a basin wrench. Therefore, owning both tools is recommended for intermediate to experienced DIYers who occasionally work on plumbing projects.
- Basin Wrench:
- Does one job, but does it very well
- Self-adjusting gripping head
- Rotating gripping head is perpendicular to handle during use
- Channel-Lock Pliers:
- A more versatile tool, with many uses
- Jaws must be manually adjusted
- Gripping head is a straight-line extension of the handles
Parts of a Basin Wrench
Understanding the components of a basin wrench is crucial for using it effectively. The tool features a pivoting gripping head at the end of a long handle, allowing it to reach into awkward and inaccessible spaces behind sinks to tighten or loosen mounting nuts on faucets or flexible supply tube nuts. The head of the wrench swivels 180 degrees in either direction to facilitate loosening or tightening nuts, while a sliding T-bar at the bottom end of the shaft provides leverage for turning the shaft.
How to Use a Basin Wrench
Now that you are familiar with the basics of a basin wrench, let’s delve into how to use this tool effectively:
Apply Lubricant to Mounting Nut (Optional)
A faucet with mounting nuts that are frozen in position due to corrosion may require a quick spray of penetrating oil before attempting to loosen the nut. A spray can of oil with an extension straw is ideal for applying a small burst of oil onto the threads of the mounting bolt. Allow a few minutes for the oil to penetrate before trying to loosen the nut.
Adjust the Wrench Head
Before using the basin wrench, pivot the head so it is perpendicular to the shaft and faces the correct position for loosening or tightening the nut. Remember, turning clockwise tightens the nut, while turning counterclockwise loosens it. Ensure you are viewing the nut from the perspective of looking up at it from under the sink to position the head correctly.
Turn the Nut
Fit the head of the wrench around the faucet mounting nut so that the ridged jaws of the claw grip the notches or edges of the nut. Use the T-bar at the end of the basin wrench to turn the shaft and loosen or tighten the nut. You may need to use both hands on the T-bar for leverage, or slide the bar to one side and lever it with one hand while stabilizing the wrench shaft with the other hand.
Tip:
In extreme cases where the nut and shank are severely rusted, cutting the faucet out from above the sink using a reciprocating saw or hacksaw may be necessary. This requires skill and caution to avoid damaging the sink or countertop.
Tips for Using a Basin Wrench
- Take the time to familiarize yourself with using the basin wrench before tackling a project.
- Apply lubricant to stubborn mounting nuts for easier removal.
- Use caution and precision, especially when working with rusted or corroded nuts.
Renting vs. Buying
While it is possible to rent a basin wrench at a home center or tool rental outlet, purchasing one is generally more cost-effective. A good basin wrench can be bought for $15 to $20, making it a worthwhile investment for any plumbing enthusiast.
How to Maintain Your Basin Wrench
Basic care and maintenance of your basin wrench will ensure its longevity and effectiveness. Here are some tips for keeping your tool in top condition:
- Clean the wrench after each use by wiping it with a clean cloth.
- Apply a spray of light machine oil on the pivoting joint occasionally.
- If corrosion develops, wipe the tool down with a cloth moistened with oil.
- Store the wrench in a dry location to prevent rust and damage.
With these simple maintenance practices, your basin wrench will remain a valuable tool in your plumbing kit for years to come.
In conclusion, mastering the art of using a basin wrench is essential for anyone who enjoys DIY plumbing projects. This versatile tool simplifies the process of installing or removing faucets in tight spaces, making it a valuable addition to your plumbing toolkit. By following the tips and techniques outlined in this guide, you can confidently tackle plumbing projects with ease and efficiency. Remember, a basin wrench is a small investment that will pay off in spades when faced with faucet replacement tasks. Happy plumbing!


