Mastering Drywall Installation: The Ultimate Guide for Perfect Ceilings and Walls
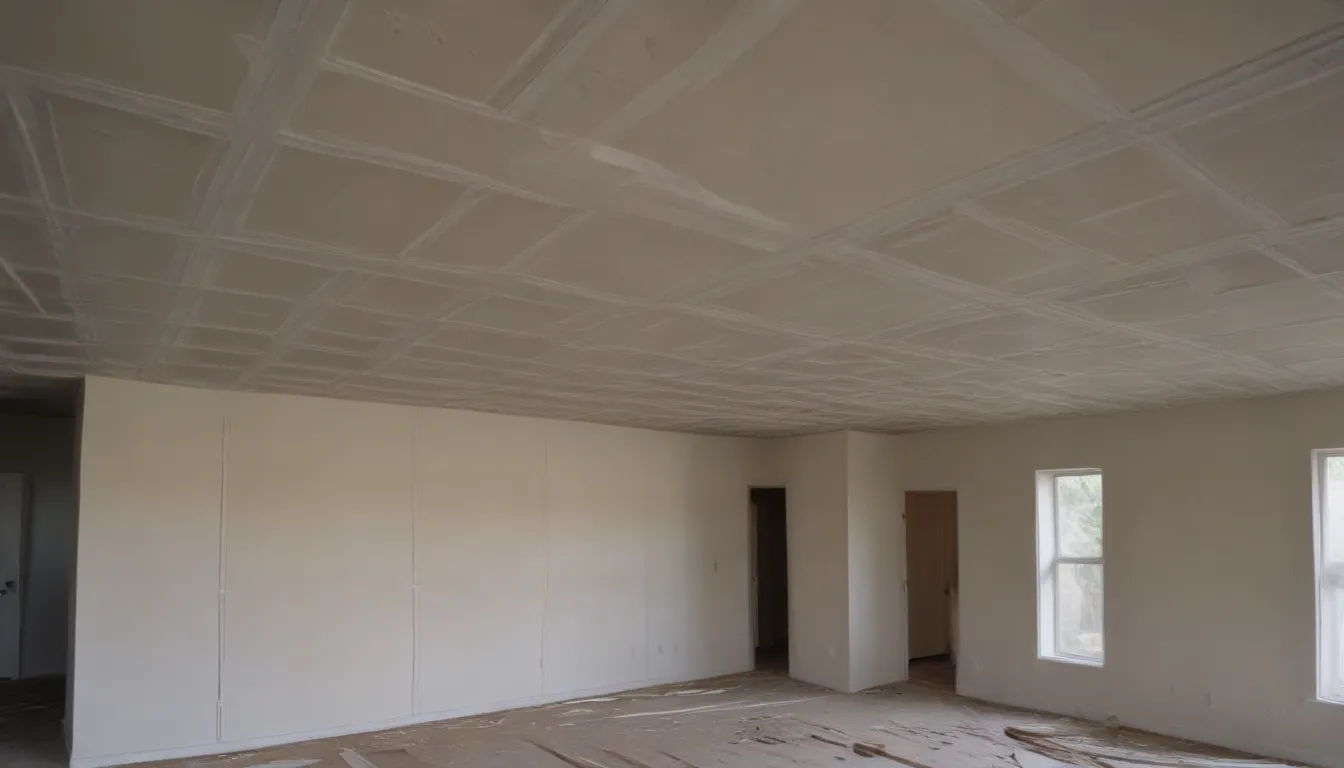
When it comes to residential construction, drywall is the go-to material for covering walls and ceilings. Not only is it sturdy and affordable, but it’s also relatively easy to work with. However, to ensure a flawless finish and prevent cracking, it’s crucial to follow the right hanging pattern. In this comprehensive guide, we’ll delve into everything you need to know about drywall installation, from layout patterns to fasteners and taping techniques. Let’s get started!
Understanding Drywall Hanging Patterns
Before diving into the nitty-gritty details of installing drywall, it’s essential to grasp the basic hanging patterns for ceilings and walls. Here’s a breakdown of the best practices for each:
Ceiling Drywall Layout:
- For small ceilings, a basic grid-style pattern with evenly spaced seams may suffice.
- To prevent cracking, stagger the seams between sheets on larger ceilings.
- Lay drywall sheets perpendicular to the ceiling joists to ensure secure attachment points.
- Consider using one-by-three sleepers if sheets aren’t aligning with joists for added support.
Wall Drywall Layout:
- Horizontal placement is typically preferred for wall sheets, providing additional strength.
- Start with the top row of drywall sheets and work your way down for a seamless installation.
- Opt for horizontal placement to ensure attachment points along the long edges of the sheets.
Mastering Drywall Fastening Techniques
Proper fastener spacing is key to a durable and long-lasting drywall installation. Here’s how to nail it:
- Use a cordless drill and coarse thread 1-5/8-inch drywall screws.
- Drive screws every 8 inches along the perimeter of the sheets and at the center where they rest on studs.
- Remember that studs are typically spaced every 16 inches on-center for optimal support.
Perfecting Drywall Taping
Taping is the final touch that brings your drywall installation together. Follow these tips for flawless taping:
- Tape all drywall seams using fiberglass mesh or paper tape, depending on the application.
- Utilize metal beads for inside and outside corners for added strength.
- Apply joint compound to all taped areas and imperfections, feathering it out with a taping knife for a seamless finish.
Tips for Cutting Electrical Boxes in Drywall
Cutting out electrical boxes can be a challenging task, but with the right approach, you can achieve precision. Here’s how to do it:
- Measure and cut out electrical box positions on drywall sheets ahead of time for accuracy.
- Alternatively, use a placement tool with magnets to locate and cut out electrical box holes with precision.
- Practice careful measuring to ensure proper alignment and fit for electrical boxes.
Polishing Your Drywall Installation with Sanding
Sanding is the final step in the drywall installation process, giving your walls and ceilings a smooth, professional finish. Here’s how to do it right:
- Use a hand-held or pole-mounted drywall sanding tool for efficient sanding.
- Sand lengthwise in the direction of the seam for even results.
- Start with coarser grit sandpaper to smooth out rough areas, then switch to a lighter grit for a polished finish.
- Consider wet-sanding small areas to reduce dust and create a cleaner workspace.
Conclusion
Mastering the art of drywall installation is a valuable skill that can save you time, money, and frustration in your home improvement projects. By following the right hanging patterns, fastening techniques, taping methods, and sanding tips, you can achieve professional-looking walls and ceilings with ease. Whether you’re a seasoned DIY enthusiast or a novice looking to learn the ropes, this guide has everything you need to elevate your drywall game. Happy hanging!
