How to Organize Your Fridge Like a Pro

Have you ever found yourself rummaging through your fridge, searching for that one food item you just can’t seem to locate? A cluttered and disorganized refrigerator can not only waste your time but also lead to food waste and increased grocery bills. By taking the time to organize your fridge properly, you can keep your food fresh, save time when meal planning, and ultimately make your life a whole lot easier. In this comprehensive guide, we’ll walk you through the steps to transform your fridge into a well-organized and efficient space that works for you.
Step 1: Clean and Check Expiration Dates
The first step to creating an organized fridge is to start with a clean slate. Take everything out of your fridge and give it a thorough wipe down. Remove the shelves and drawers, soak them in hot, soapy water, and scrub away any spills or gunk. Don’t forget to check the expiration dates on your food items. While some foods may be safe to eat past their expiration dates, it’s a good idea to assess whether you’ll actually use them. Toss out anything that’s expired or unlikely to be consumed to make room for fresh, new items.
Quick Tip:
Remember to place a box of baking soda in your fridge to help absorb odors and keep it smelling fresh.
Step 2: Sort Your Shelves
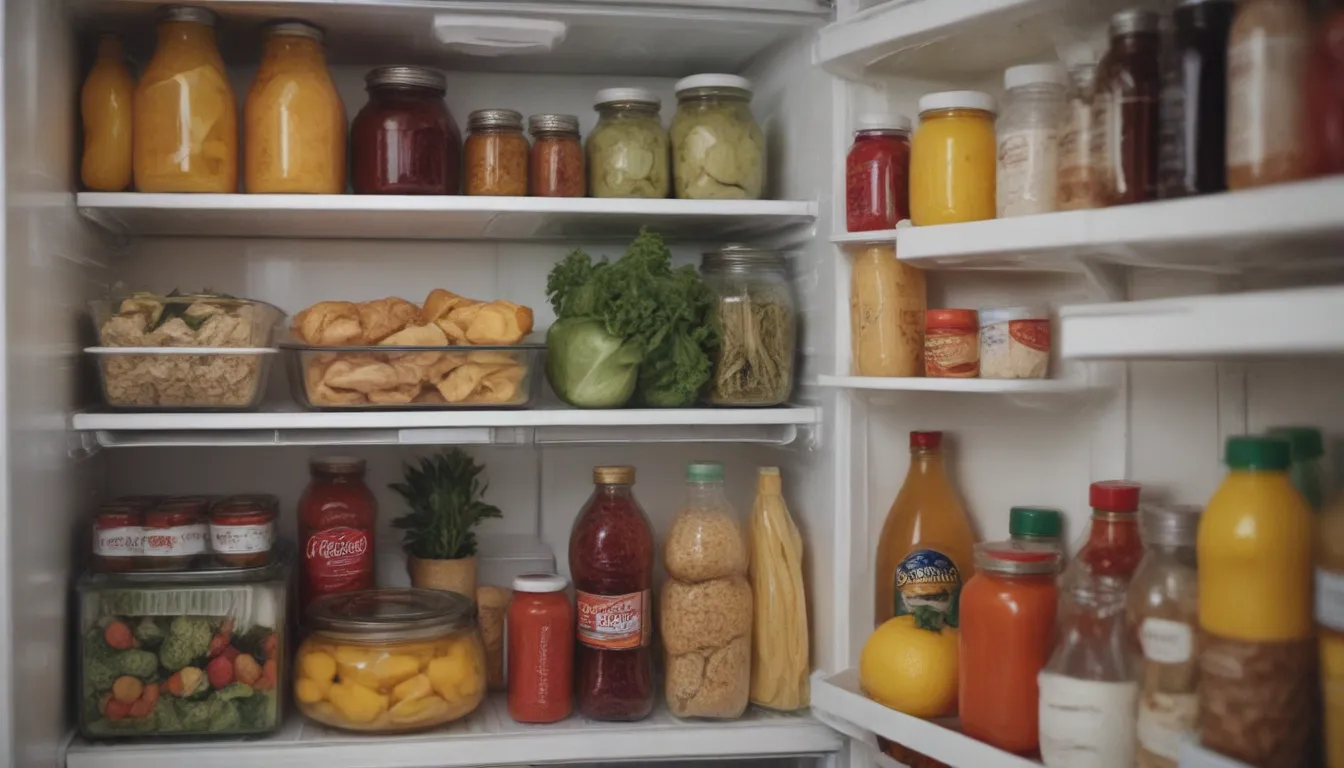
Organizing your shelves is key to maximizing space and minimizing waste. Create zones for different types of items and group similar items together to make them easy to find.
Top Shelf:
- Keep leftovers or items that need to be eaten soon.
- Store quick snacks and frequently used items here for easy access.
Middle Shelf:
- Ideal for dairy products and produce that can be left uncovered.
- Utilize the vertical space to store taller containers.
Bottom Shelf:
- Store raw meat, fish, or poultry on the bottom shelf to prevent cross-contamination.
- This is the coolest part of the fridge, making it ideal for perishable items.
Drawers:
- Use the crisper drawers for storing produce to keep them fresh longer.
- These drawers have vents to control airflow and prevent moisture buildup.
Door:
- Store condiments and stable items on the door shelves, as this is the warmest part of the fridge.
- Group similar items together for easy access to your favorite sauces and dressings.
Quick Tip:
Organize your items based on temperature zones within your fridge to help them last longer.
Step 3: Use Clear Containers
Investing in clear containers can help you maintain your organization system and keep your fridge looking tidy. Choose containers of various sizes to fit different items and label them for easy identification.
Additional Tips:
- Wash and prep your items before storing them in the fridge.
- Create a section for items that are expiring soon to ensure they are used promptly.
- Consider a designated area for harder-to-store items like fresh herbs and vegetables.
Step 4: Keep a List
For ultimate organization, consider keeping a list on your fridge to track what you have on hand and what needs to be used up. This can help you avoid buying duplicate items and ensure you use everything before it goes bad.
Remember, organizing your fridge may take some initial effort, but the benefits are well worth it. By following these steps, you can save time, reduce food waste, and make meal planning a breeze. Take the time to organize your fridge today and enjoy a more efficient and stress-free cooking experience. Cheers to a well-organized fridge and happy cooking!


