Comprehensive Guide to Building Your Own Deck

Are you considering taking on the challenge of building your own deck? The allure of a DIY project can be exciting, but it’s essential to understand the complexities involved before diving in headfirst. In this detailed guide, we will walk you through the basic steps of deck construction, focusing on fundamental principles to help you understand the process better. Whether you’re a seasoned DIY enthusiast or a beginner looking to tackle a new project, this article will provide you with valuable information to ensure your deck-building journey is a success.
Before You Begin
Codes and Permits
Before you even think about building a deck, it’s crucial to check with your local building authorities to determine if there are any restrictions or building permits required. Many communities have specific rules regarding setbacks, heights, structural supports, and railing dimensions. Your building inspection office should be your first stop to gather information on how to proceed with your project.
Tip: Decks must be supported by footings that reach below the winter frost line in your region. Be sure to dig holes and pour footings that are four feet deep, or deeper in cold regions.
Plans and Blueprints
Do your homework before starting your deck construction project. Obtain a detailed blueprint plan or read up on deck building techniques. Spend time visualizing the work ahead and consider all your options before starting. Planning ahead will help you anticipate and solve potential problems that may arise during the construction process.
Tip: Consider whether your deck will be attached to your house or freestanding. Each option comes with its own set of considerations and complications that should be evaluated before building.
The Anatomy of a Deck
Understanding the components of a deck is essential for successful construction. Here are the key elements that make up a typical deck:
- Ledger board
- Footing and posts
- Support beams
- Joists
- Decking boards
- Stairs and railings
Tools and Materials You Will Need
Building a deck requires a variety of tools and materials to get the job done right. Here are some typical tools and materials you may need for your deck construction project:
Tools:
– Circular saw
– Power drill
– Level
– Tape measure
– Hammer
– Chalk line
Materials:
– Lumber (6 x 6, 4 x 4 posts, 2 x 10 or 2 x 12 joists and beams, 2 x 4 structural members)
– Decking boards
– Fasteners
– Concrete
– Metal post anchors
Note: Be sure to consult your local building codes for specific requirements on the size and type of lumber needed for your deck construction.
Basic Construction Variation
Decks that are attached to a house are usually anchored with bolts or lag screws. Alternatively, freestanding decks offer an alternative that may require additional work but can simplify the construction process. Building codes may vary based on whether your deck is attached to your house or freestanding.
Stage 1: Preparing the Site
Once you have your deck plans in place, it’s time to prepare the construction site. Here’s how to get started:
- Outline the shape of the deck using stakes and string.
- Remove any vegetation from the area where the deck will be built.
- Mark the location for the ledger board and footing posts according to your plans.
- Ensure the working space is level and ready for construction.
Stage 2: Install the Ledger
The ledger board is a crucial element in deck construction and must be properly installed. Here’s how to do it:
- Remove siding where the ledger board will be attached.
- Install flashing to prevent water damage.
- Attach the ledger board to the house framing with bolts or lag screws.
- Seal behind the ledger with caulk to prevent moisture from entering.
Stage 3: Install the Footings and Posts
Vertical posts are essential for supporting the beams in your deck construction. Follow these steps to install footings and posts:
- Dig holes to the required depth as per building codes.
- Pour concrete and install posts to the necessary height.
- Use cardboard forms or metal post anchors to secure the posts.
- Ensure the posts are plumb and cut to the correct height as per your plans.
Stage 4: Install Support Beams
Support beams provide the main structural support for your deck. Here’s how to install them:
- Attach horizontal beams to the posts to support the joists.
- Follow your deck plans for specific configurations and placement of beams.
- Use metal beam saddles to secure the beams in place.
Stage 5: Install the Joists
Joists form the framework of the deck and must be installed correctly for a sturdy structure. Here’s how to install joists:
- Space interior joists every 12 or 16 inches apart.
- Attach joists to the ledger board with joist hangers.
- Ensure all connectors and fasteners are corrosion-resistant for pressure-treated lumber.
Stage 6: Lay the Decking
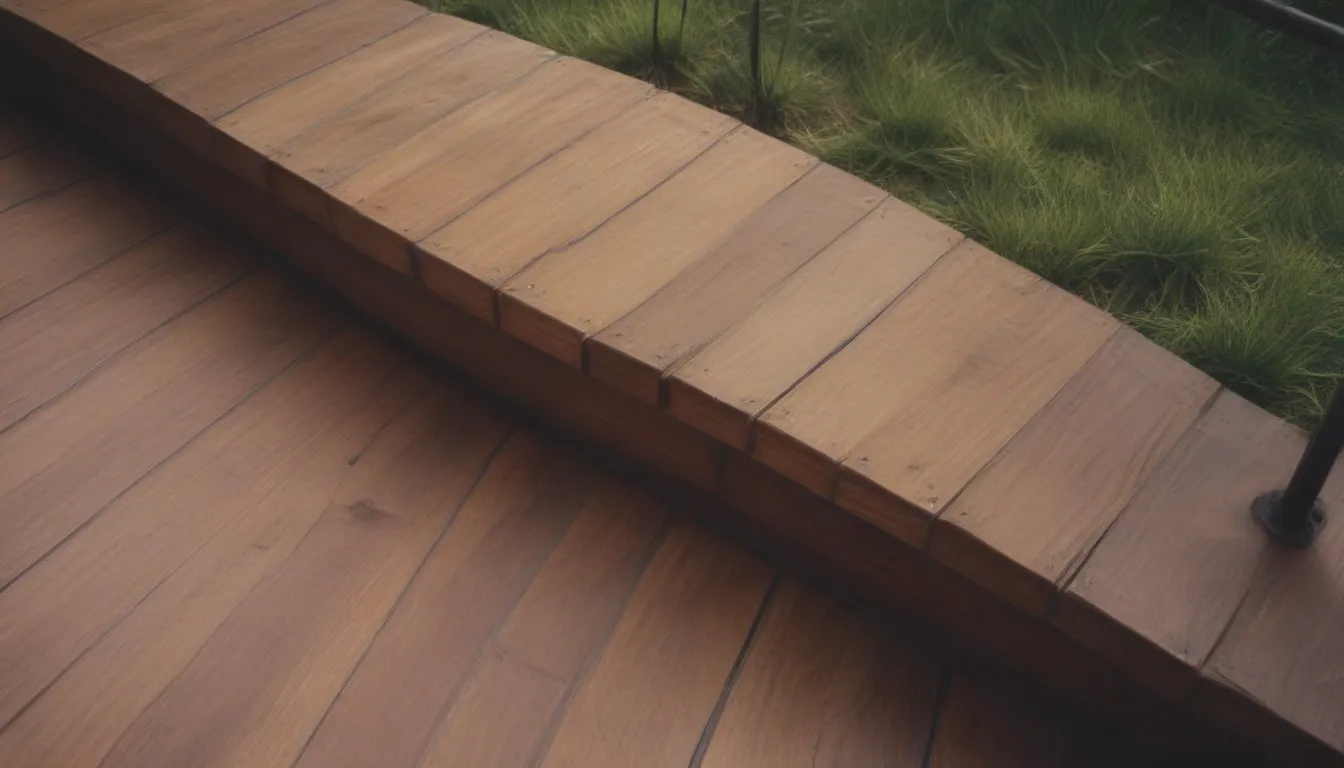
Once the framework is in place, it’s time to lay the decking boards. Here’s how to do it:
- Attach decking boards to the joists using screws or nails.
- Consider using synthetic decking materials for durability.
- Leave a uniform gap between boards to prevent debris buildup.
Tip: Depending on your deck’s height and style, you may want to install stairways and railings before laying the decking.
Final Steps
As you near completion of your deck construction, there are a few final steps to take:
- Construct stairways and railings as required by building codes.
- Consider finishing the deck with stain or paint after allowing the lumber to dry out.
- Finishing touches can enhance the appearance of your deck and protect it from the elements.
When to Hire a Professional
While DIY deck building can be rewarding, there are times when hiring a professional may be the best option. If the scope of your project is large, or if you lack the necessary skills and experience, a deck builder or contractor can ensure the job is done right. The cost of building a deck can vary depending on materials and labor, so it’s essential to weigh your options carefully.
In conclusion, building your own deck can be a challenging but rewarding project. By following these basic steps and guidelines, you can create a beautiful and functional outdoor space to enjoy for years to come. Remember to consult local building codes and regulations, and don’t hesitate to seek professional help if needed. Happy building!


