Everything You Need to Know About Sealing Your Concrete Driveway and Patio
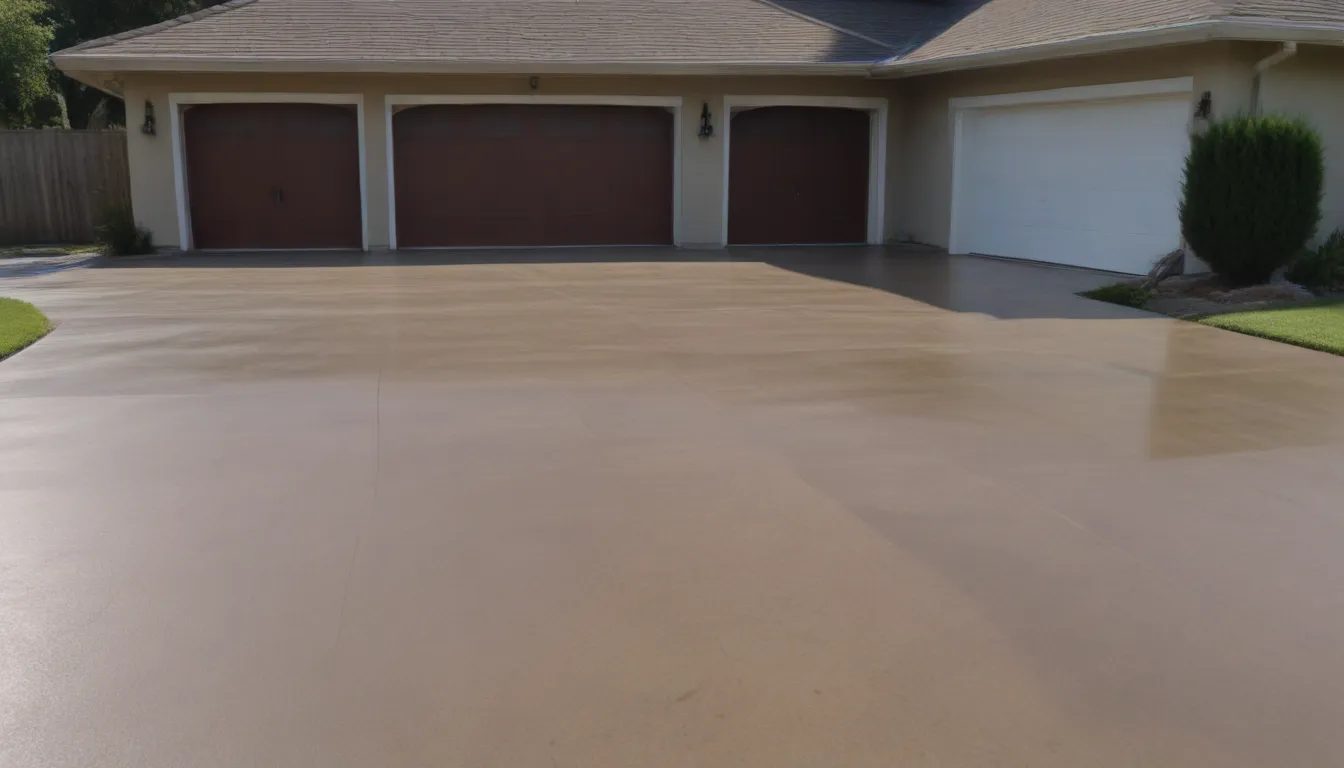
Are you considering sealing your concrete driveway or patio but feeling overwhelmed by the choices and conflicting advice out there? You’re not alone! The world of concrete sealers can be complex and confusing, with different types, gloss levels, and application methods to consider. In this comprehensive guide, we will break down everything you need to know about sealing your concrete surfaces to help you make informed decisions and keep your driveways and patios looking great for years to come!
Why Seal Your Concrete Surface
Before we dive into the nitty-gritty details of concrete sealers, let’s first understand why sealing your concrete driveway or patio is essential. While concrete can perform adequately without being sealed, applying a high-quality sealer every few years can help prolong the life of your concrete surfaces and keep them looking good. Here are a few reasons why sealing your concrete is beneficial:
- Prolongs the life of your concrete surface
- Protects against stains and etching
- Helps resist winter road salt damage
- Enhances the appearance of your driveway or patio
- Prevents cracking and deterioration
Types of Concrete Sealers
When it comes to choosing a concrete sealer, you’ll encounter different types to consider. Understanding the differences between these sealers can help you make an informed decision when it comes to sealing your concrete surfaces. Here are the main types of concrete sealers:
- Acrylic resin-based sealers – These sealers are durable and provide a protective layer over the concrete surface.
- Epoxy or polyurethane sealers – These sealers offer excellent protection against chemicals, stains, and abrasion.
- Penetrating sealers – These sealers penetrate the concrete to provide protection without altering the surface appearance.
It’s essential to purchase high-quality sealers from professional concrete supply retailers to ensure optimal performance and longevity. While inexpensive sealers from hardware stores may suffice, they typically have a shorter lifespan compared to professional-grade products.
Gloss Levels
Unlike paints, concrete sealers come in various gloss levels, ranging from no-gloss to high-gloss options. The gloss level you choose can impact the appearance of your driveway or patio. Here are some common gloss levels to consider:
- Matte – Offers a low sheen finish
- Satin – Provides a subtle shine
- Semi-gloss – Offers a moderate shine
- Gloss – Provides a high shine
- High-gloss – Offers a mirror-like finish
Manufacturers categorize gloss levels on a scale of 1 to 100, with 100 representing the highest level of gloss. Keep in mind that solvent-based sealers tend to darken the concrete surface more than water-based sealers, so choose a sealer that aligns with your preferred gloss level and desired appearance.
How to Apply Driveway Sealer
Now that you’ve chosen the right sealer for your concrete surface, it’s time to prepare for the application process. Proper preparation is essential for a successful sealing project. Here’s a step-by-step guide on applying driveway sealer:
1. Preparation
Before sealing your concrete driveway or patio, ensure the surface is clean and dry. Use soap or degreaser to remove any stains or debris. Complete any necessary patching or repairs before applying the sealer. Remember to wear protective gear, such as gloves, long sleeves, trousers, and eye protection, during the application process.
2. Equipment
Depending on the type of sealer you choose, you’ll need minimal equipment for application, such as a roller, sprayer, or brush. Refer to the manufacturer’s instructions for the recommended application method. Solvent-based sealers are best applied by spraying, while water-based sealers are typically applied with a roller.
3. Coverage
Strive for complete coverage when applying the sealer. Most products are rated to cover 250 to 300 square feet per gallon. Apply two to three thin coats, allowing each coat to dry between applications. Overlapping the areas during application will ensure full coverage and avoid puddling that can lead to uneven coating.
4. Drying
Work on small sections at a time, approximately 25 square feet, to ensure proper drying. Drying time can vary depending on weather conditions, with humid summer conditions requiring longer drying times. The surface should be dry to the touch before applying the next coat. If you have a large driveway, consider hiring a professional for the job.
Maintenance
Once your concrete surface is sealed, regular maintenance is key to preserving the sealer coat and extending its lifespan. Here are some maintenance tips to keep your sealed driveway or patio in top condition:
- Simple cleaning – Regularly clean your sealed concrete surface with soap and water to remove dirt and grime.
- Pressure washing – Use a pressure washer to clean surface dirt, but use the correct tip to prevent damage. Consider hiring a professional for thorough cleaning.
- Resealing – The frequency of resealing depends on the product used, weather conditions, and wear and tear on the surface. Plan on resealing every one to three years to maintain protection.
By following these maintenance practices, you can ensure your sealed concrete surfaces remain in optimal condition and continue to enhance the appearance of your home.
Conclusion
Sealing your concrete driveway or patio is a worthwhile investment that can prolong the life of your surfaces and enhance their appearance. By choosing the right sealer, understanding the application process, and staying on top of maintenance, you can enjoy a beautiful and well-protected concrete surface for years to come. Whether you prefer a matte, glossy, or high-gloss finish, there’s a sealer out there to meet your needs. Remember, proper preparation and application are key to achieving professional results. So, roll up those sleeves, grab your sealer, and get ready to transform your concrete surfaces into a stunning showcase of your home!
